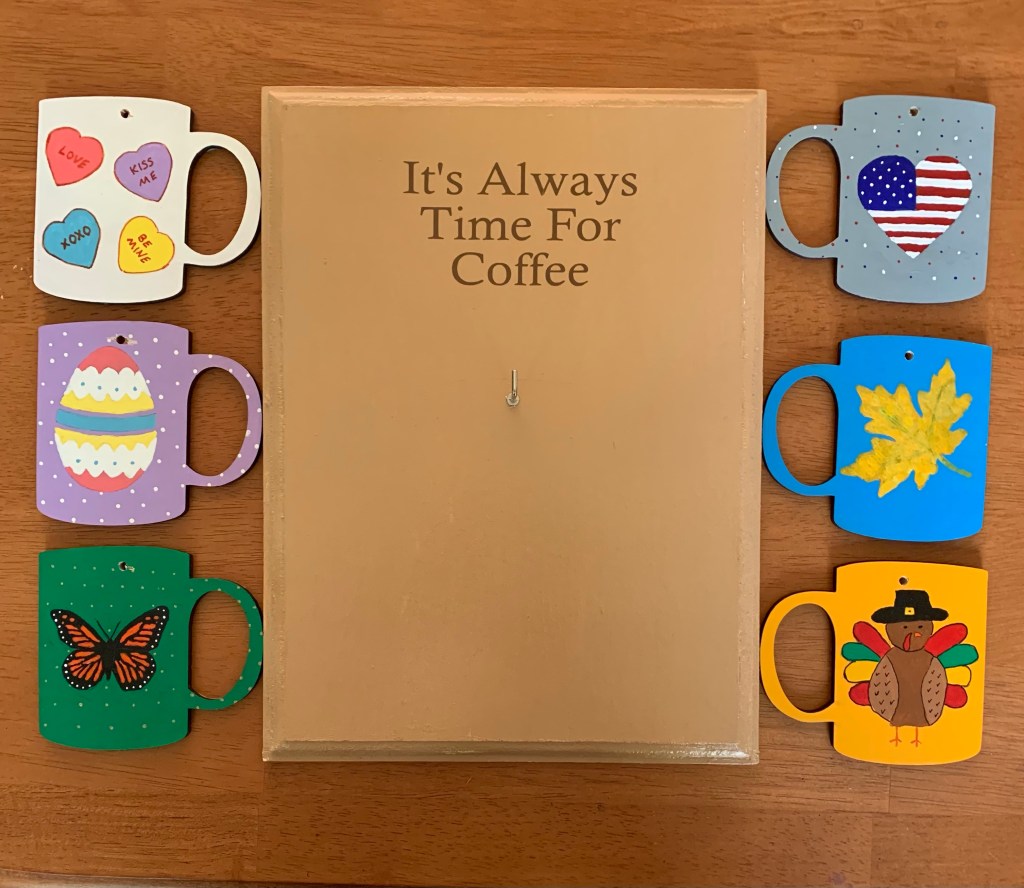
For this month, I was planning to unveil a pattern for a TV table runner I’ve been working on. However, after several failed attempts at the pattern, I decided it might need an additional month. Crafting is supposed to be my escape, after all, but sometimes I get frustrated when things don’t come out the way I want.
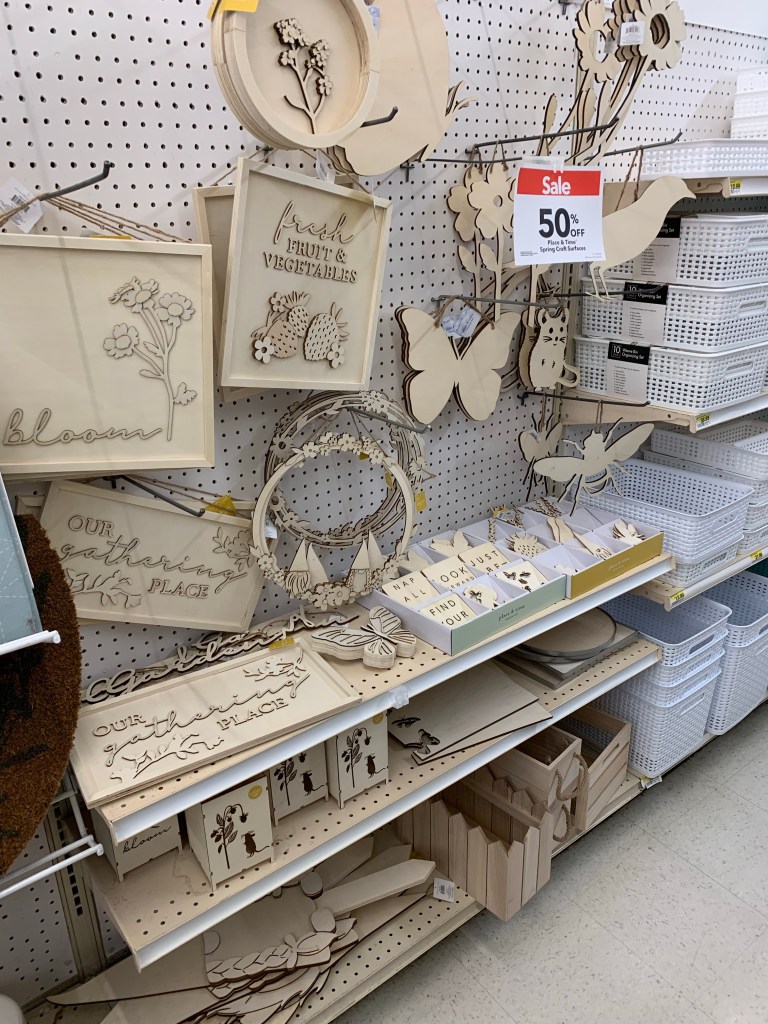
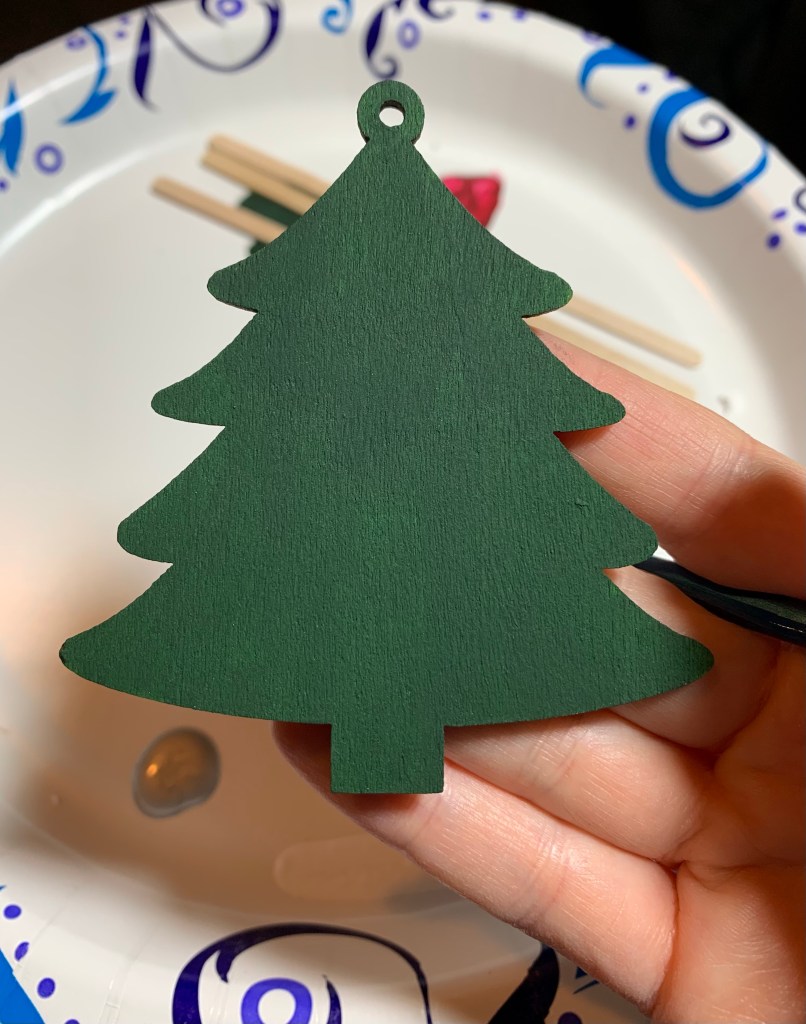
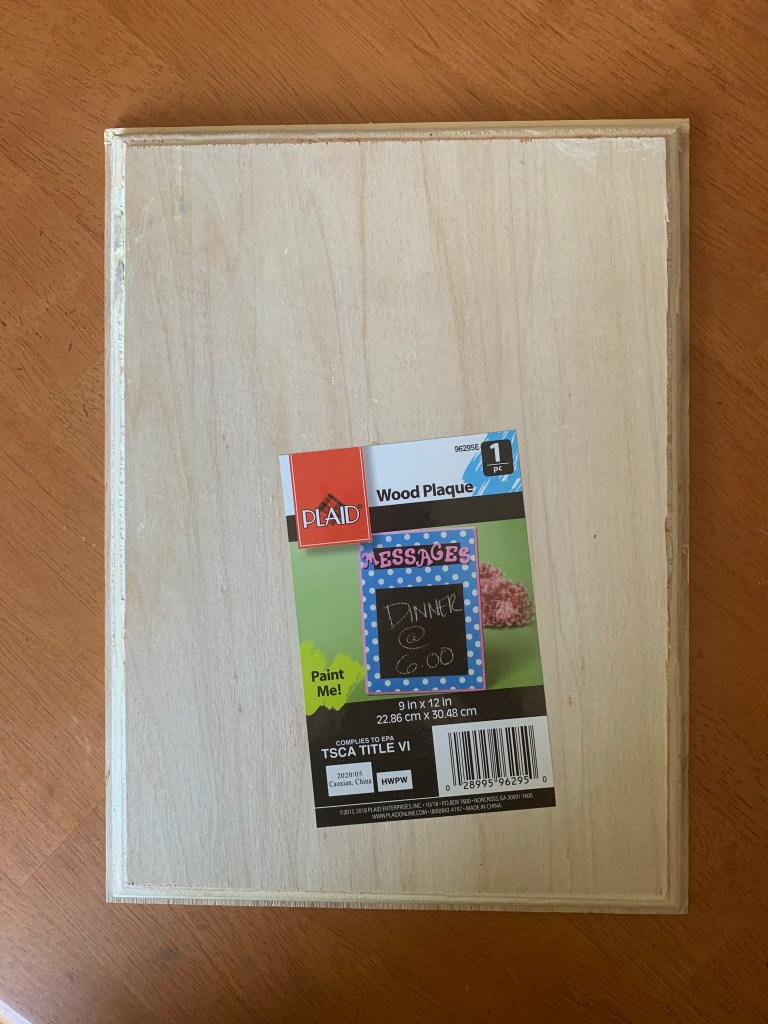
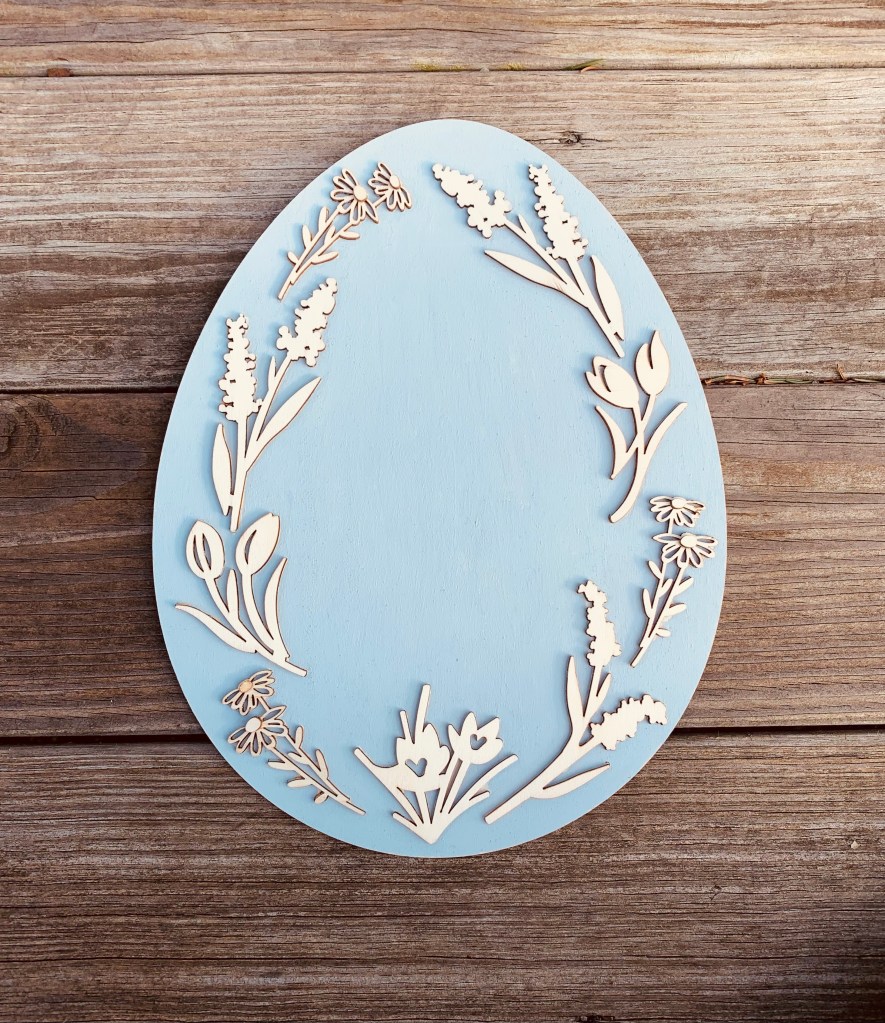
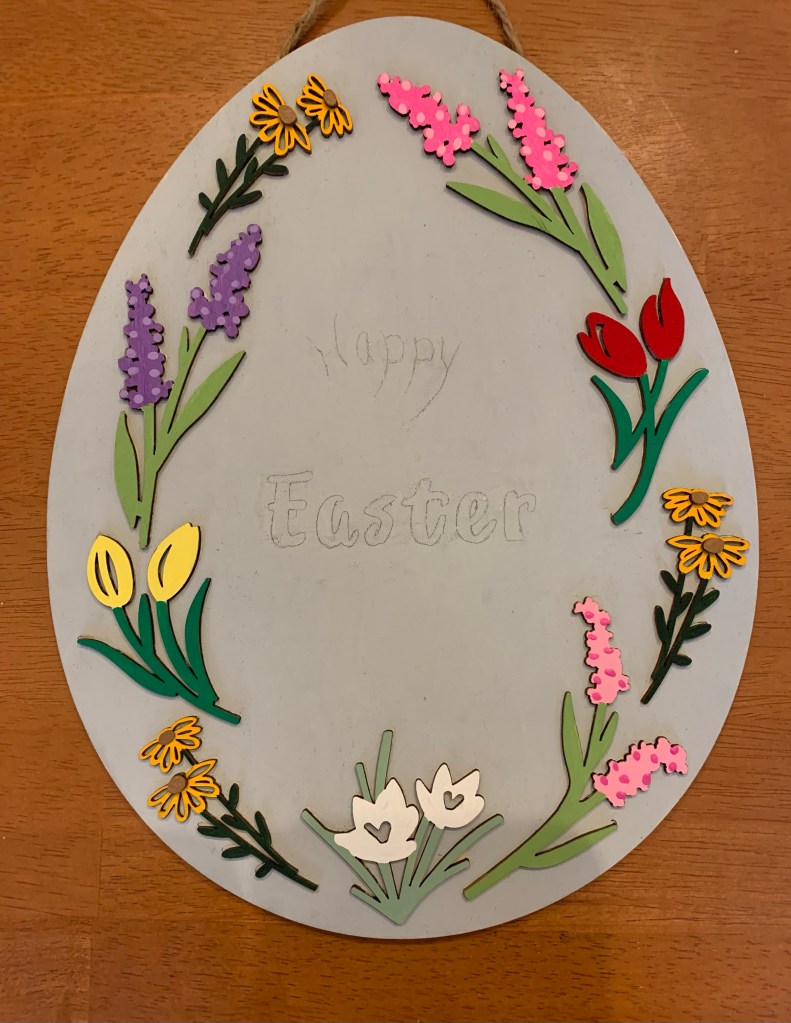
It was on a trip to Joann Fabrics to look for yarn options for this pattern that I found this month’s craft. I’m a sucker for paintable wooden crafts, and when I saw a display of Easter wooden crafts, I fell in love with an egg-shaped sign. I also fell in love with the 50% discount the store was offering. Desperately needing something to calm my nerves after pulling out yet another row of knitting, I decided to paint my sign so I could hang it in time for the holiday.


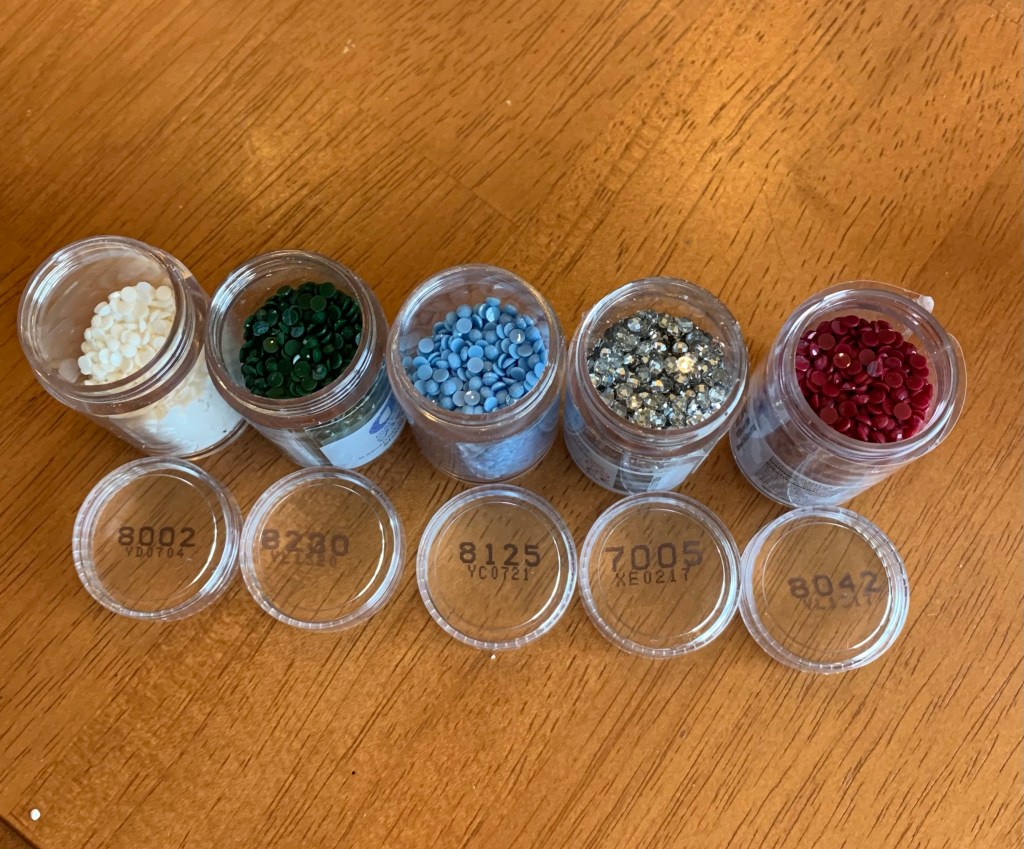
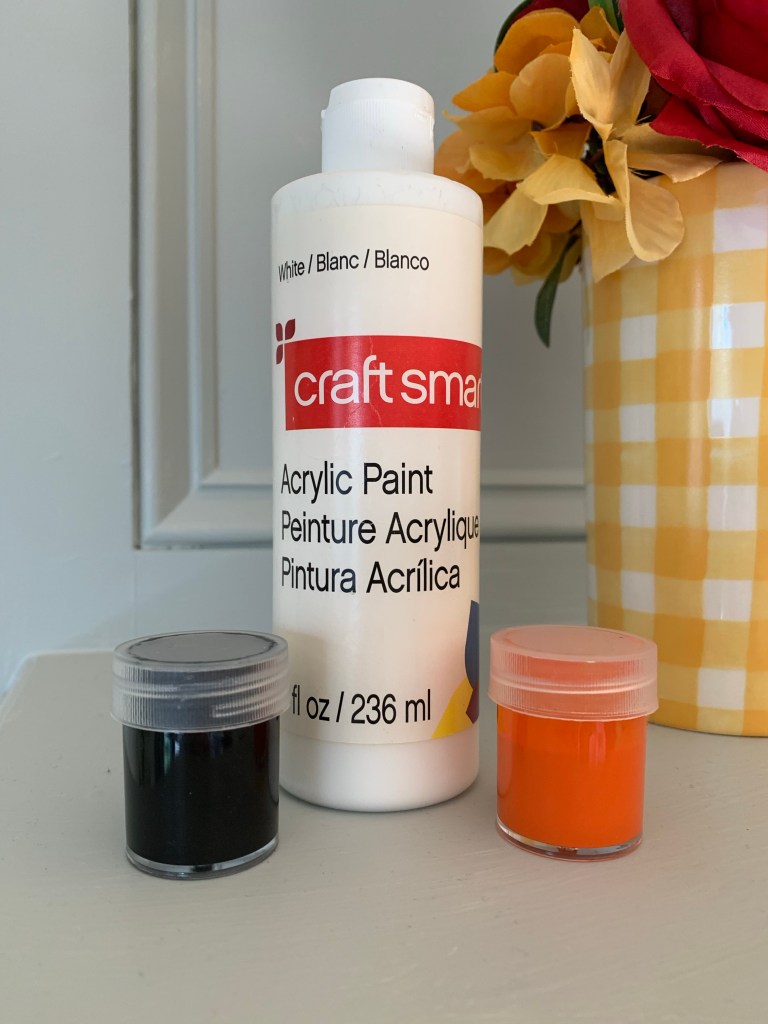
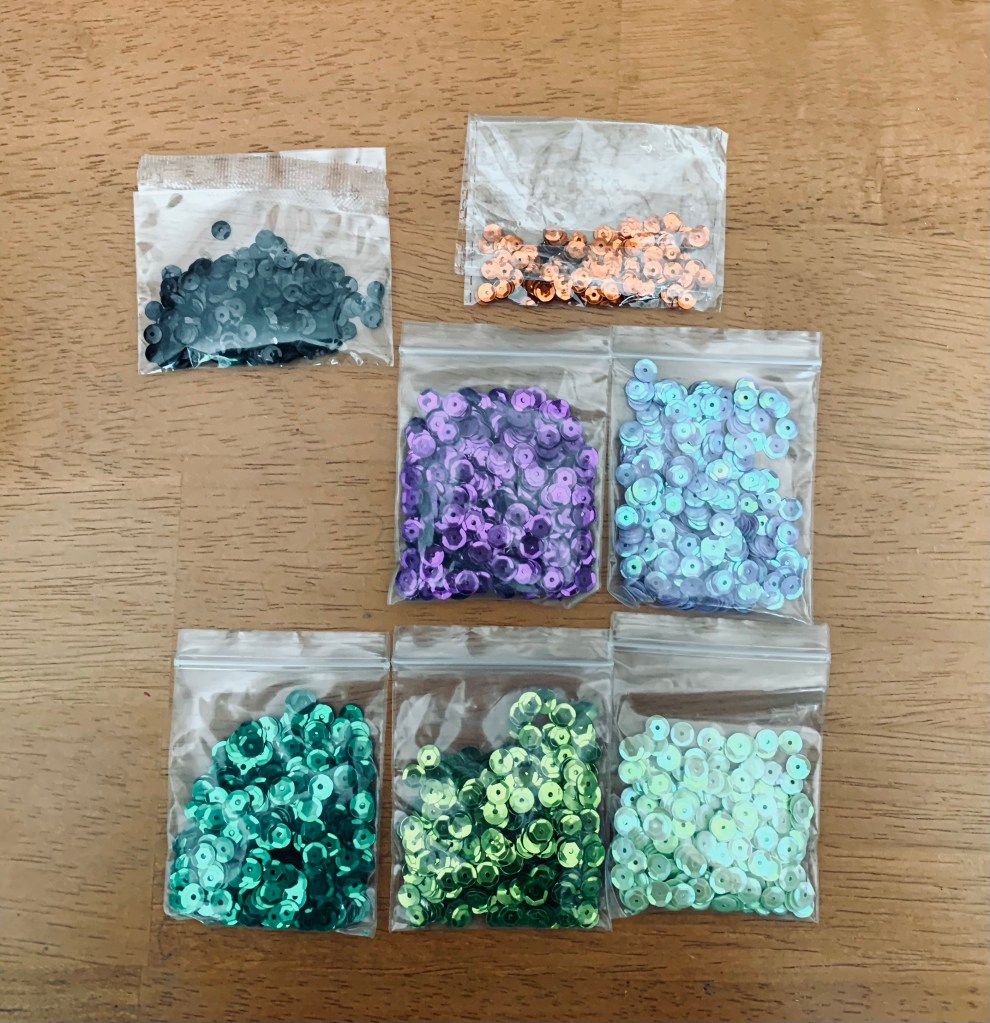
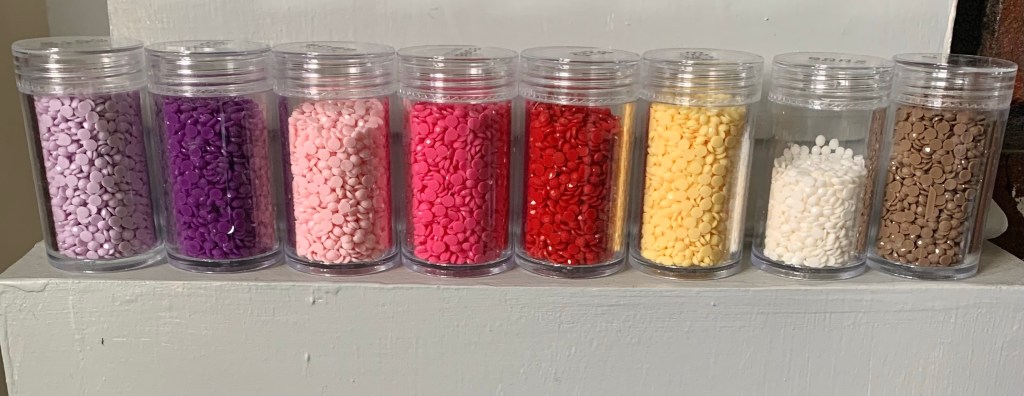
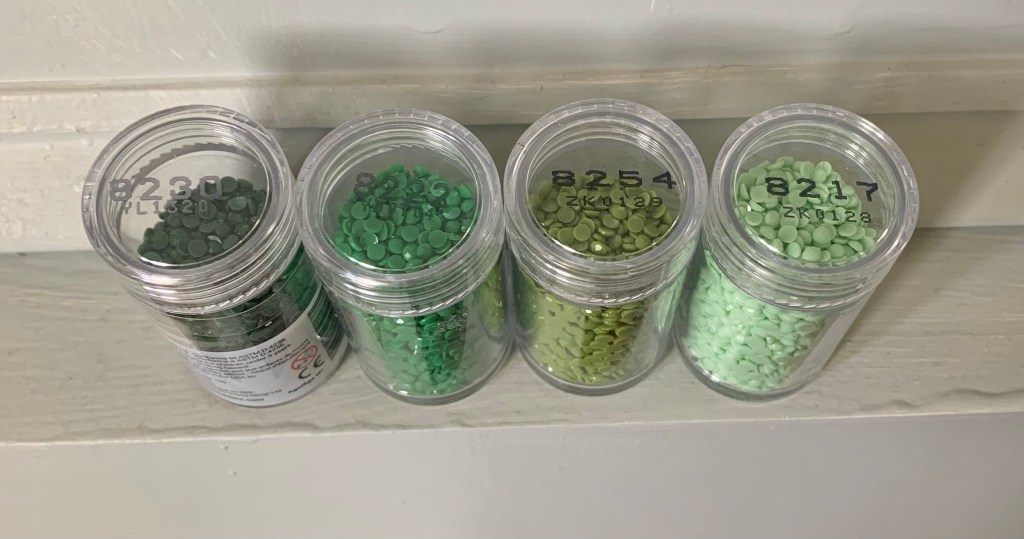
Since I often paint wooden and plaster crafts, I already had most of the paint and Diamond Dotz I needed for this project. Both paint and Diamond Dotz are relatively inexpensive, and can be for several projects, so these types of crafts are very economical.
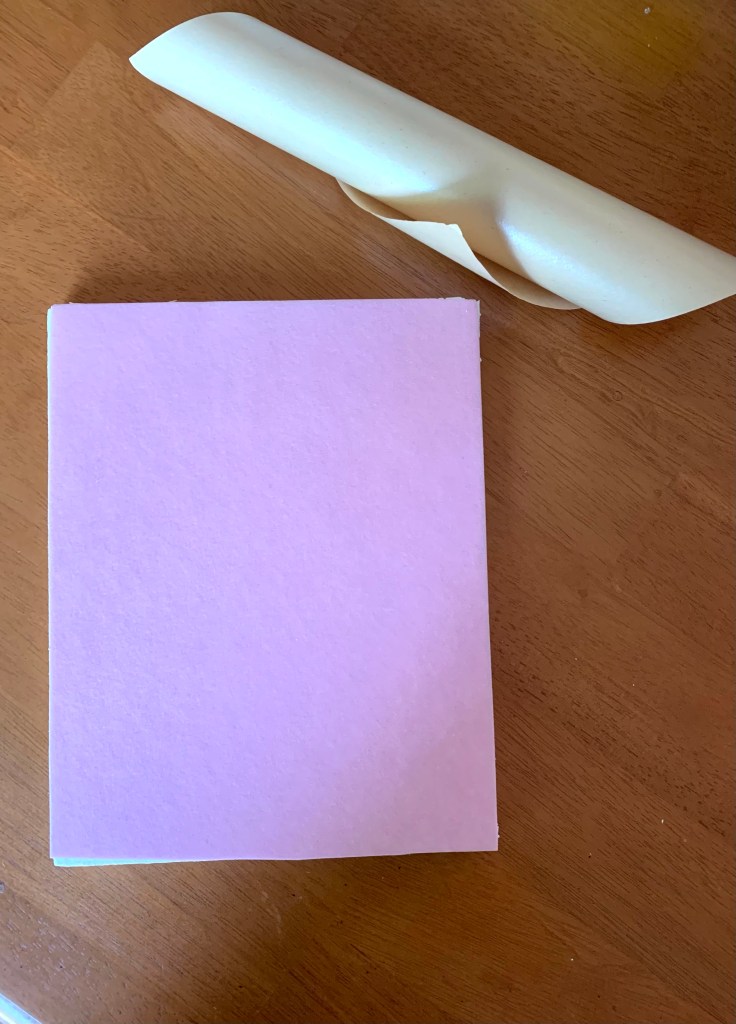
Tip: if you have the paint, but not the Diamond Dotz, simply paint a small swatch of paint onto a piece of paper and bring it with you to the craft store. This is the best way to find the exact match you’re looking for.
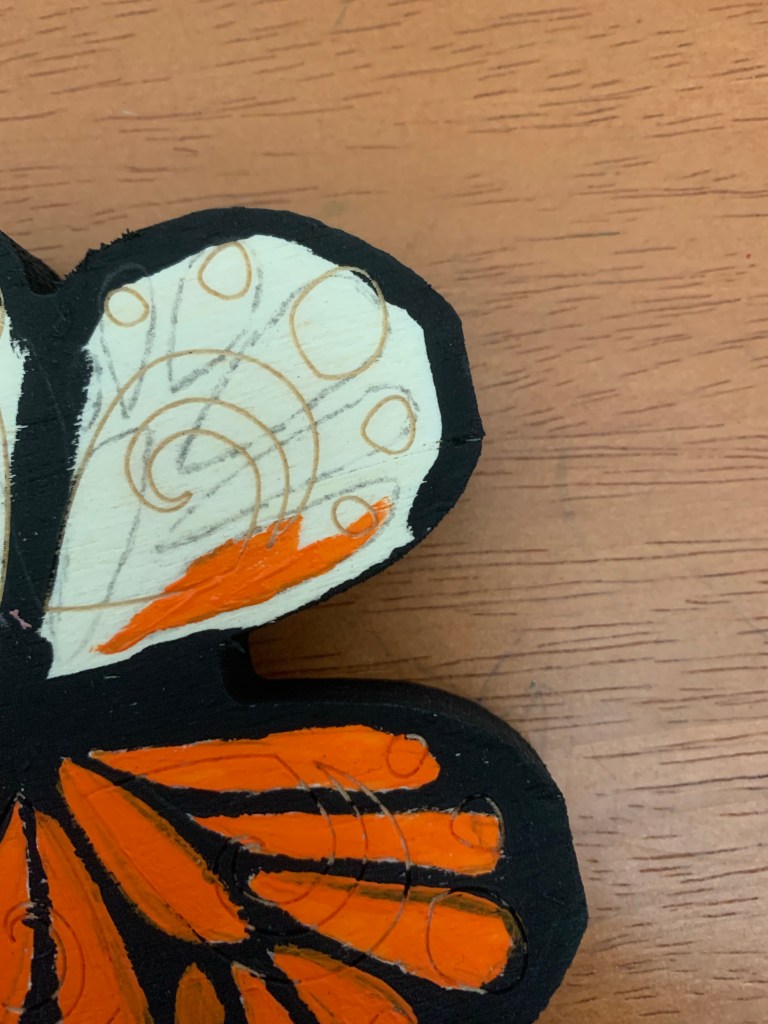
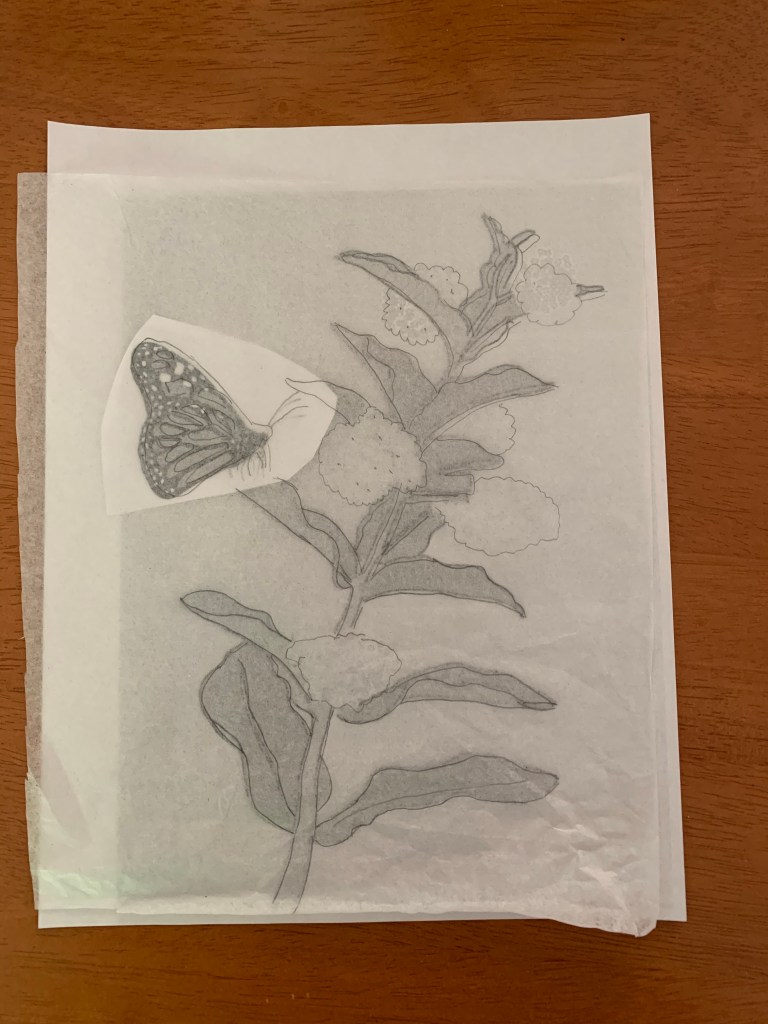
Before I start painting, I always like to plan out the colors I want to use so none of the same colors are close to each other. Taking a pencil, I lightly marked the wood flowers so I can keep track of what color goes where. For the egg, I decided to paint it a light dove gray.
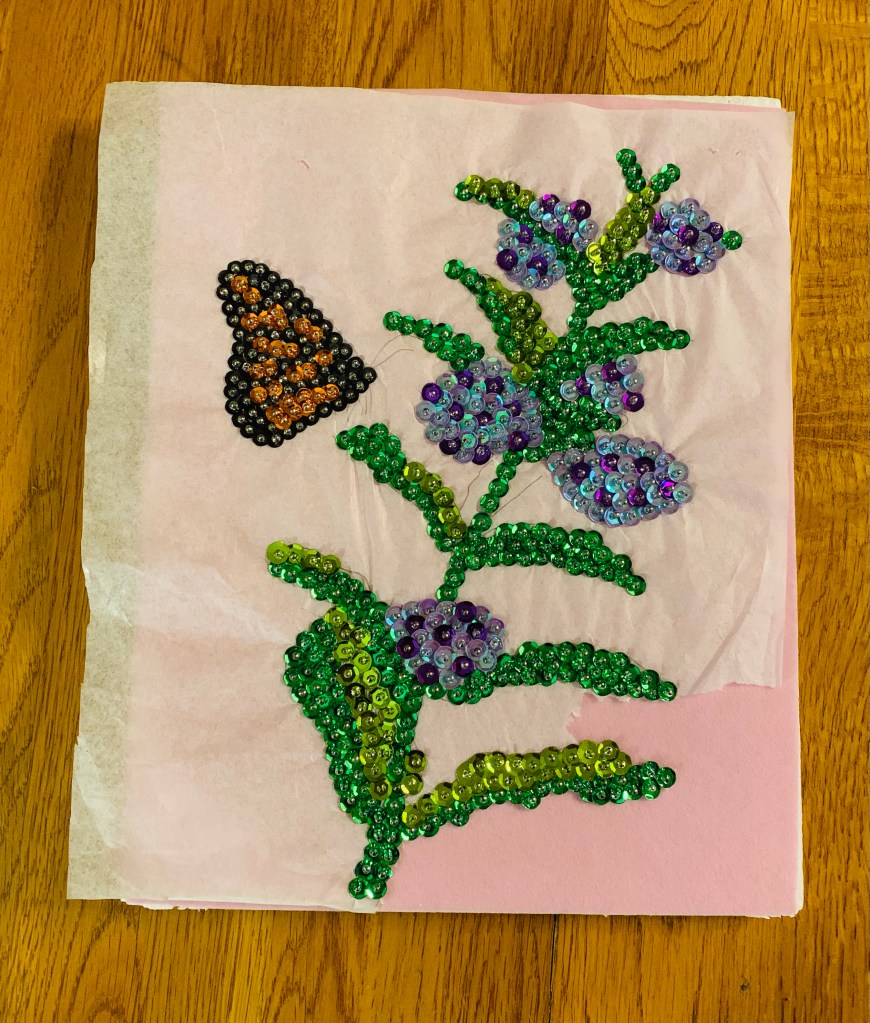
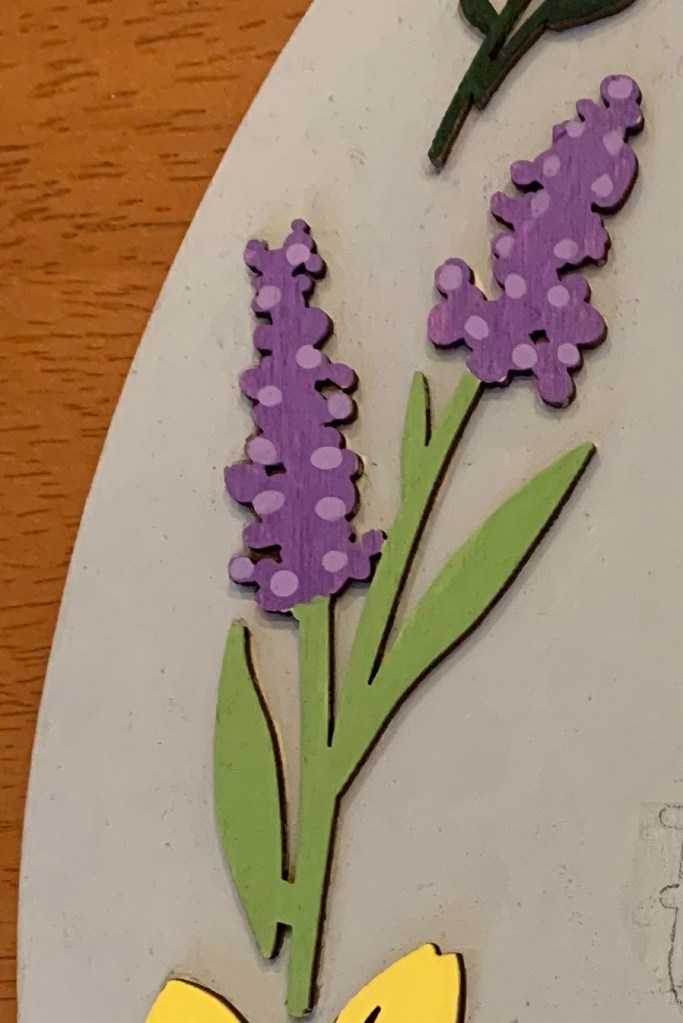
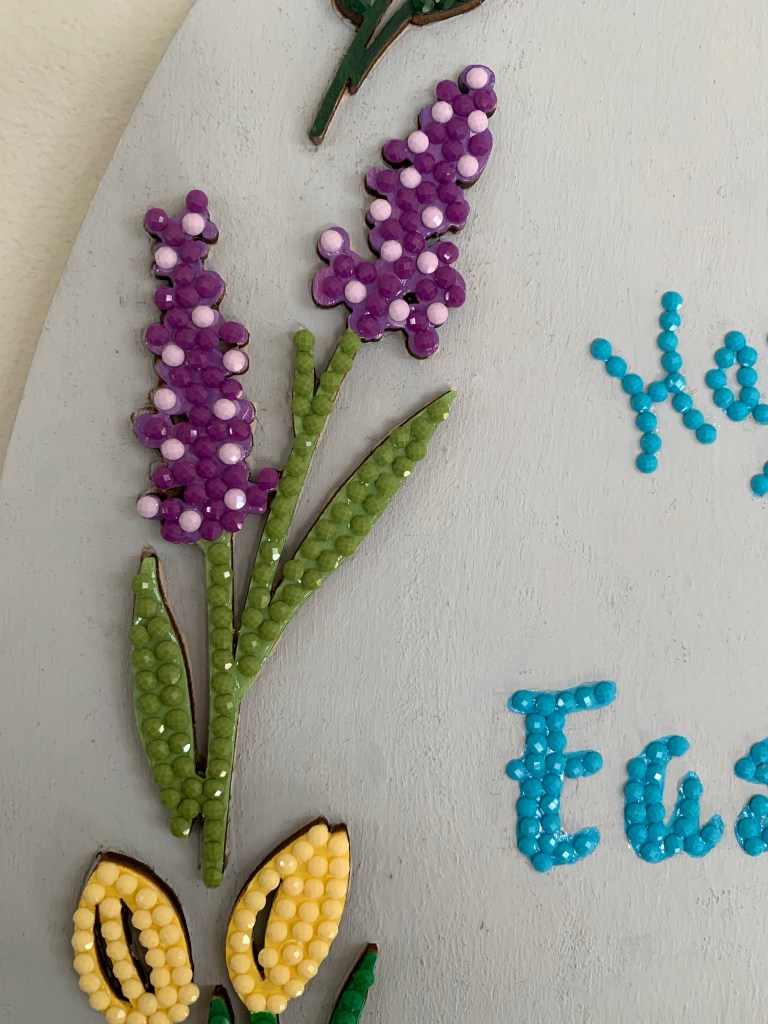
For the hyacinth flowers, I wanted to try to give them a pop of contrasting color. To do this, I painted them a solid color, then when that dried, I went back and applied small dots of color in a lighter or darker tone of the same color. This gave the flowers some depth.
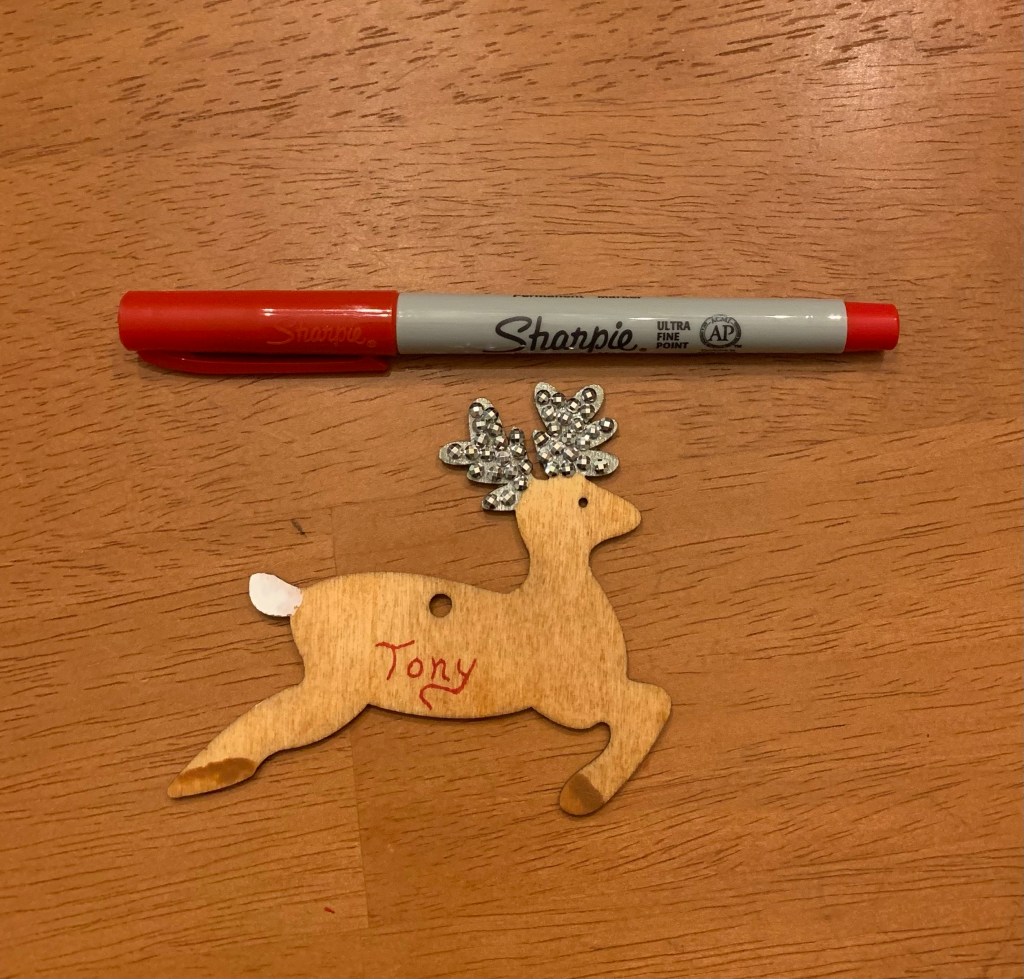
To add the “Happy Easter” to the middle of the sign, I bought some vinyl cut-out letters and traced them. Unfortunately, after I laid them out, I did not like the way the “y” in “Happy” looked. For some reason, it was much smaller than the other letters. To solve this, I simply wrote out “Happy” in free-hand and used the vinyl letters for “Easter.” As you can see, it took me a few tries to get it right as evidenced by all the pencil lines I left behind. To hide all the pencil lines I applied another layer of gray paint.


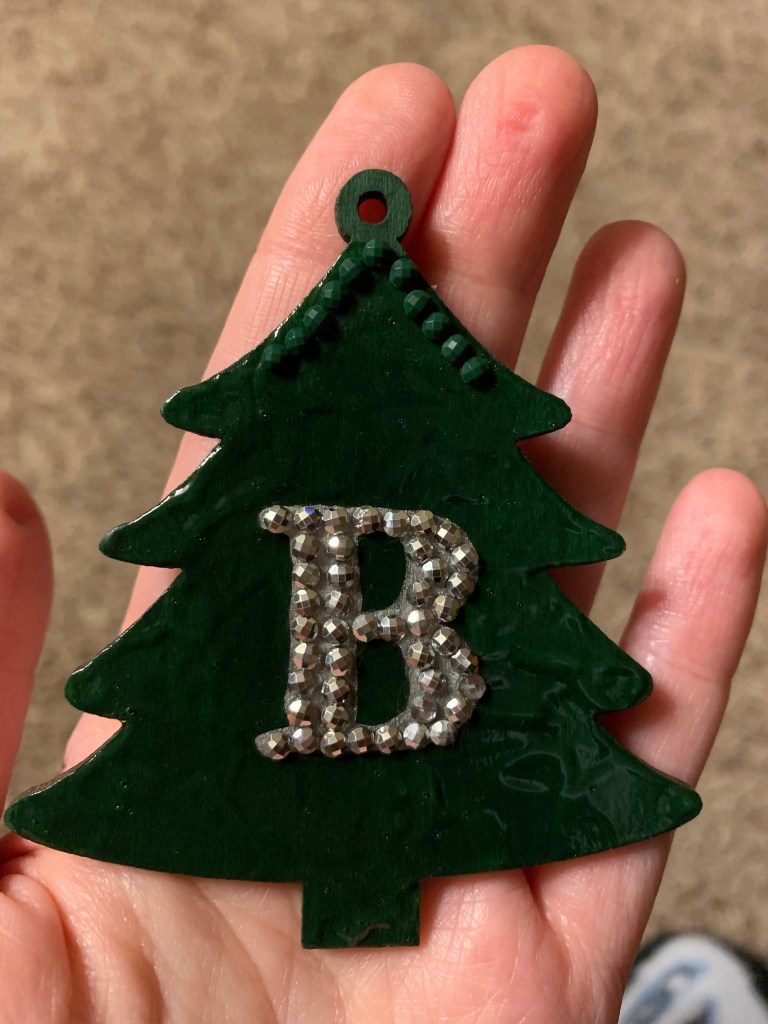
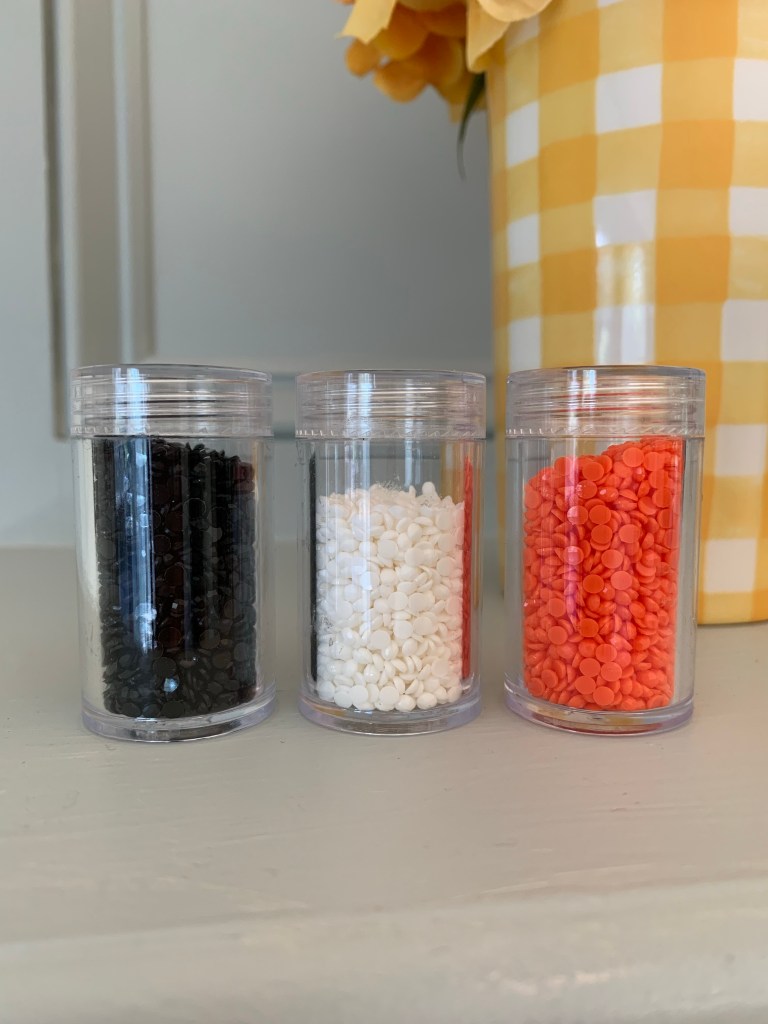
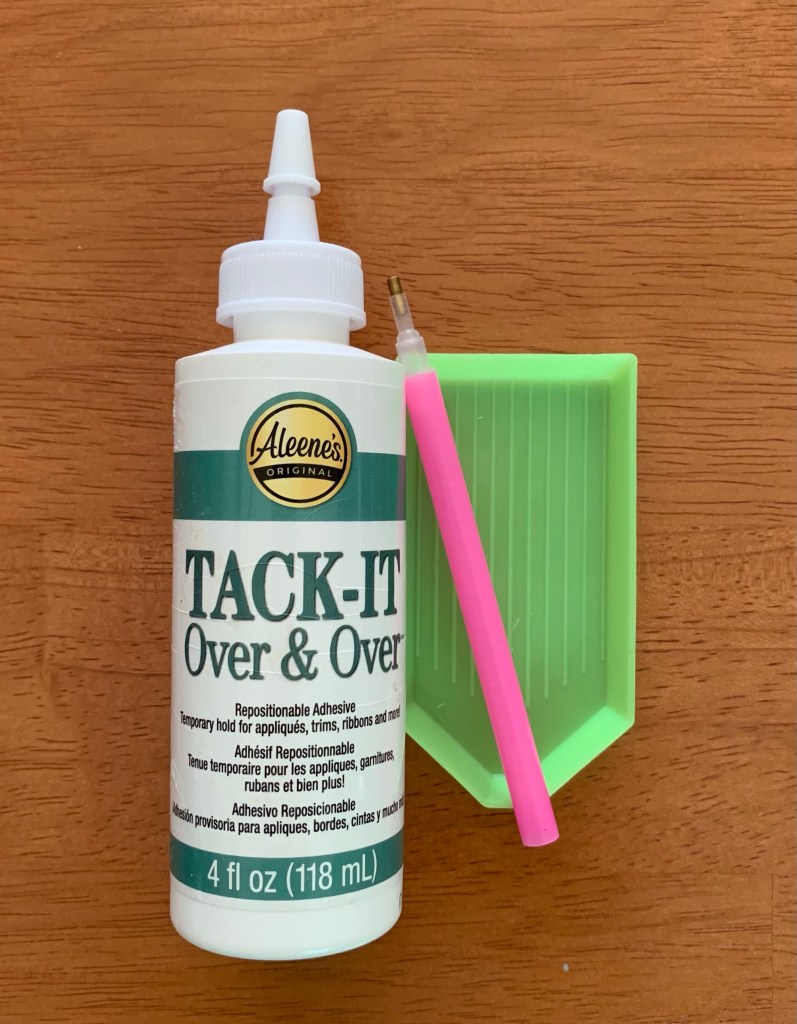
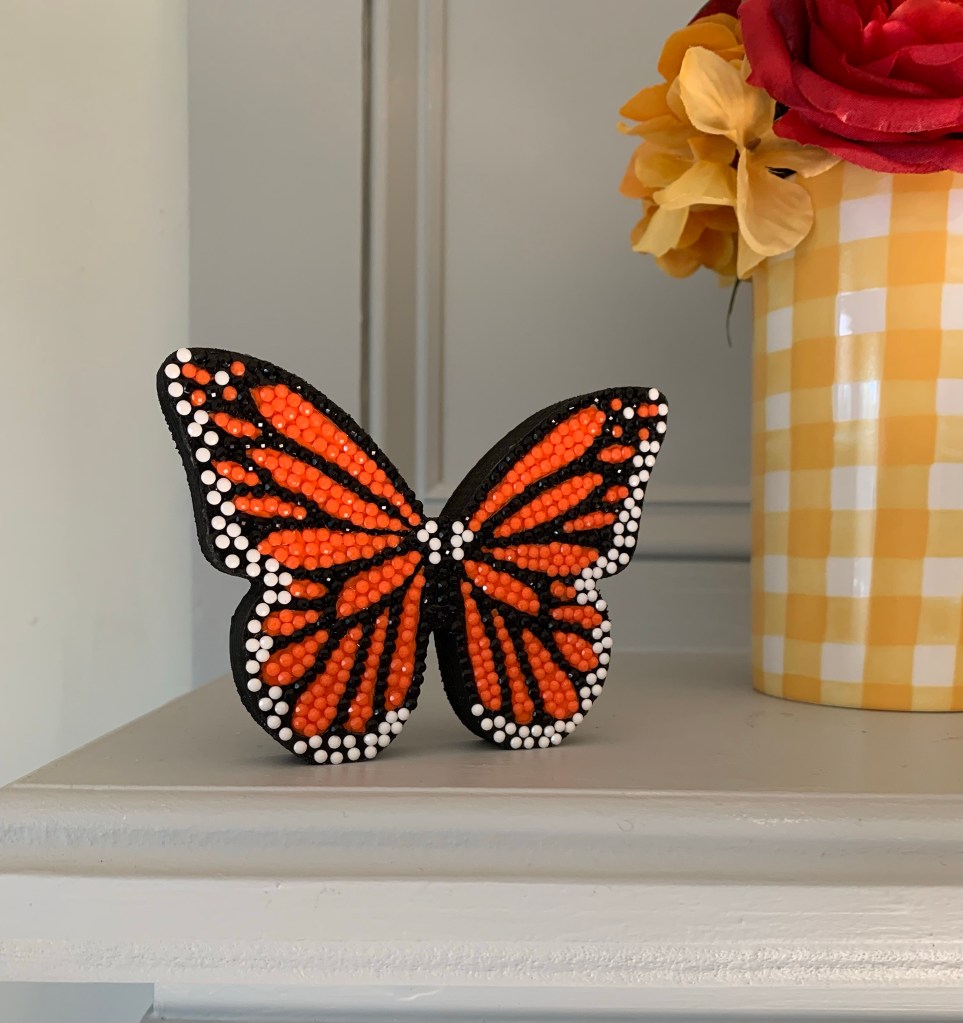
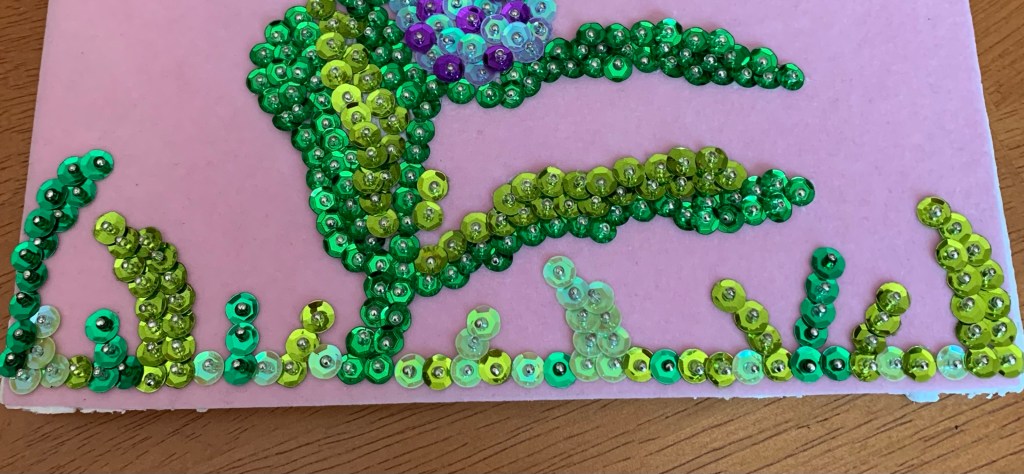
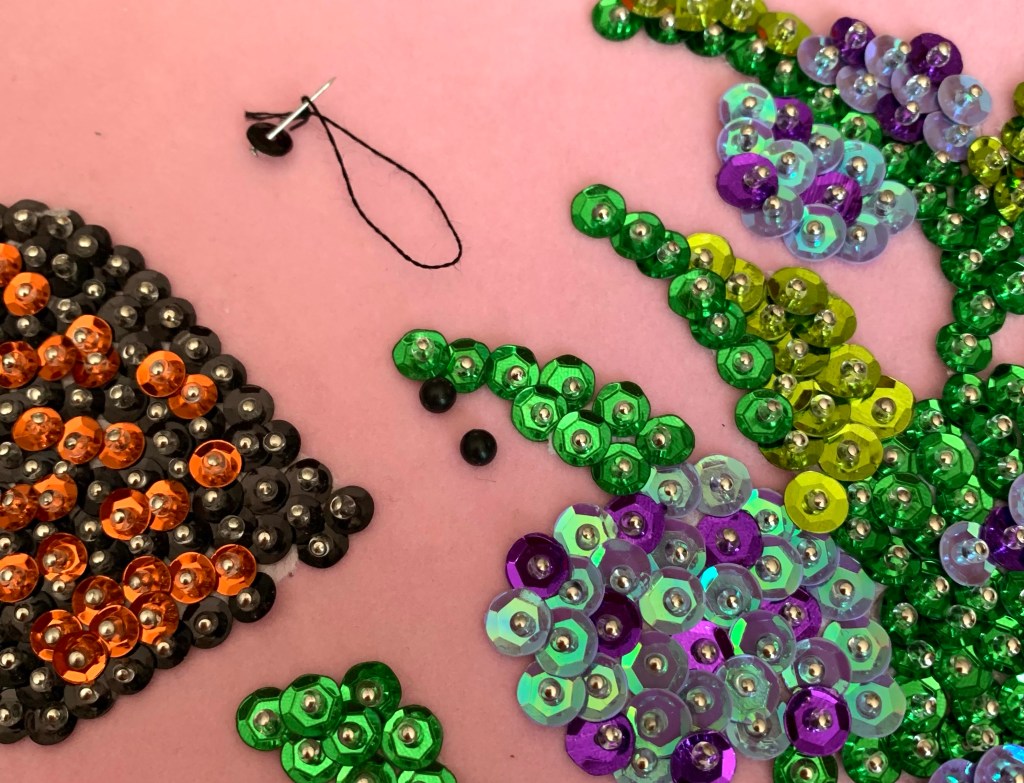
Once the painting was complete, it was time for the Diamond Dotz. I applied a coat of Aleene’s Tacky Glue to the areas I wanted to sparkle and then waited about an hour before getting to work. Turning on a Netflix documentary, I poured out my colors and got to work. There’s something calming about applying Diamond Dotz. I needed this after the frustration of my failed knitting pattern.


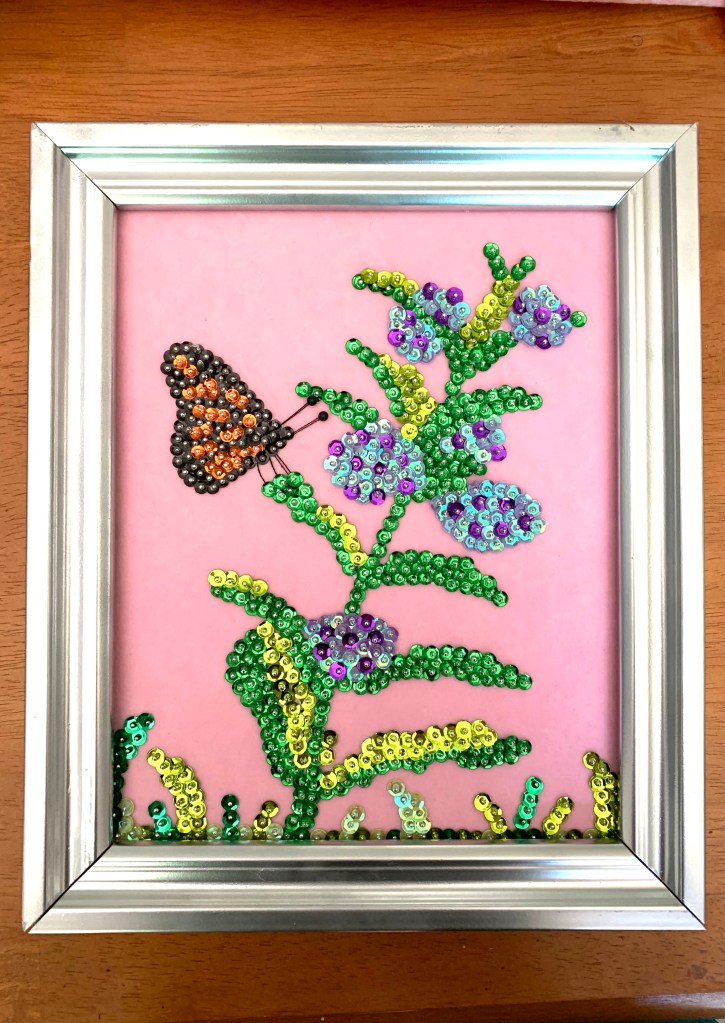
I love the way this egg sign came out. I love anything that sparkles, and when the sun hits this sign it really dazzles. If you’re looking for something to take your mind off the stresses of life, I recommend trying a simple wooden sign that can be found at almost any craft store. They’re almost always on sale, and with a little paint, you can make something you’ll treasure for years to come. Happy Easter!