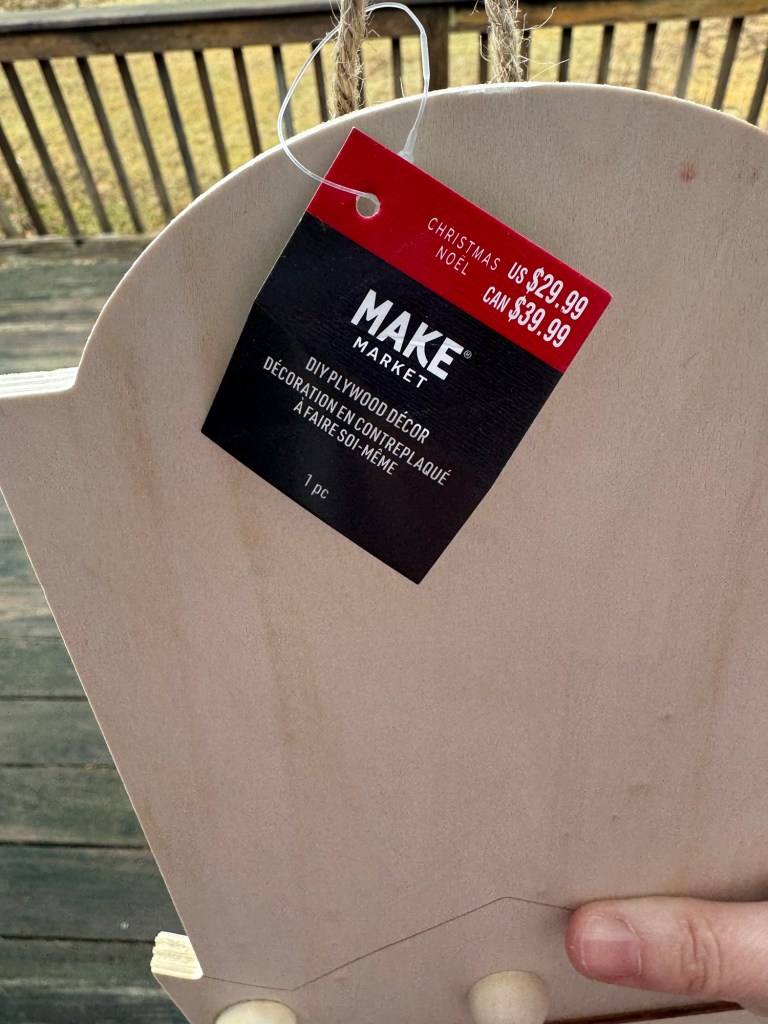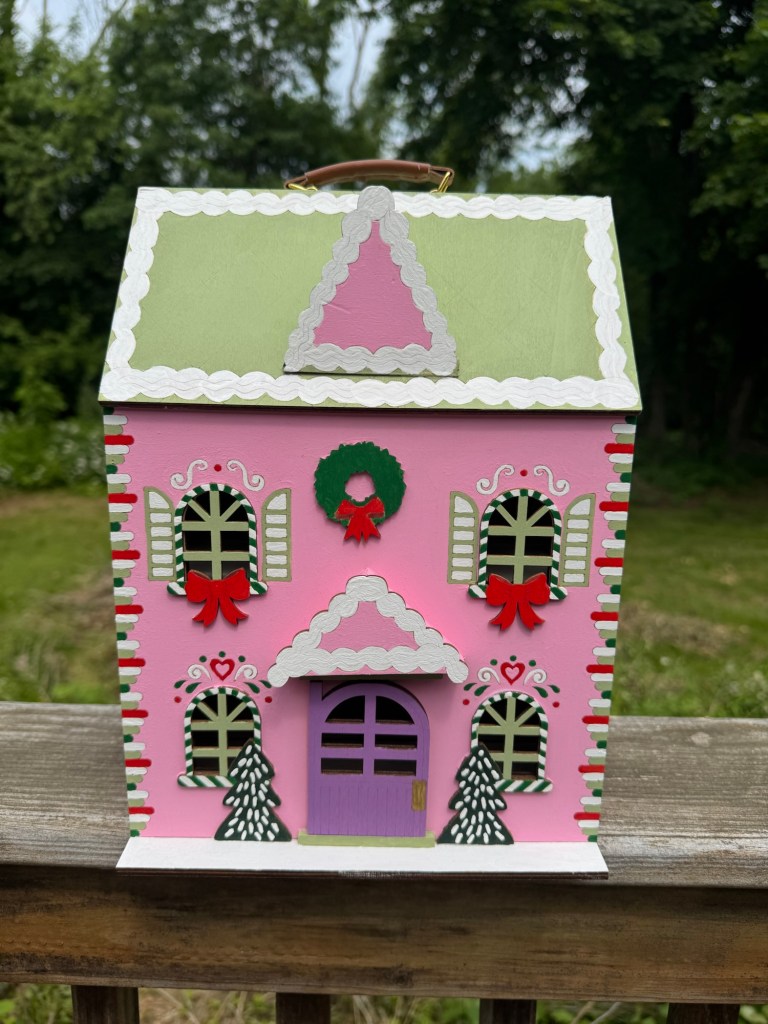
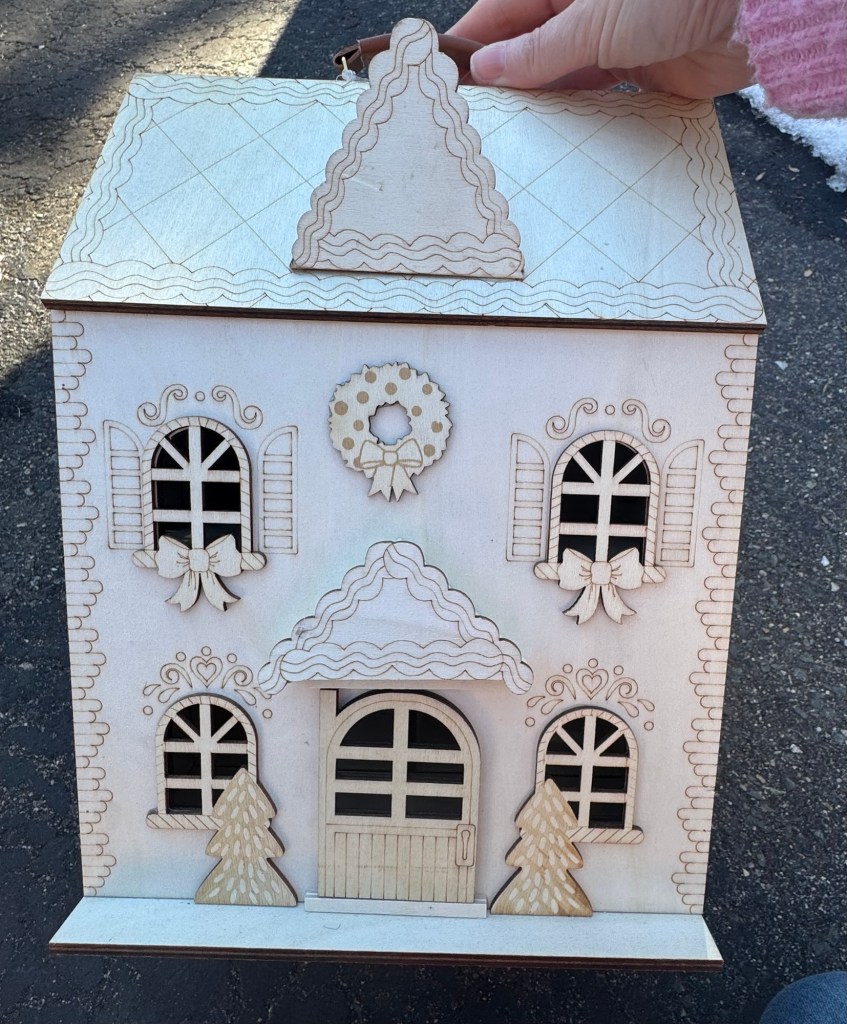
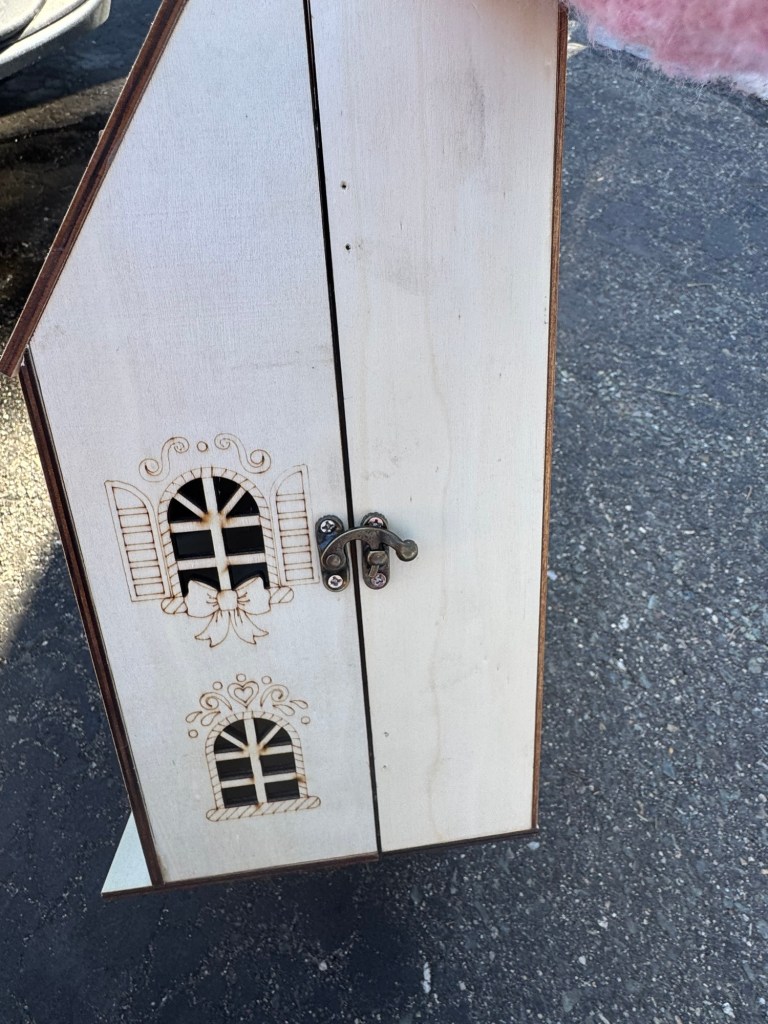
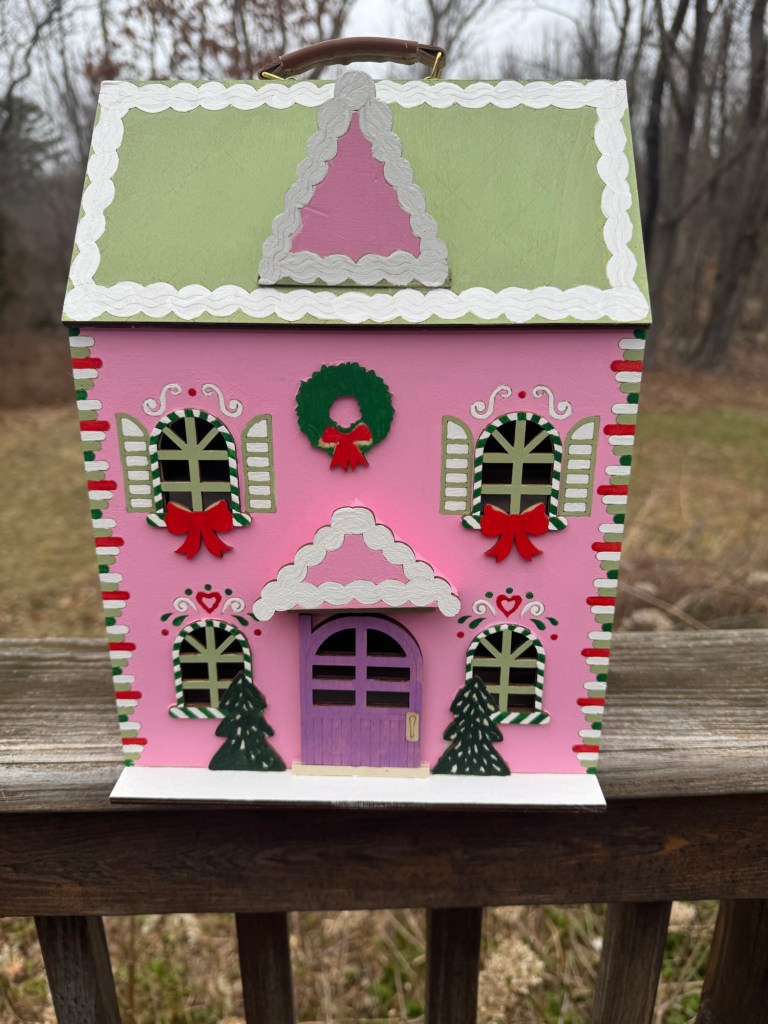
Last Christmas, I purchased a small wooden dollhouse at Michael’s. It was pricey, even at 70% off, but the more I looked at it, the more an idea came into my head. It could be the perfect Strawberry Shortcake Christmas dream house.


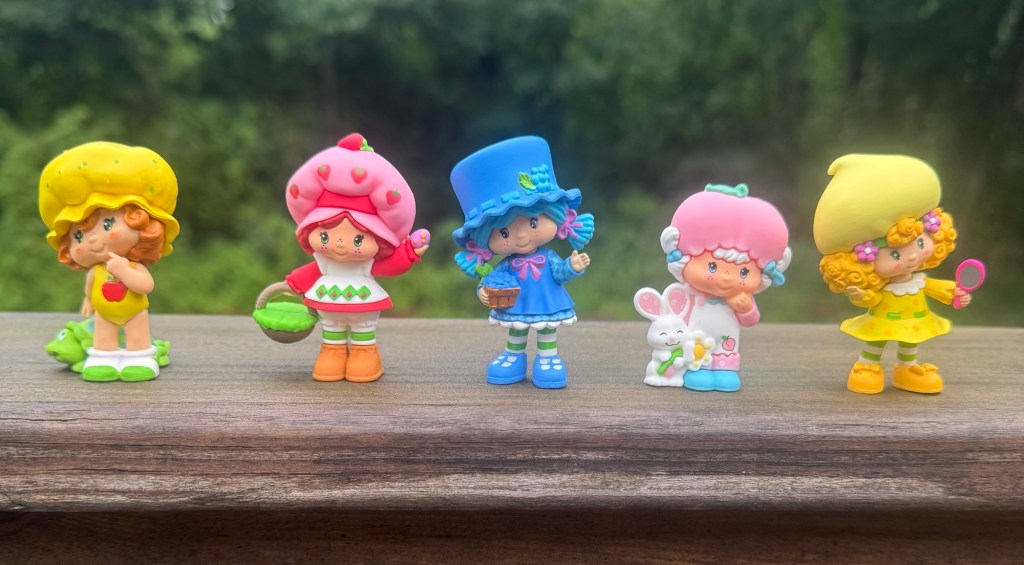
Since I was a young girl, I have loved Strawberry Shortcake. I wore Strawberry Shortcake clothes- I even rode around in Strawberry Shortcake roller skates. So when Five Below started to sell Strawberry Shortcake figurines, I started to collect them. But the problem was what to do with all these figurines. I’m hoping this dollhouse is the perfect home for them.
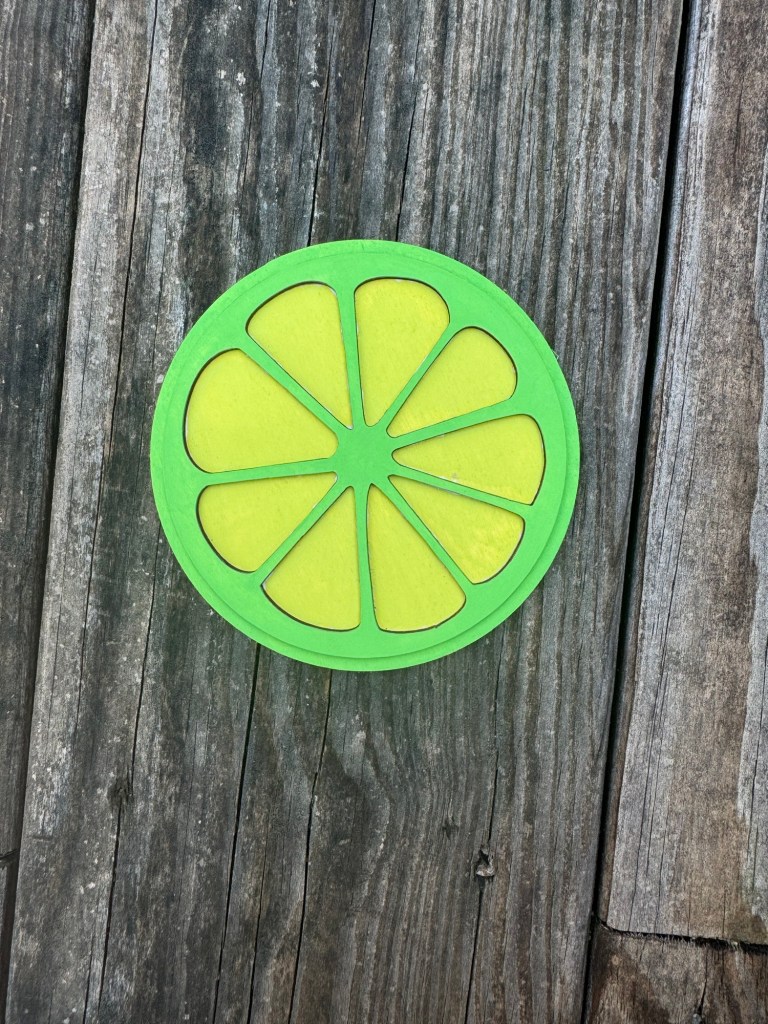
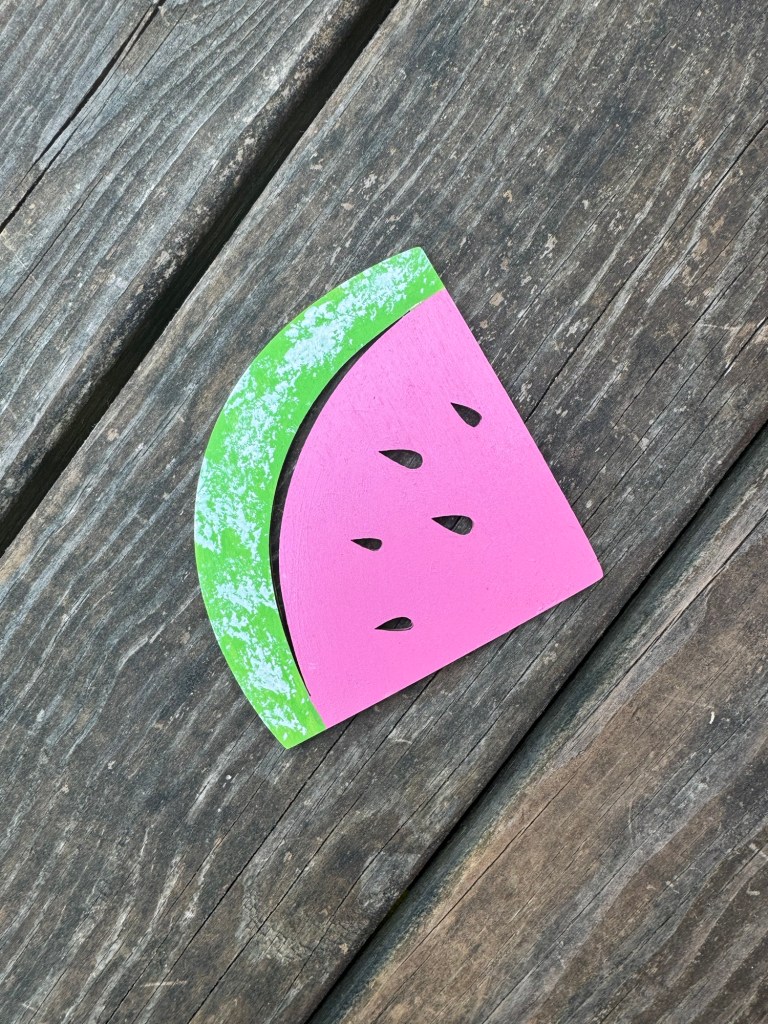
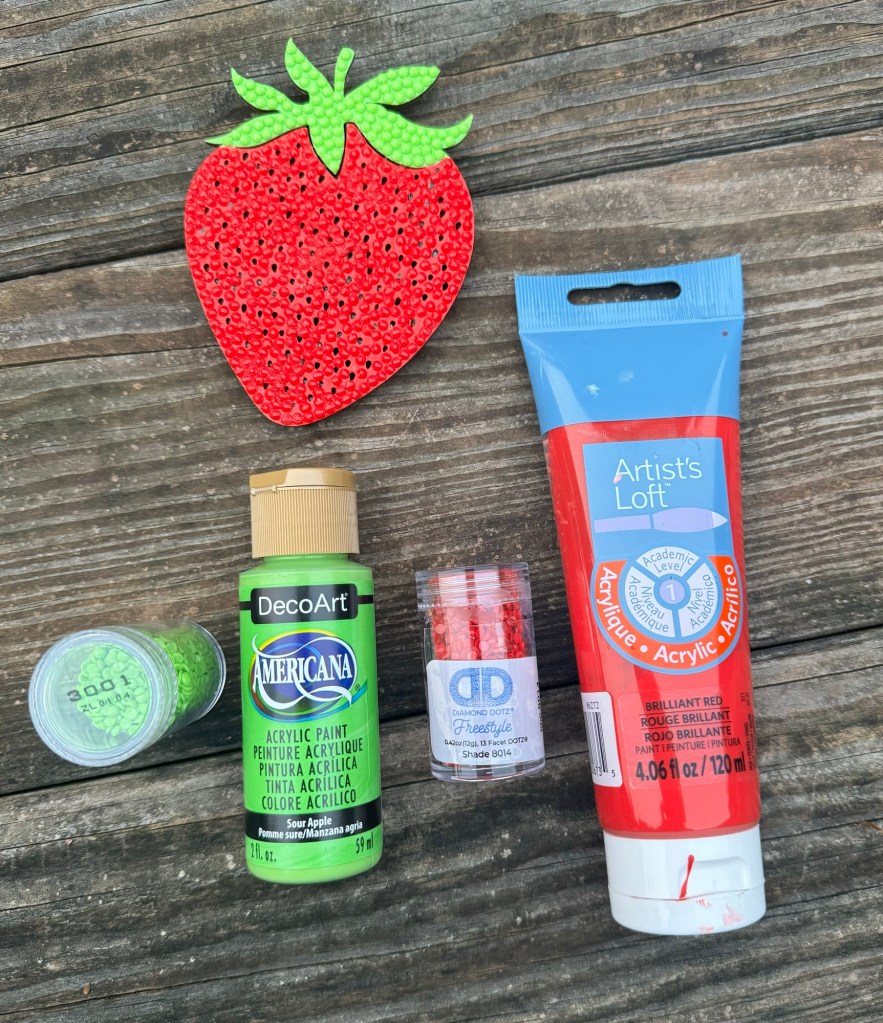
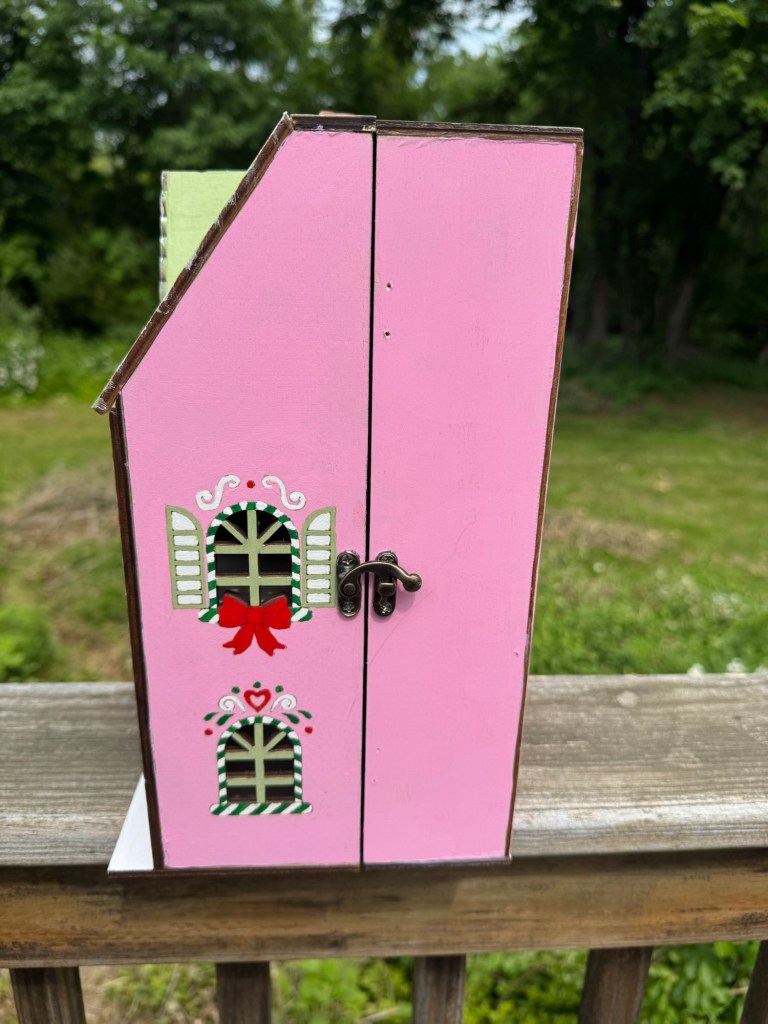
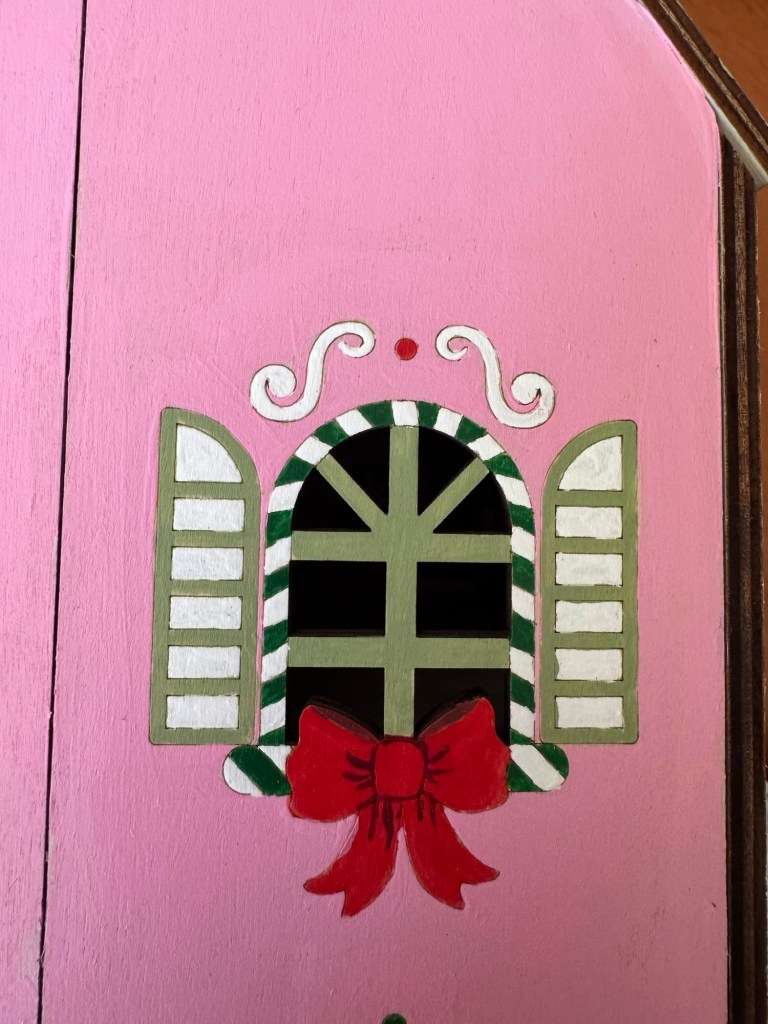
I’m tackling the exterior first. The dollhouse is part Strawberry Shortcake-themed and part Christmas-themed, so I had to get the the colors right. I decided to paint the exterior pink with a sage roof. The accents on the house are going to be traditional red and green.
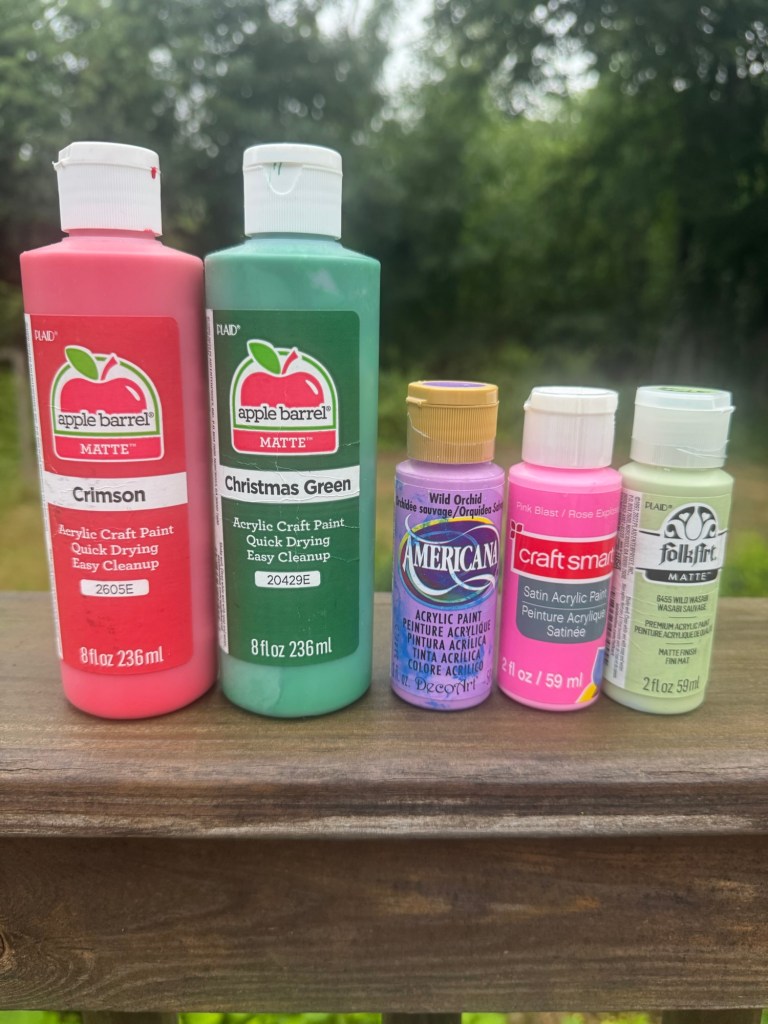

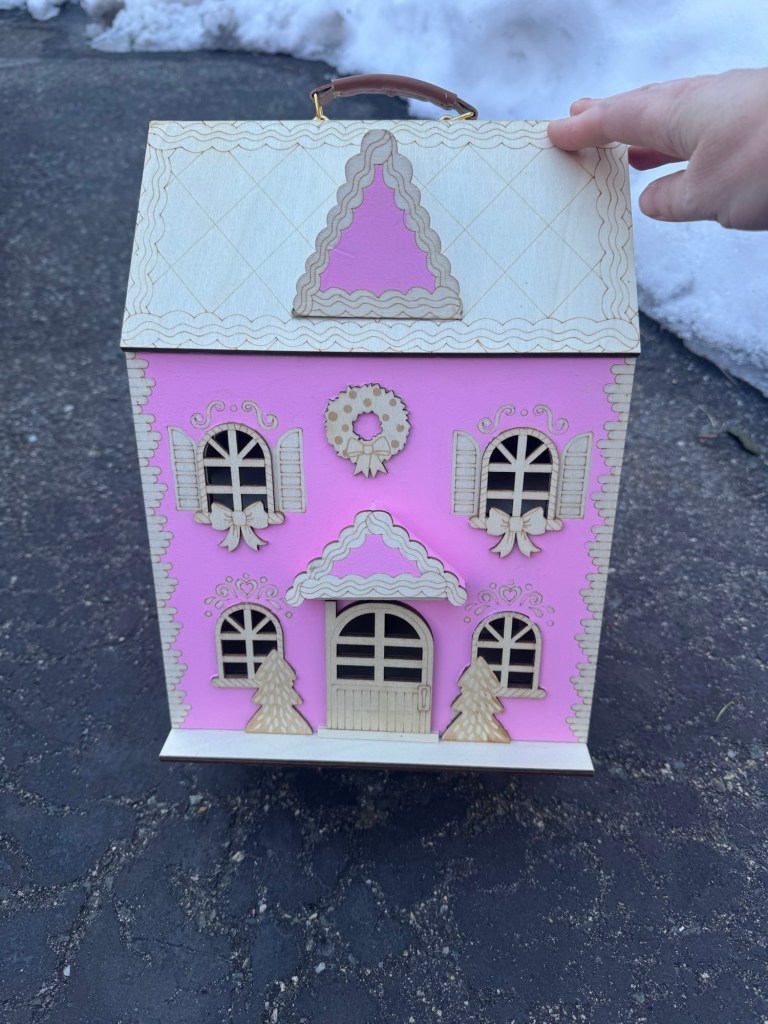
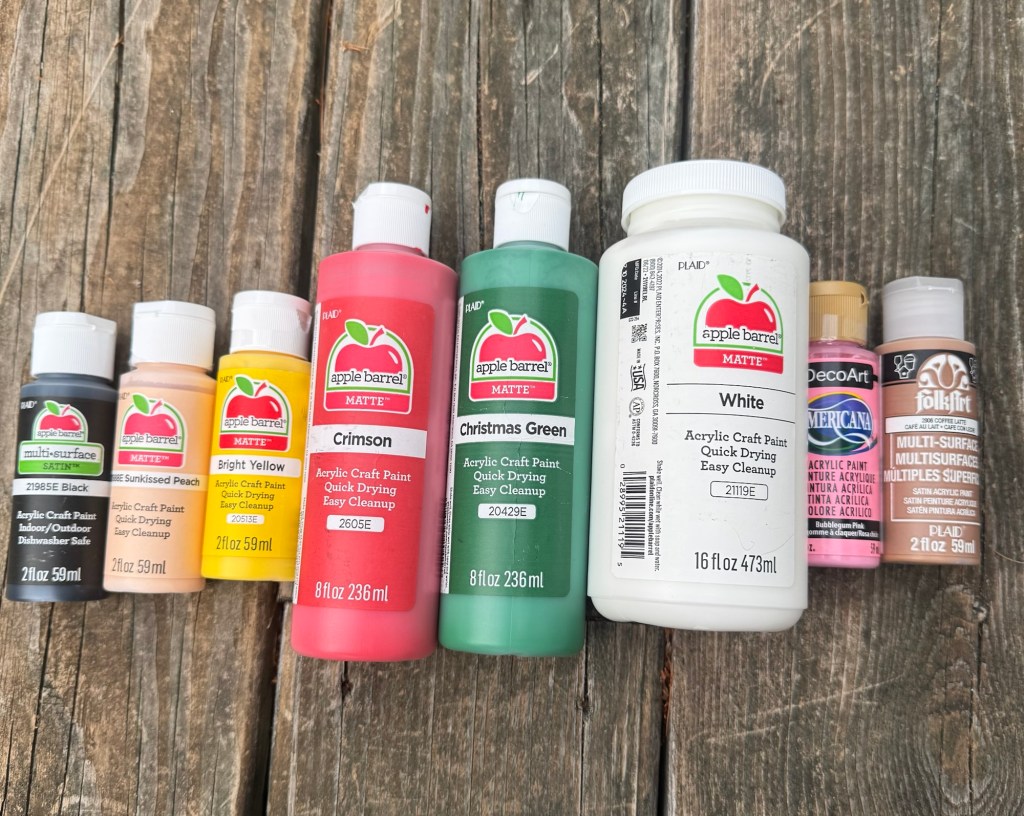
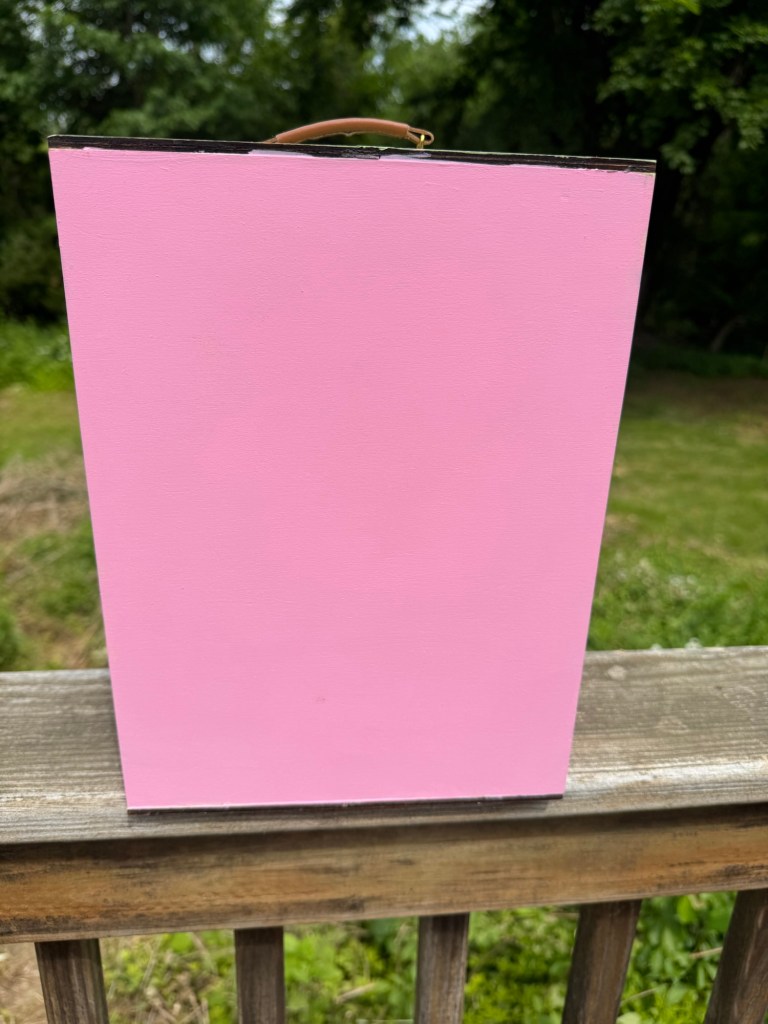
For the pink, I used Craft Smart Pink Blast and for the sage I used FolkArt Wild Wasabi. I painted the door with Americana Wild Orchid. The house took several coats of paint because the wood was so absorbant. I sealed the paint with varnish using a sponge brush.
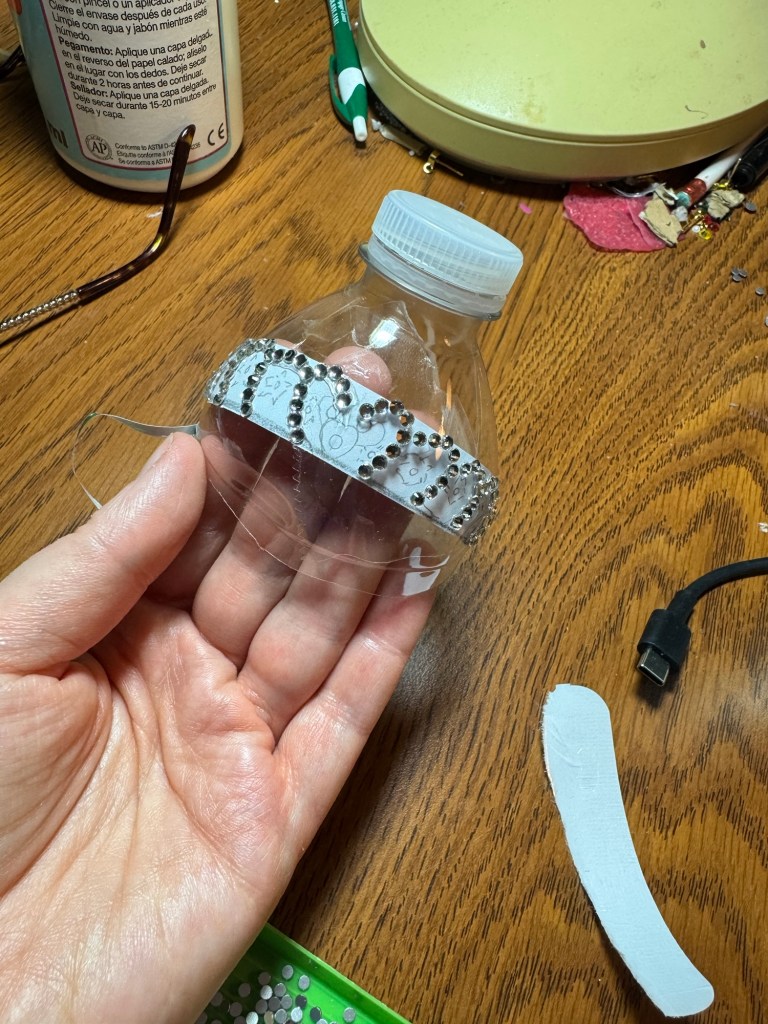
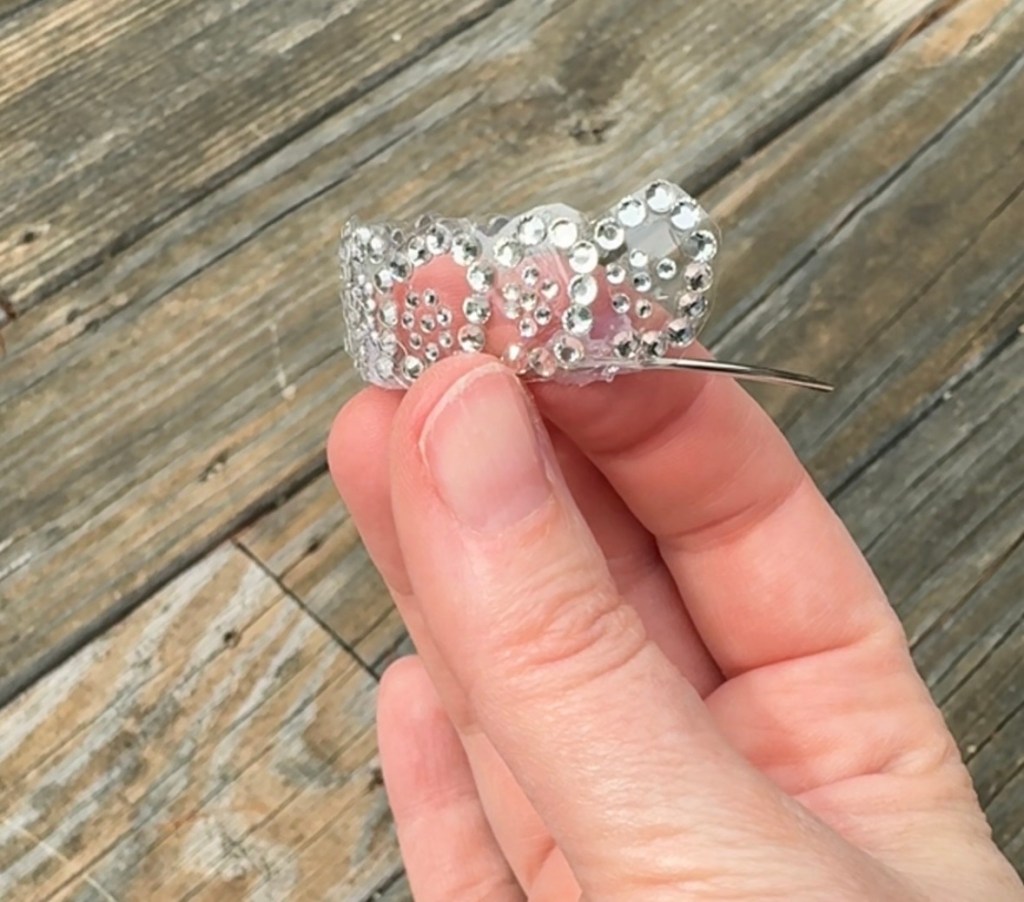
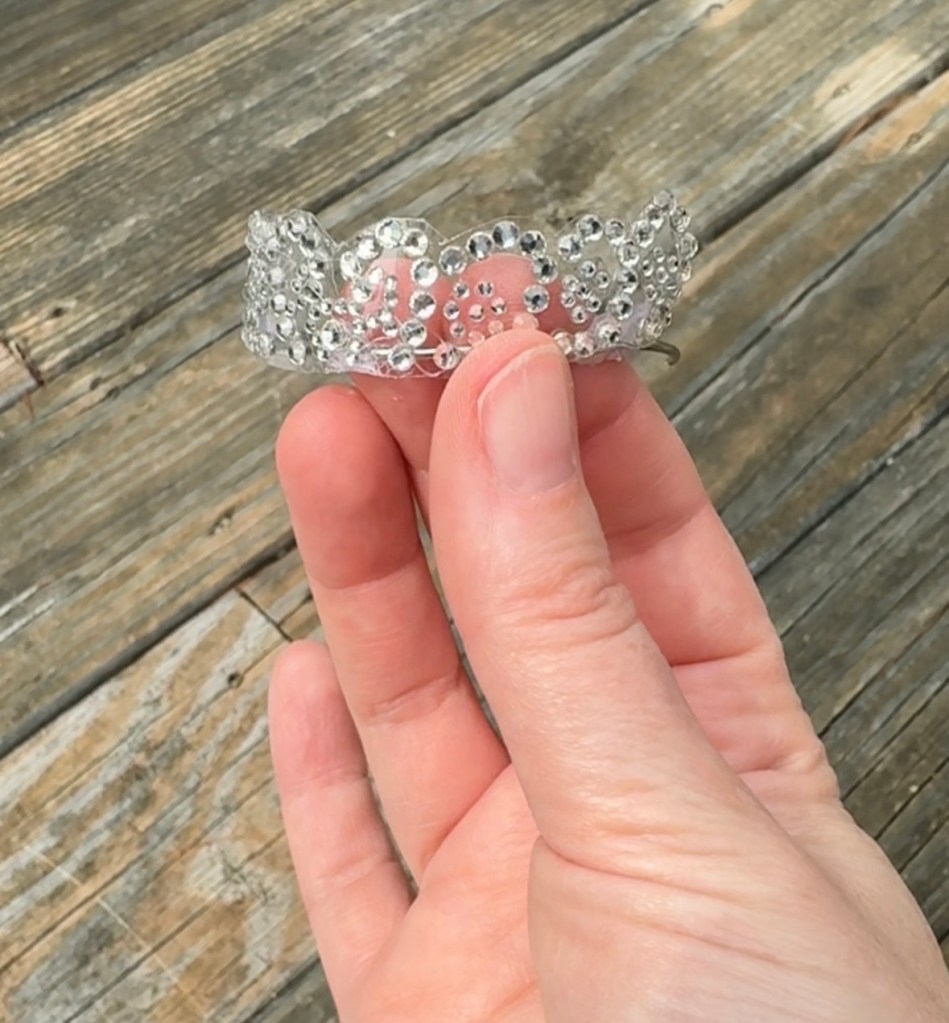
Stay tuned as I continue to decorate the exterior. Hint: there will be lots of sparkle. I’m having so much fun seeing this dollhouse come to life. It’s really starting to look like a Strawberry Shortcake Christmas home. Keep crafting!