Every January I feel a sense of sadness come over me as all the Christmas decorations get put away and we prepare for the cold months ahead. To help quell this feeling, I like to have some decorations to make the house feel warm again. Last year I made a lighted Winter Box for my hearth that gave my living room some much needed light and warmth. This year, I got an idea for something to sparkle-up my front door.
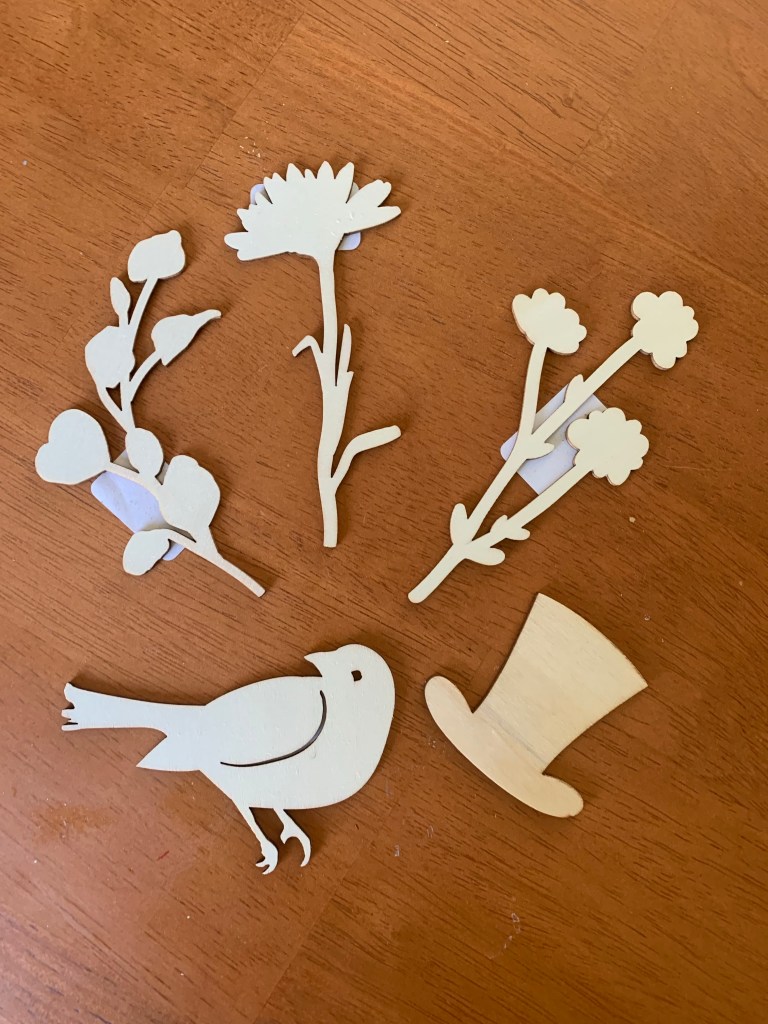
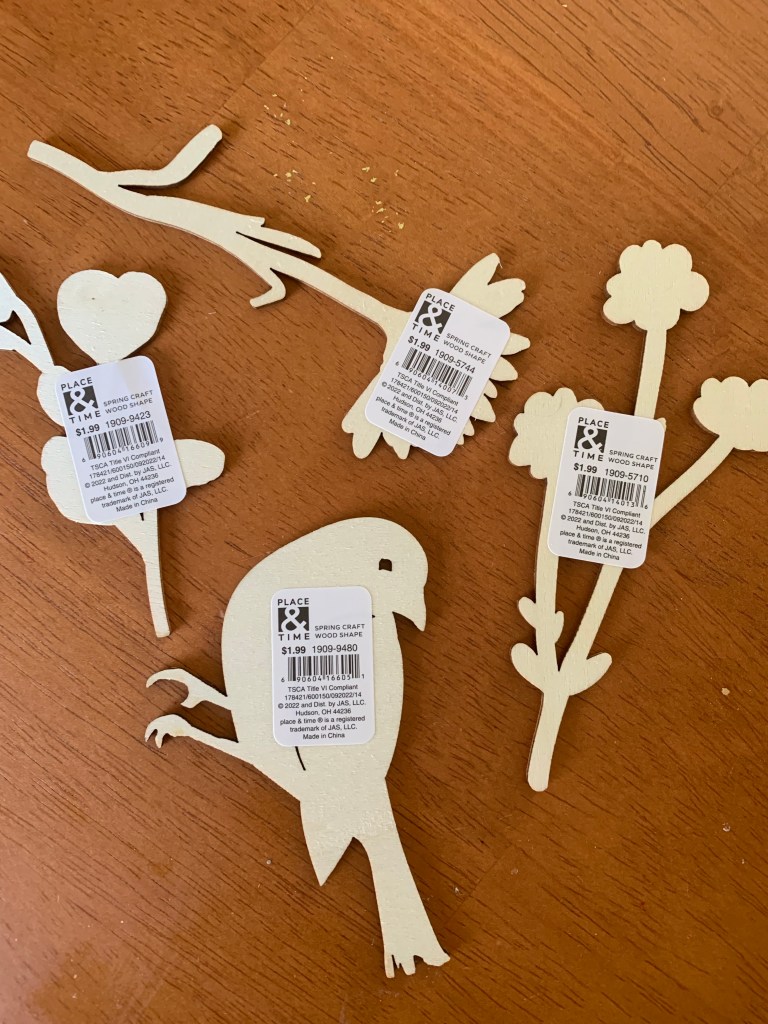
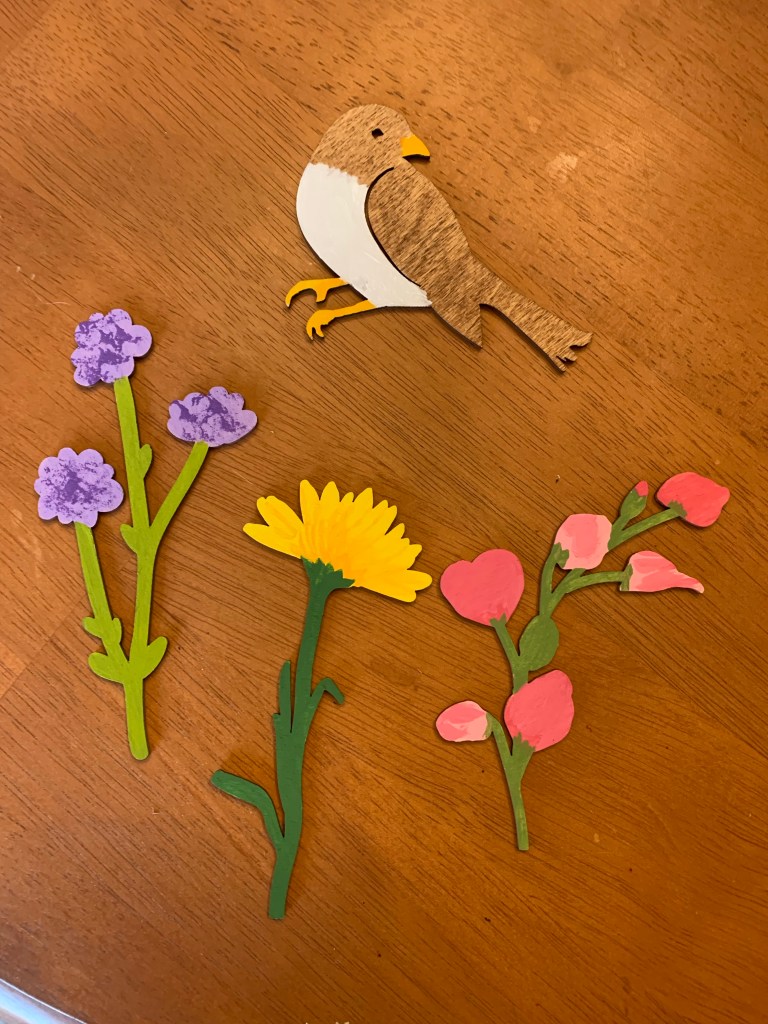
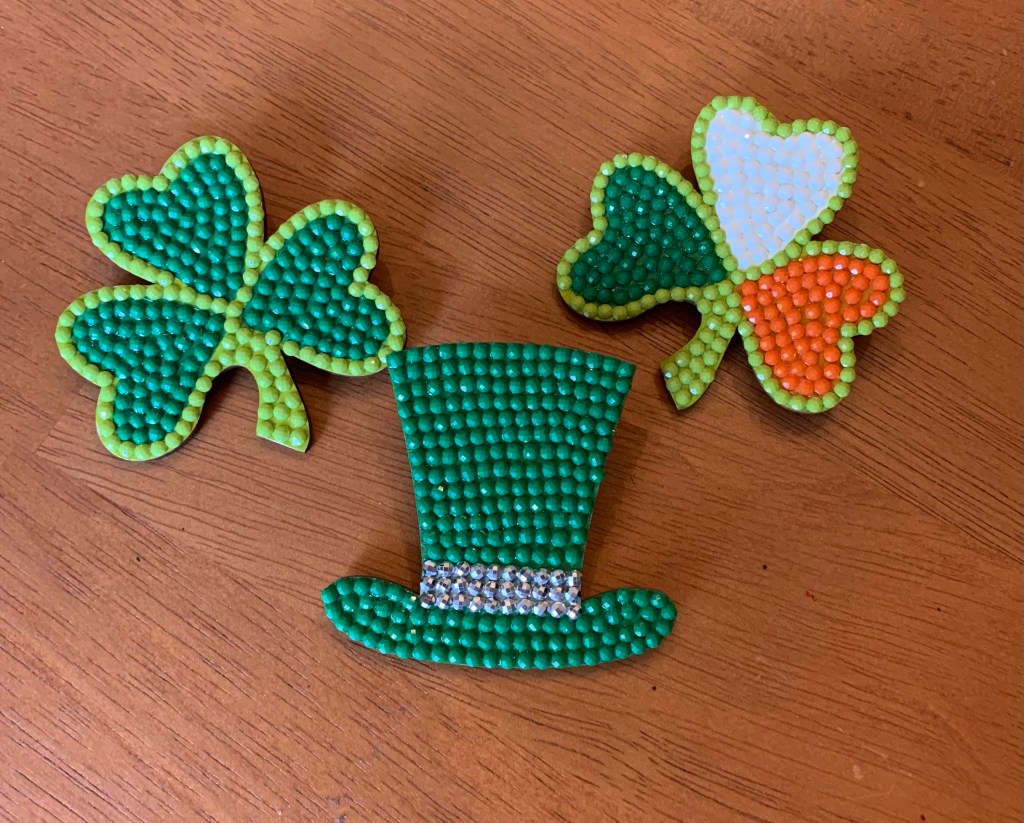
If you love to paint, I highly suggest you get to the craft store and check out the wood section. Years ago, I painted a plaster Christmas village from California Creations. But plaster items are hard to find these days, so instead I got into painting laser wooden pieces and embellishing them with rhinestones, freestyle Diamond Dotz and pearls.
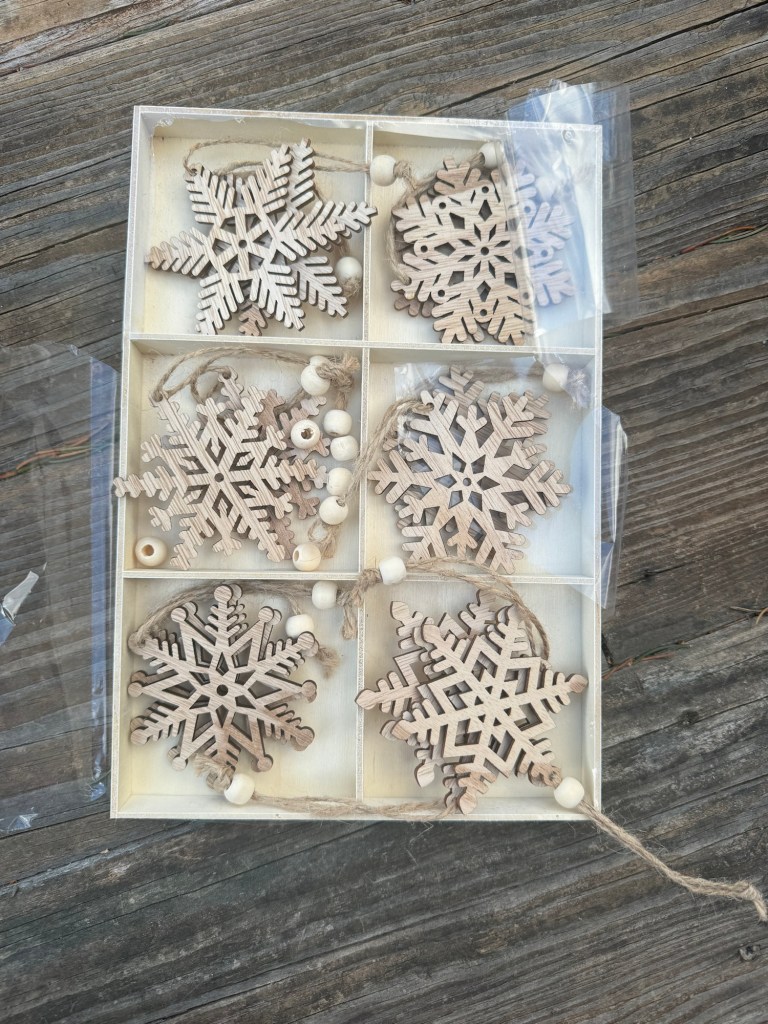
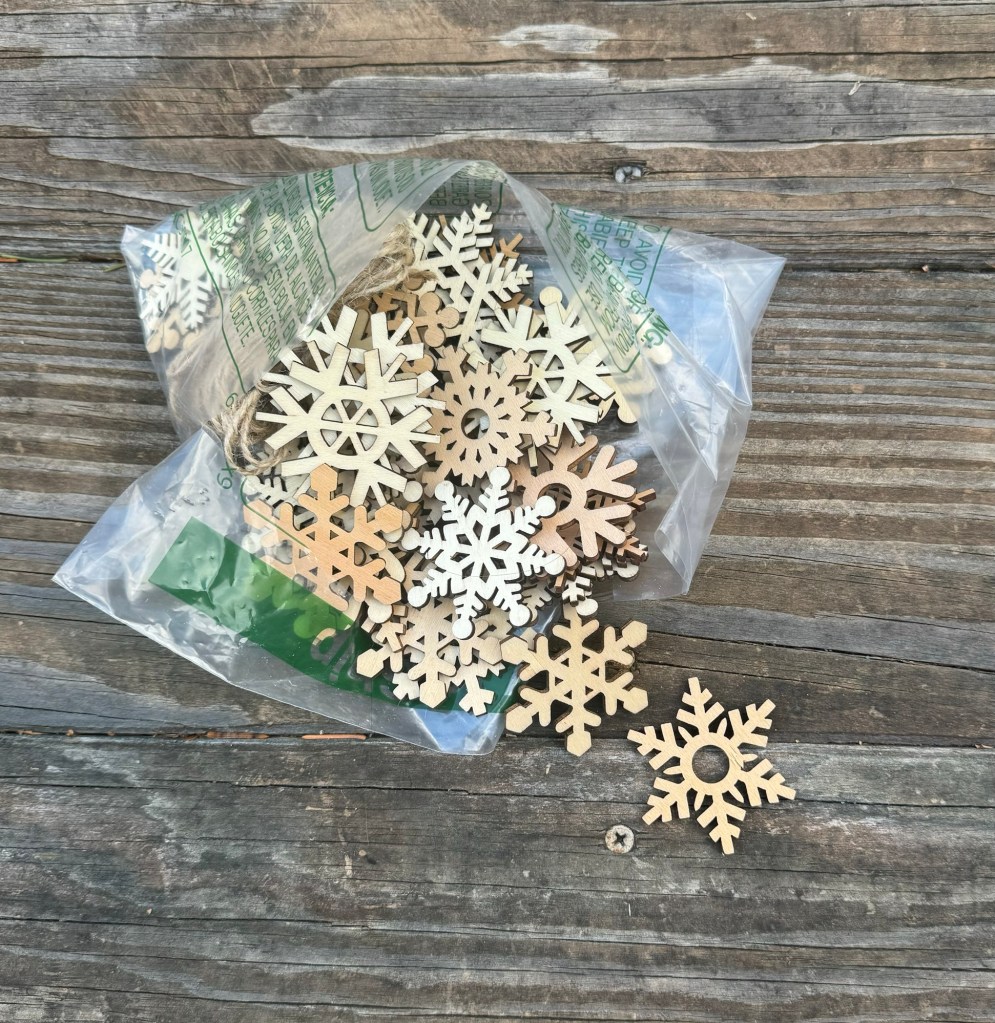
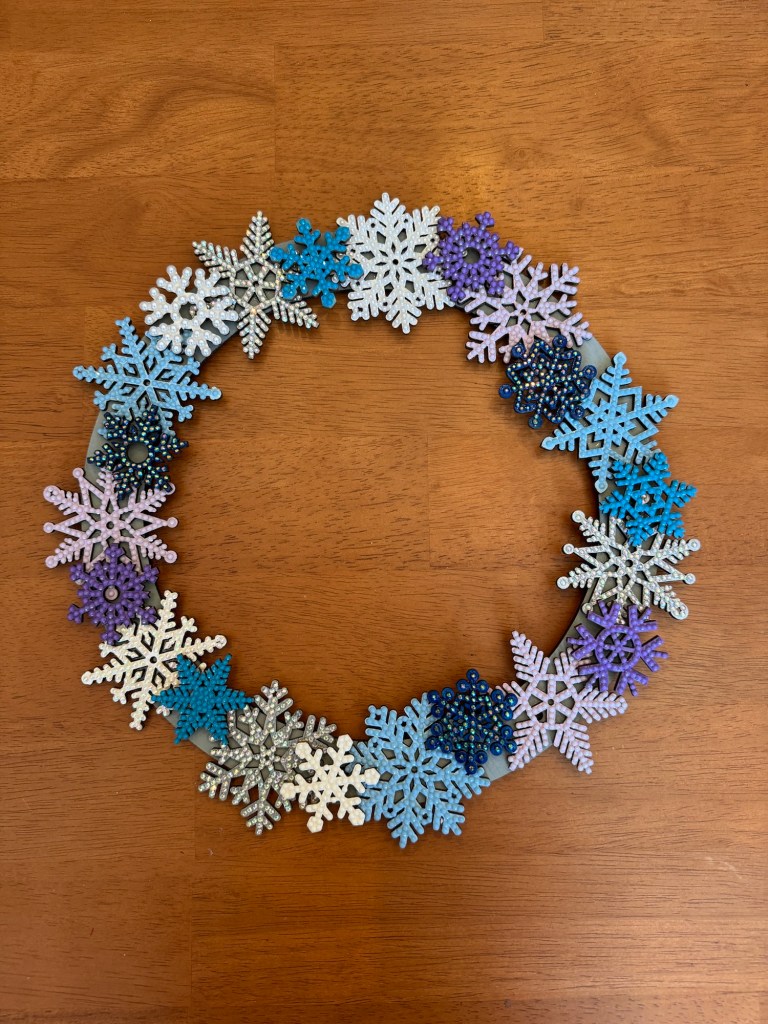
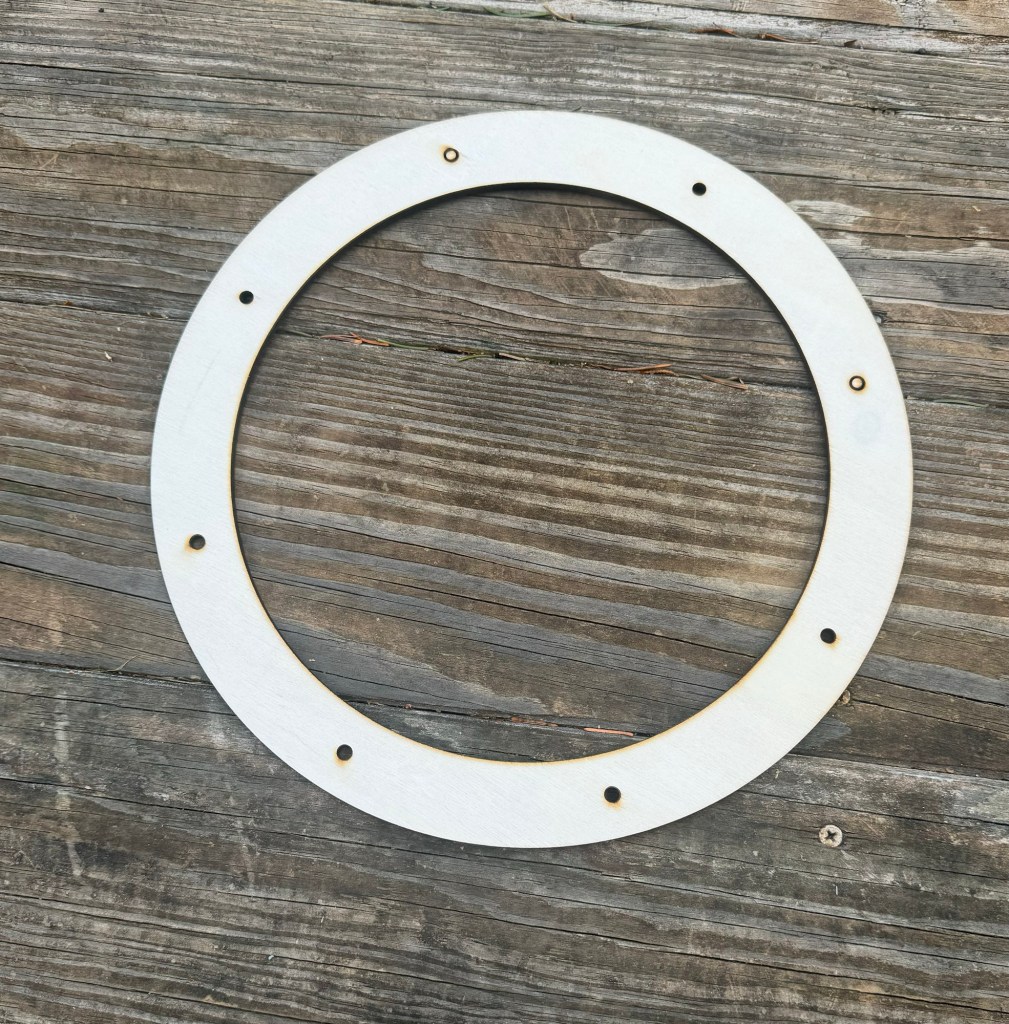
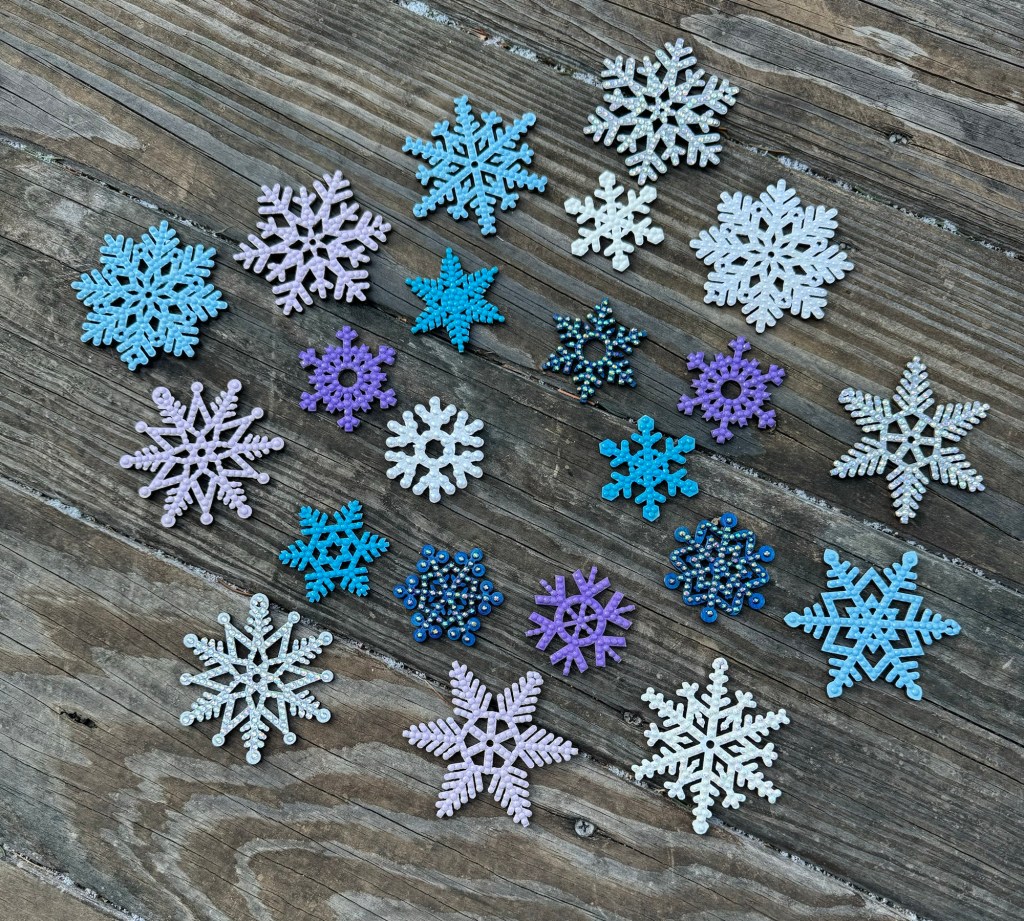
The great thing about these pieces is that you can find just about any shape you can imagine in a multitude of sizes. The best part – they’re inexpensive and you can get them at craft stores or online. I found a package of 11-inch wooden wreath forms online. Next I bought an assortment of 3-inch wooden snowflakes, along with a bundle of 1-inch snowflakes to help fill in the gaps. Then it was time to start painting.
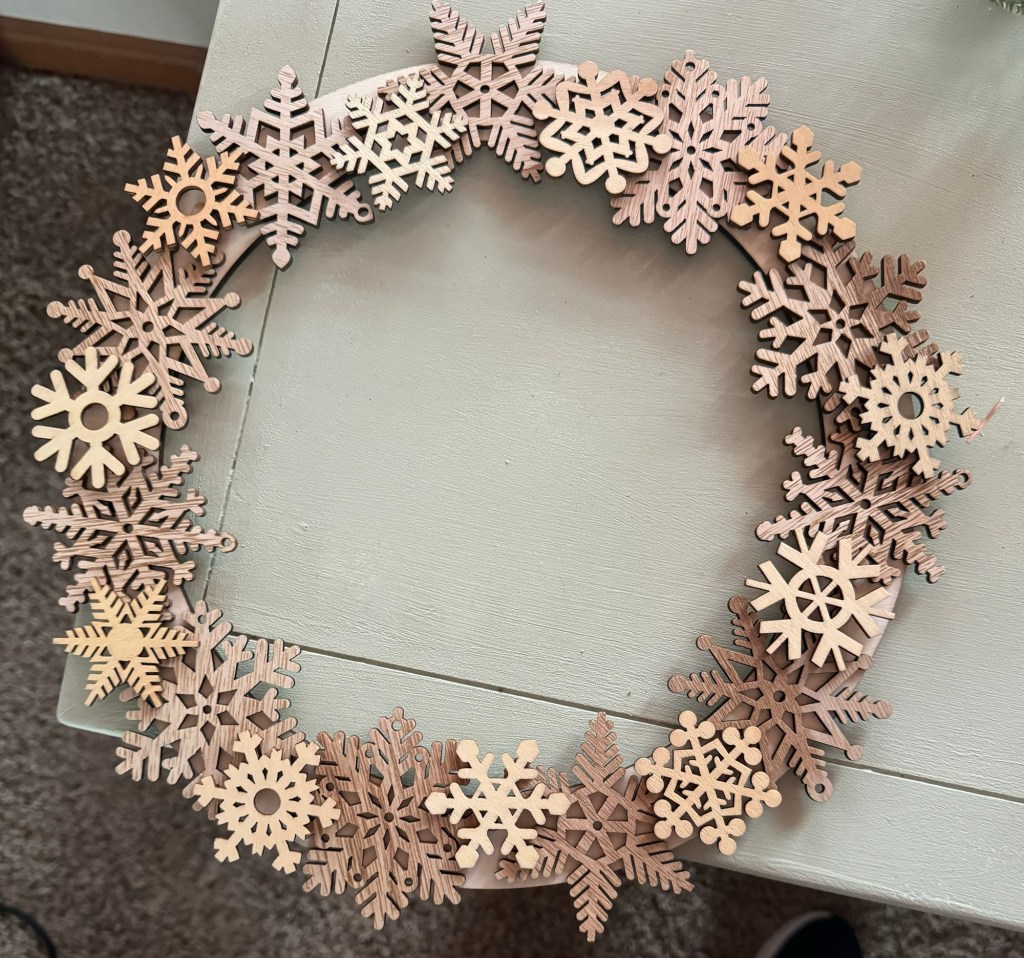
Before I started painting, I arranged the snowflakes around the wreath form until I was pleased with the way it looked. For the paint, I used blues, white and purples to give it an icy feel. I painted a few of the smaller snowflakes in darker shades to add some contrast.
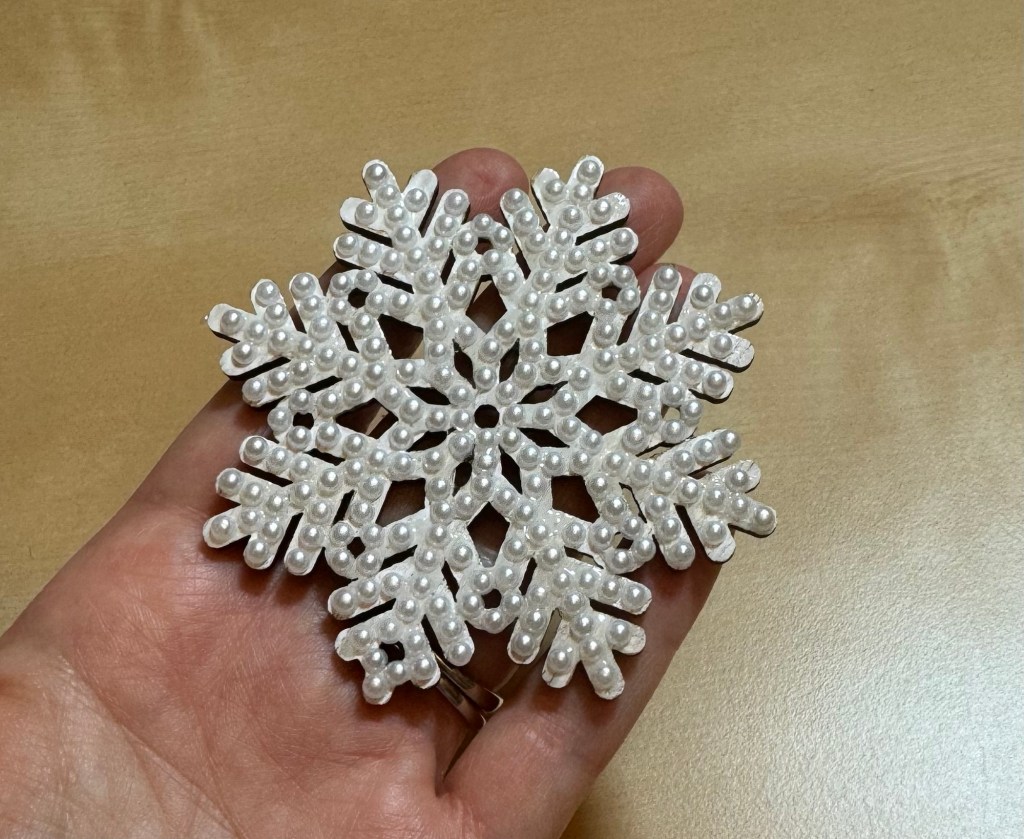
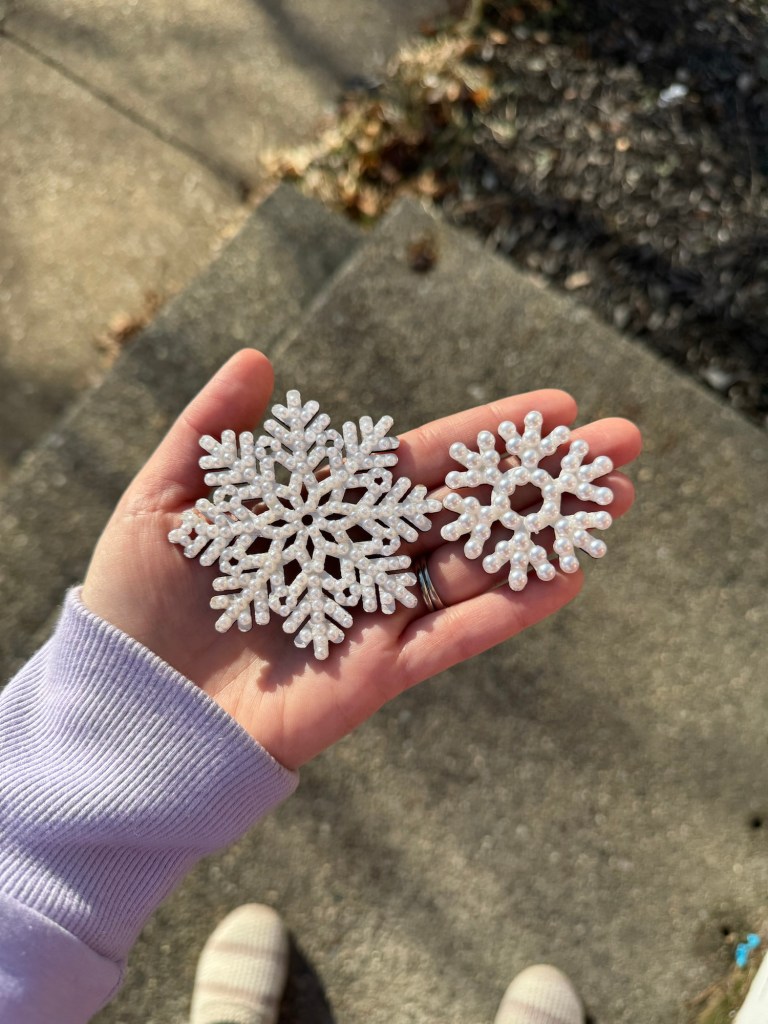
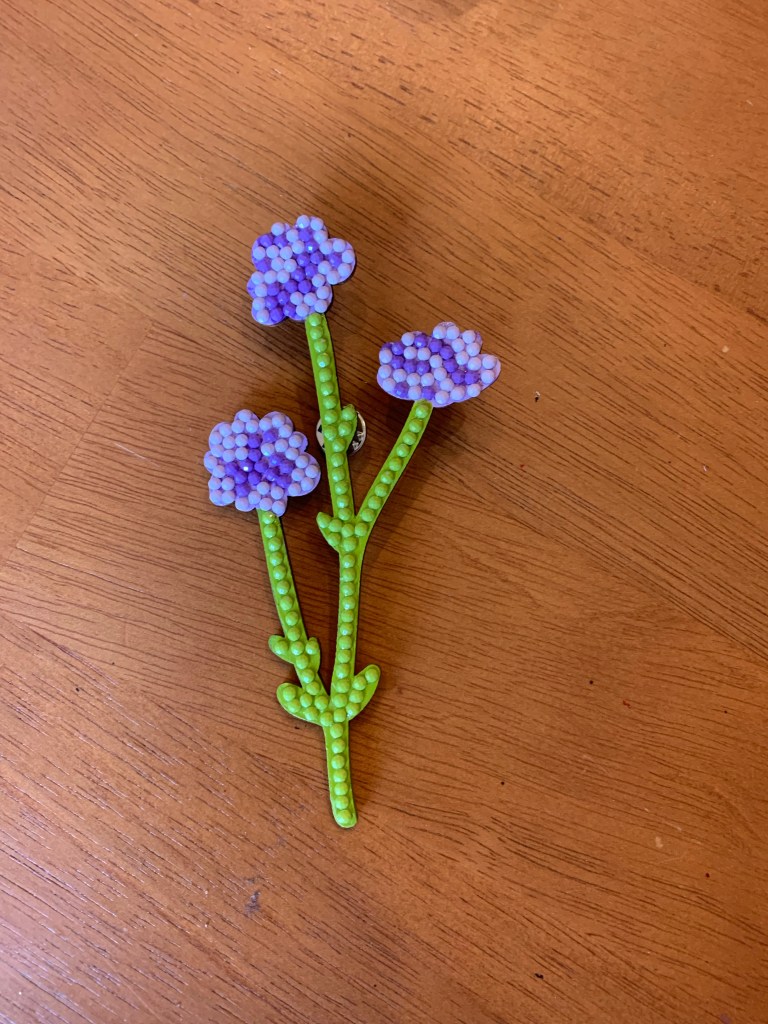
To give the piece a different texture, I used flat-backed pearl beads on a few of the snowflakes. The pearls are iridescent and come in a bunch of different sizes, making them perfect for this project. The pearls make the snowflakes look like jewelry. I applied them using my Diamond Dotz pen, but you can also you a tweezer.
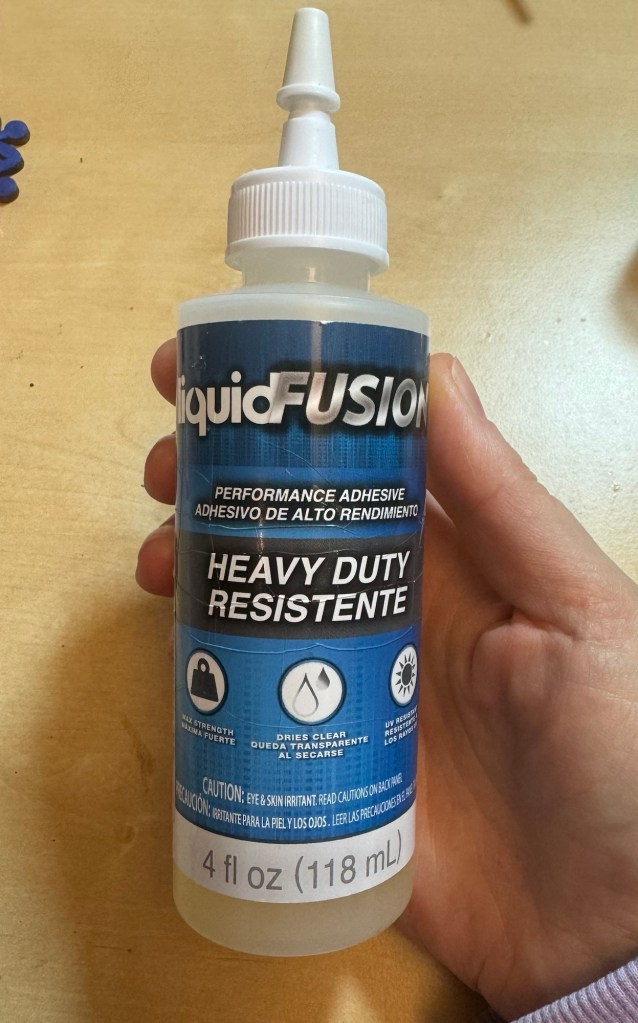
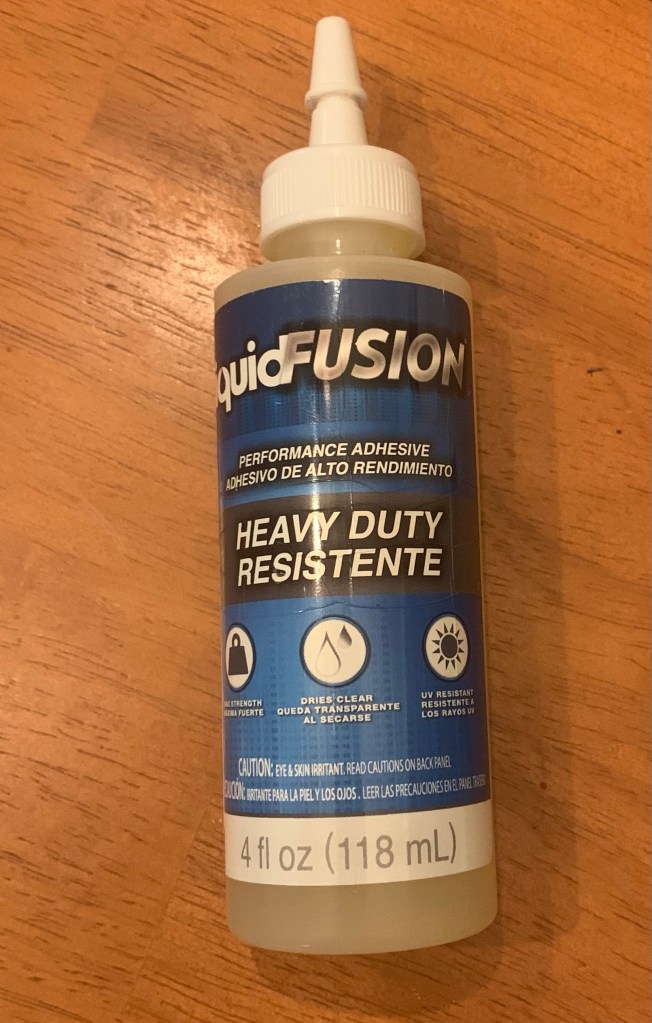
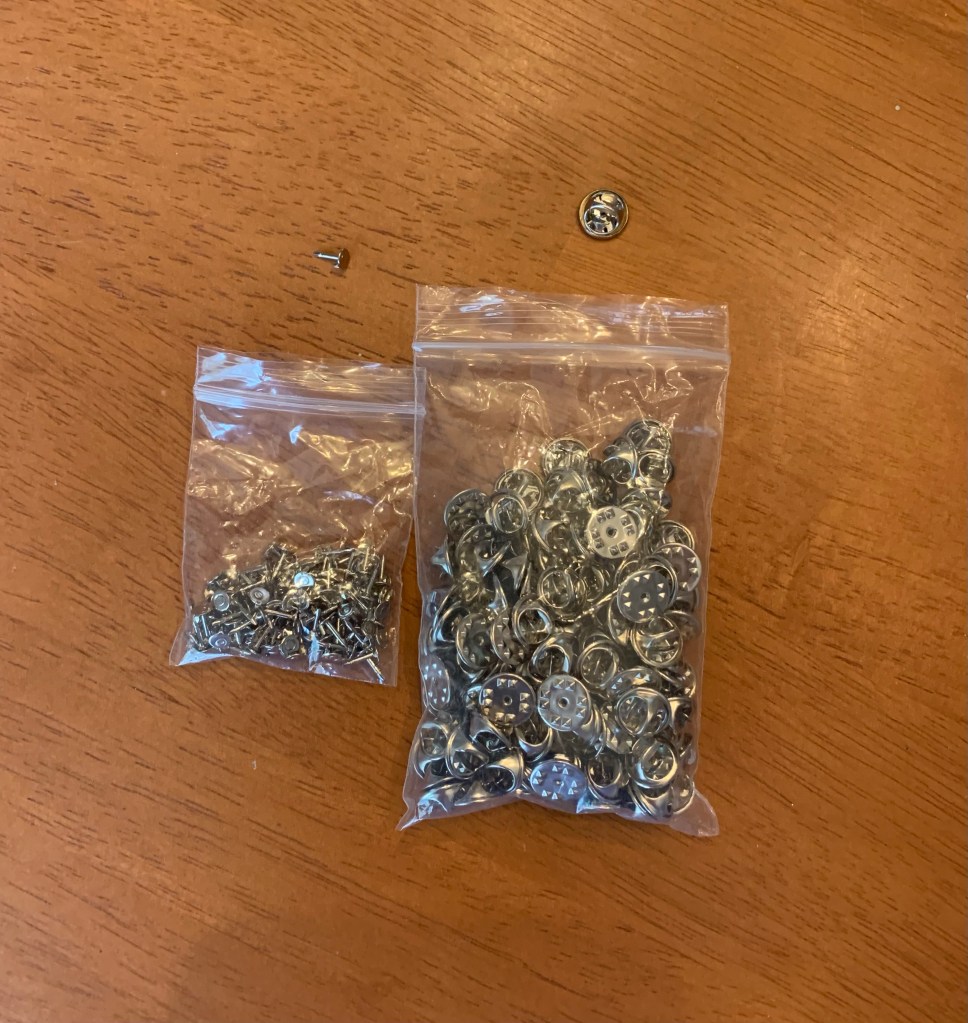
The glue I used to adhere the snowflakes and the gems was LiquidFusion Adhesive. This is by far my favorite glue to keep gems and pearls in place.
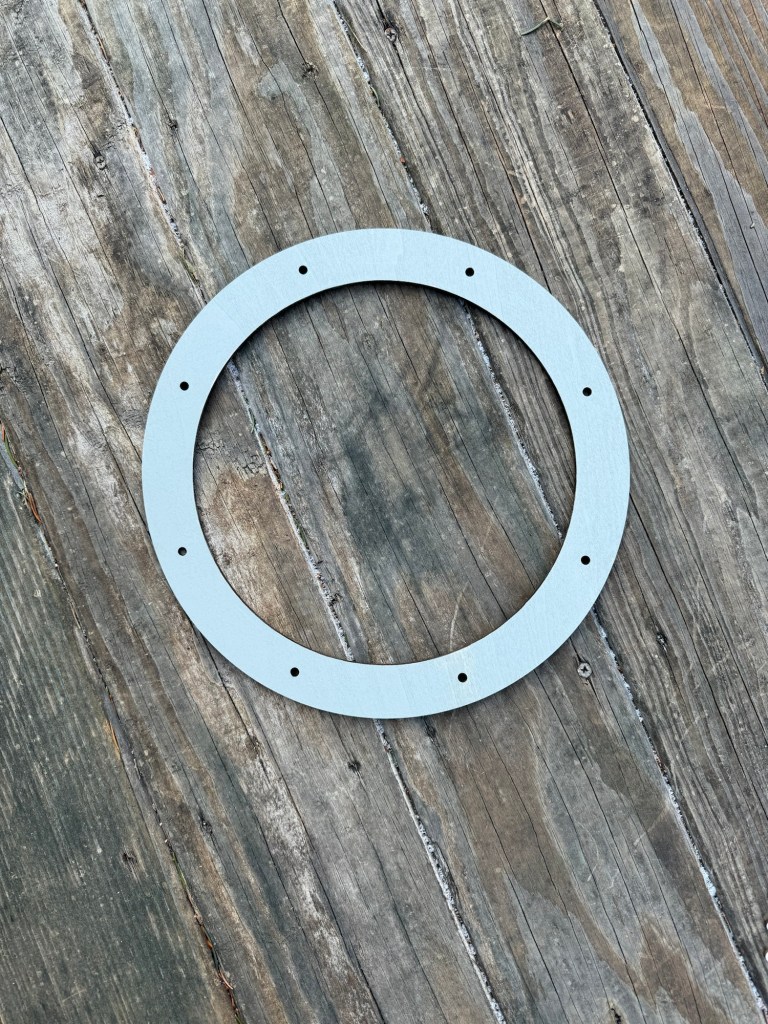
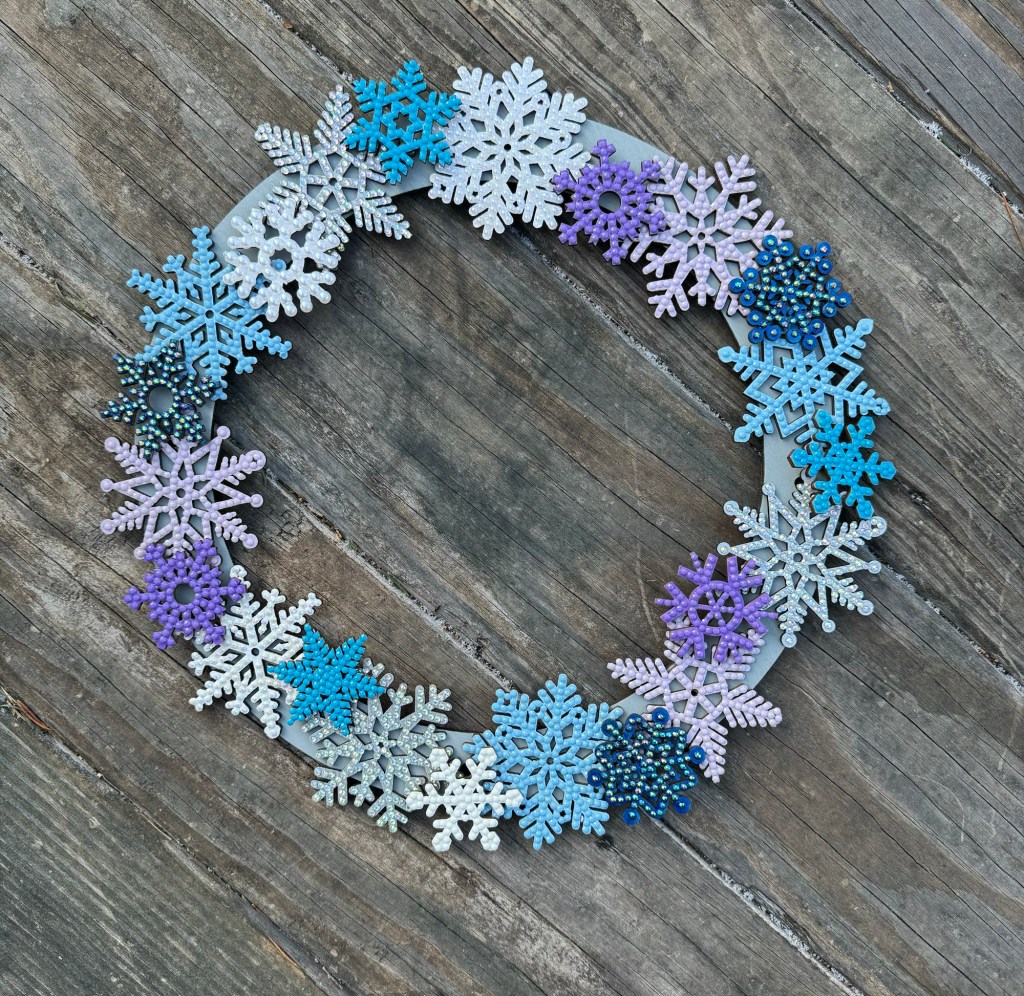
I painted the wreath ring a dove gray, then I assembled the snowflakes around it, moving them around until they were spaced just right.
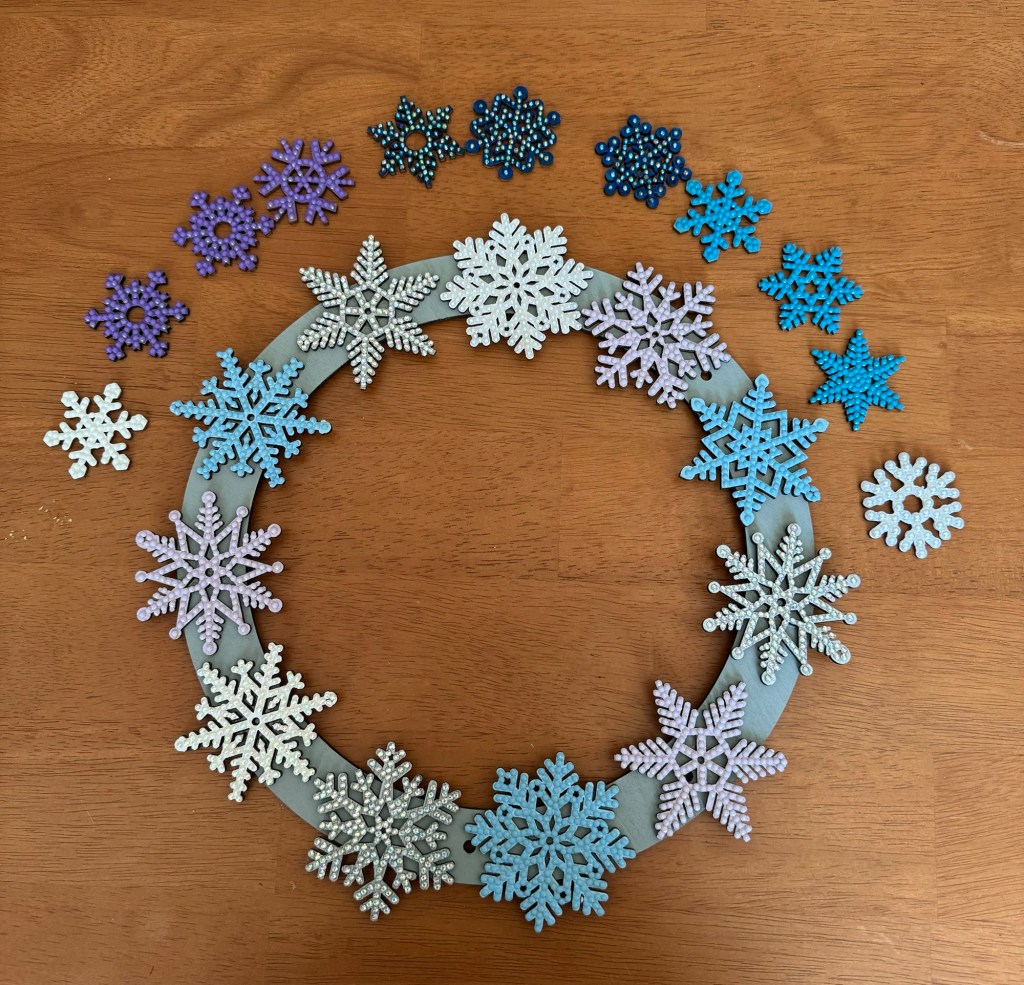
I attached the large snowflakes first. Then I arranged the smaller ones. To finish, I attached some cord to the back for hanging.

Hope you are inspired to think about gems and pearls other than just for diamond painting. There are so many uses, and you can customize any piece to the colors and shapes you want. Happy crafting!