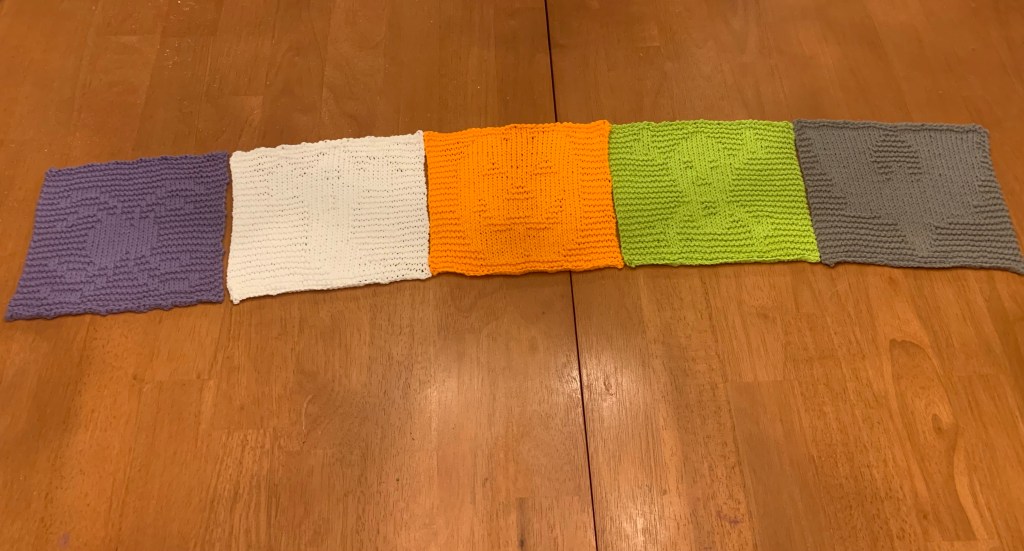
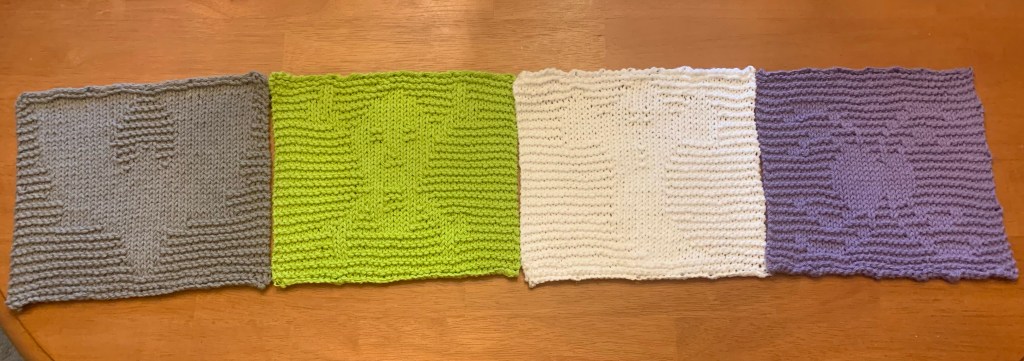
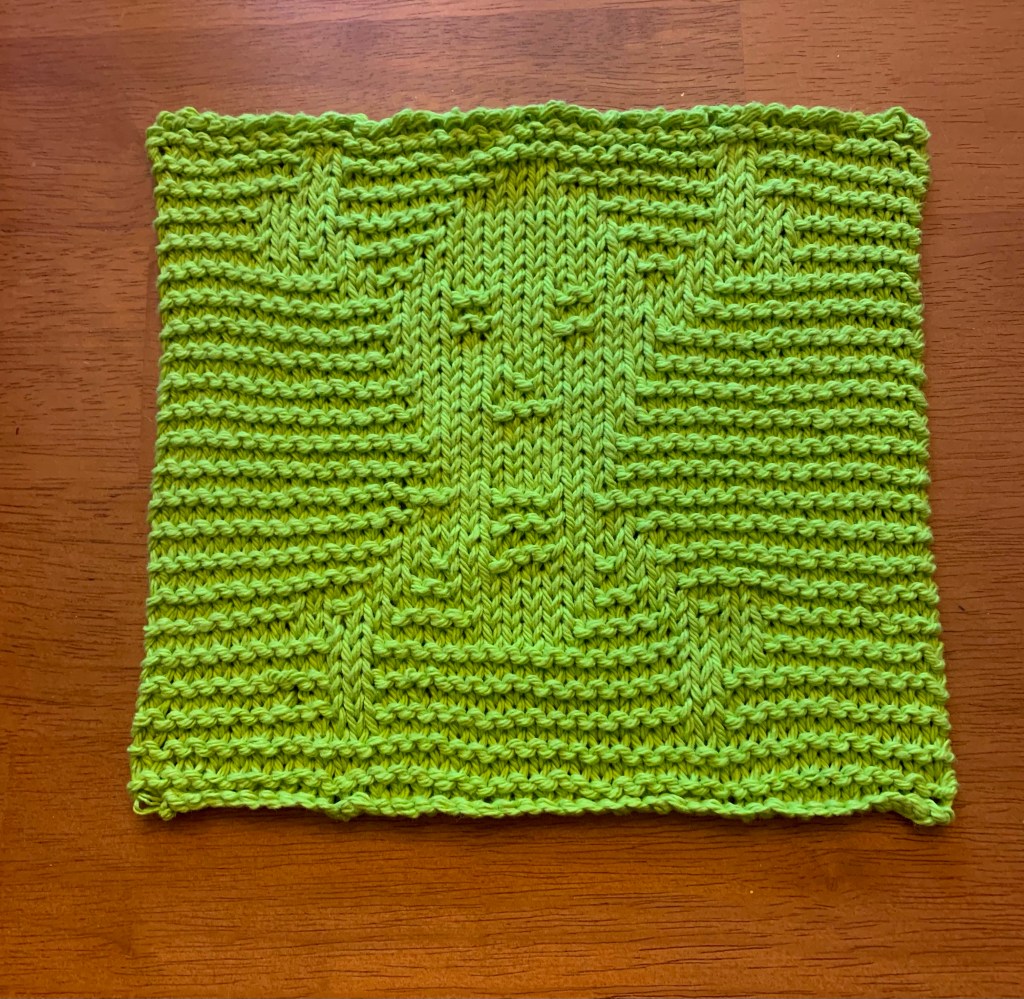
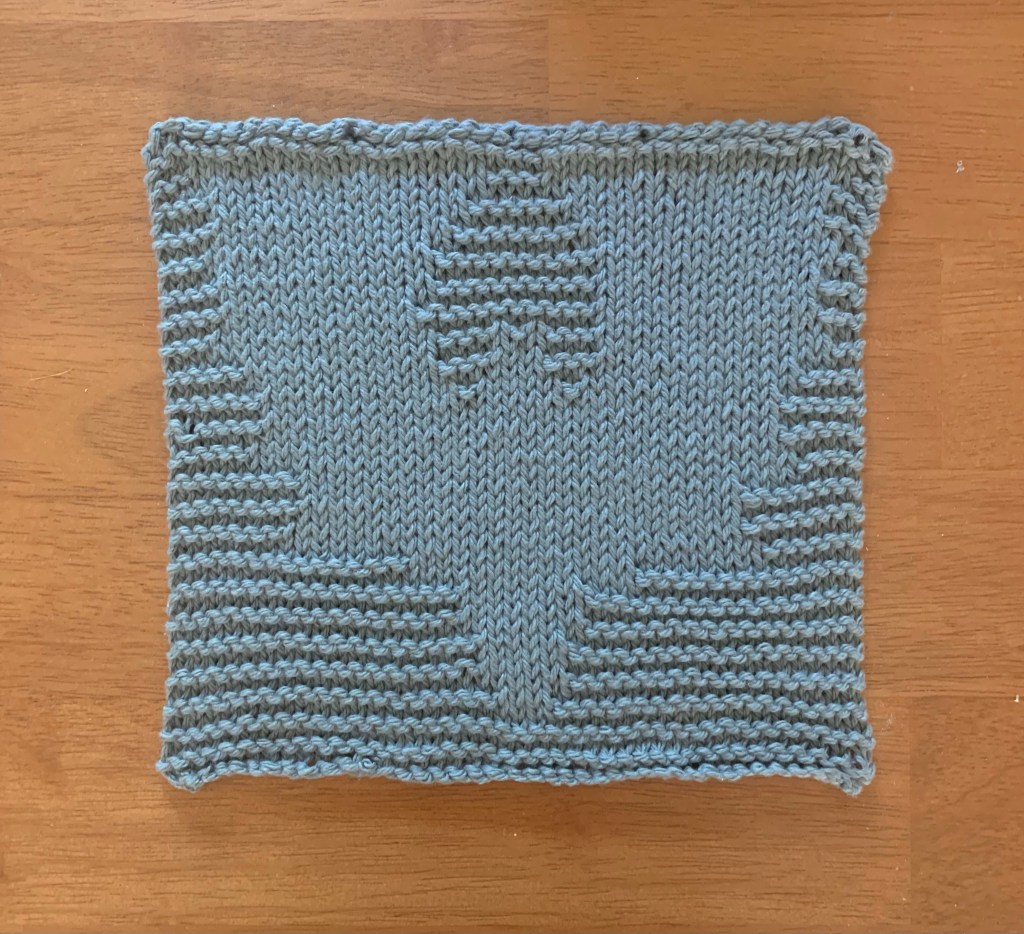
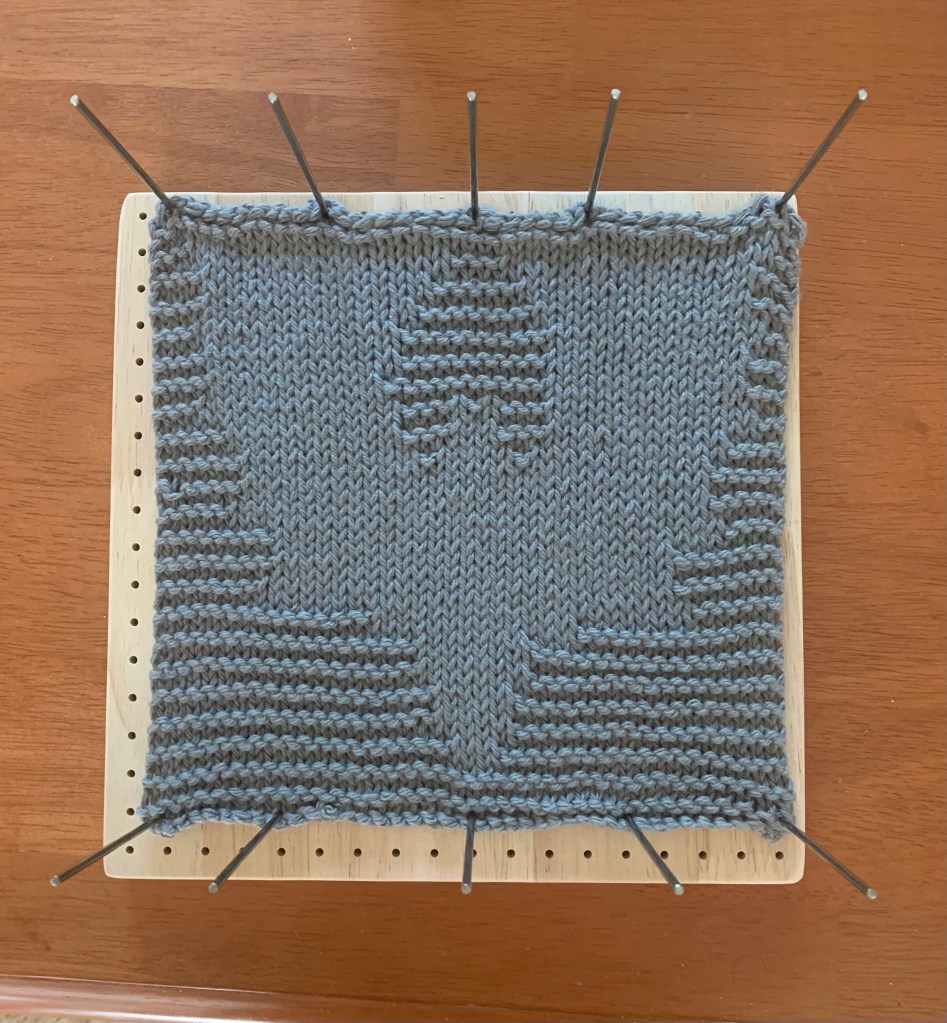
It’s finally done! After knitting for most of the summer, I completed my last square in my Halloween table runner: a jack-o-lantern. Between work and other commitments, it took me a while to finish this one, but I’m glad I did.
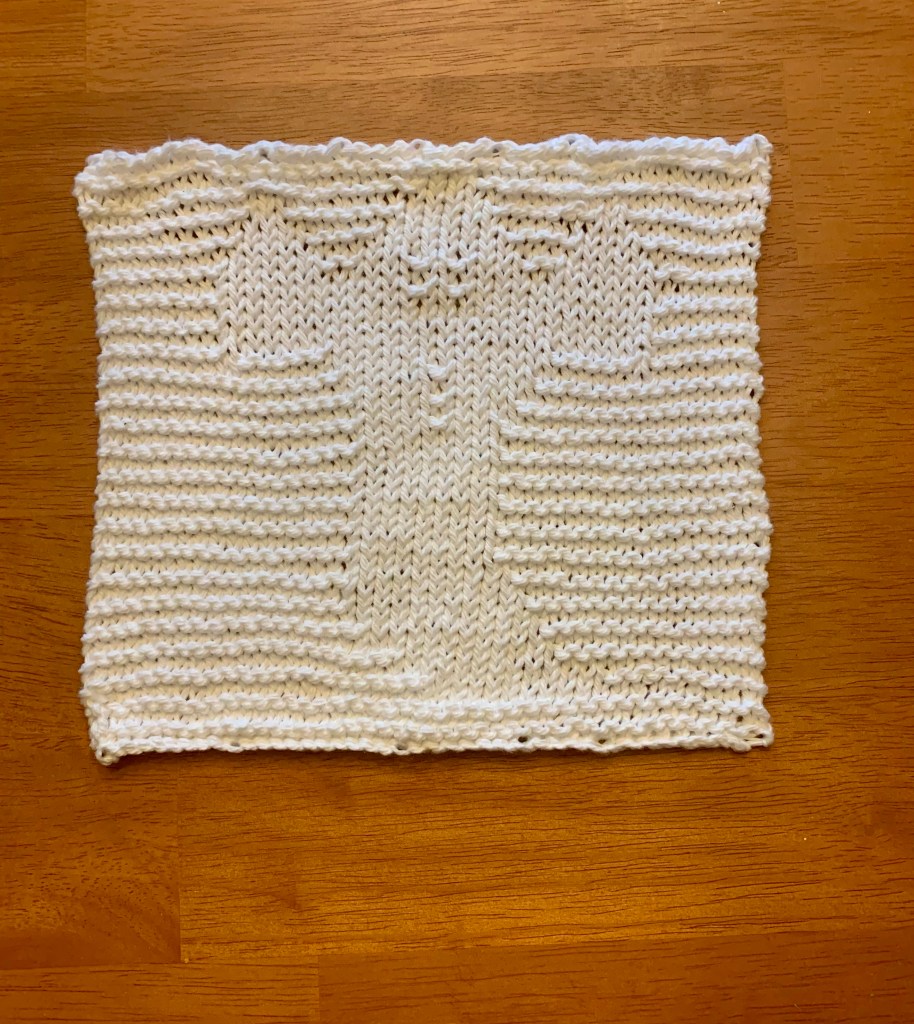
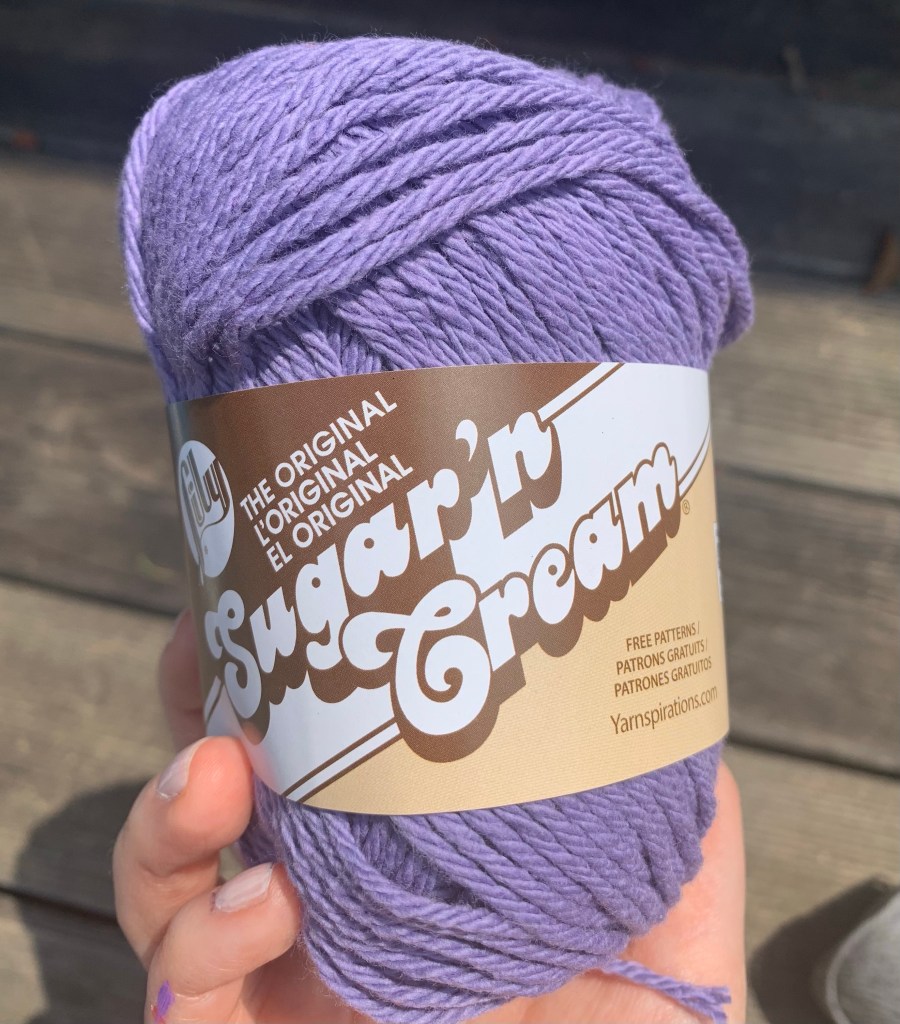
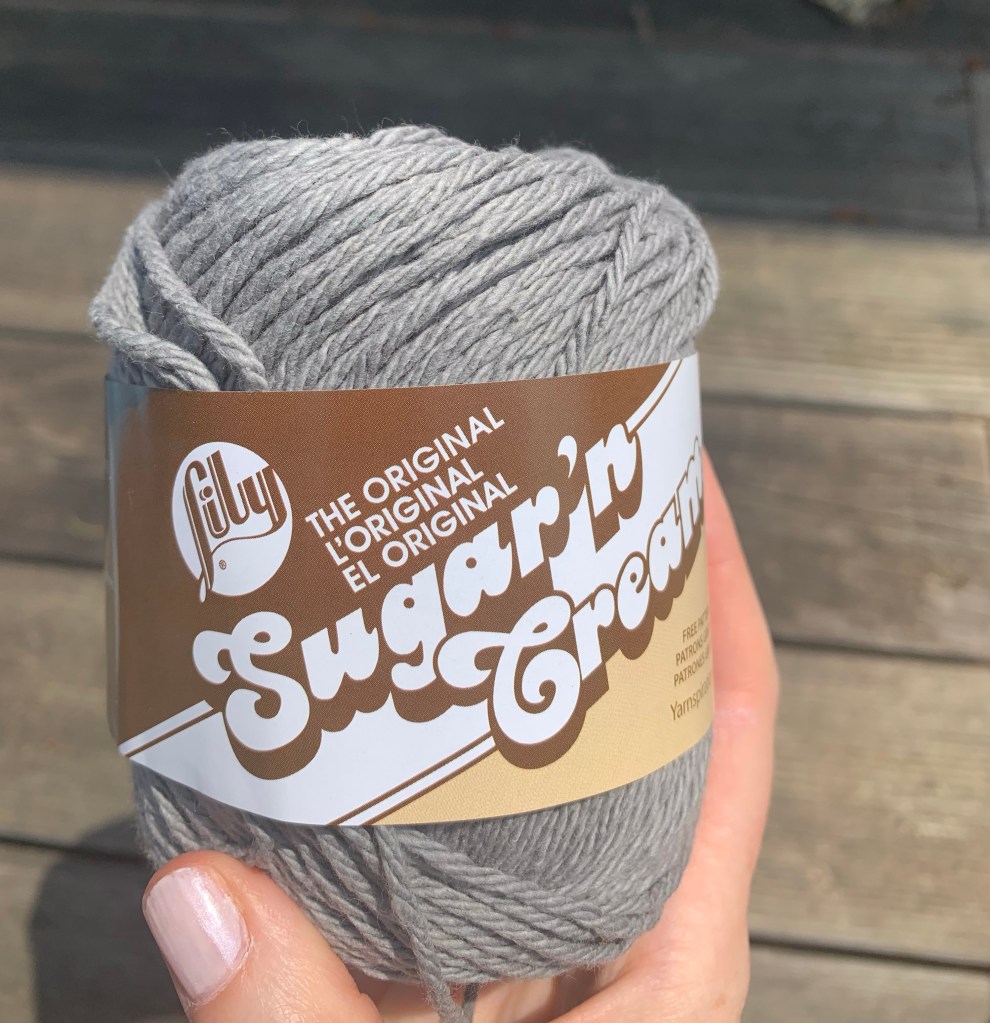
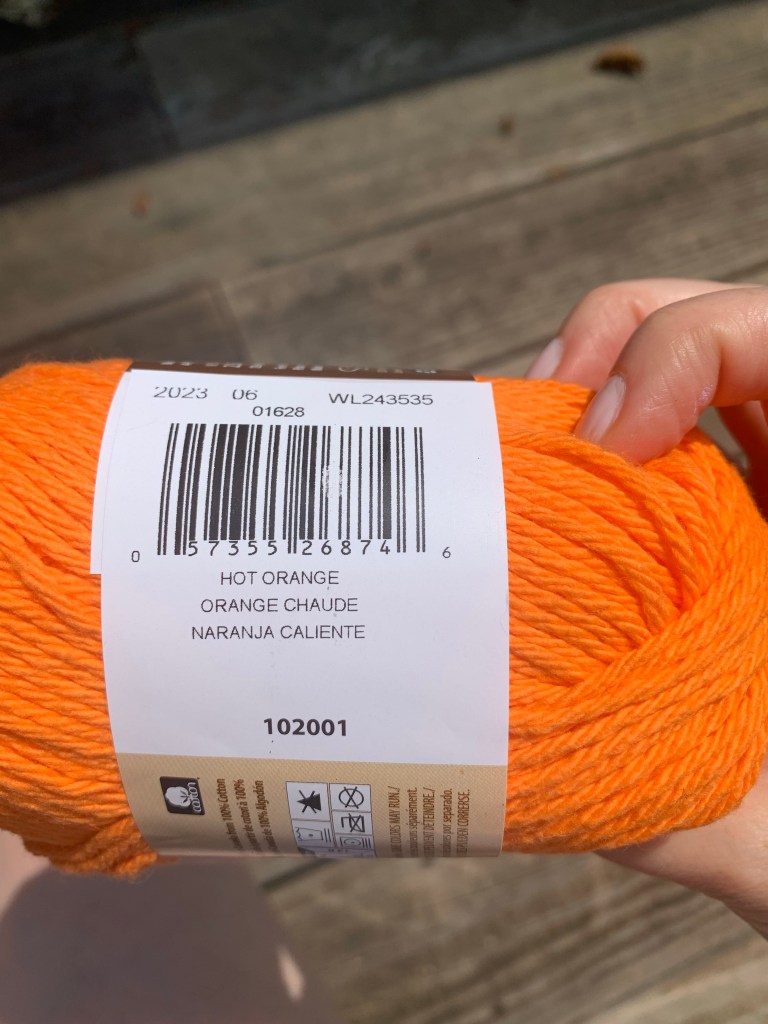
Like the other squares, I used Sugar’n Cream cotton yarn. The color I used for this piece is hot orange.

Size US 7 knitting needles
1 skein Sugar’n Cream yarn in hot orange
Begin by casting on forty stitches.
Rows 1-2 k across row.
Row 3: k18, p4, k18
Row 4 and all even rows: k across row.
Row 5: k11, p6, k1, p4, k1, p6, k11
Row 7: k10, p20, k10
Row 9: k9, p22, k9
Row 11: k9, p22, k9
Row 13: k8, p6, k1, p10, k1, p6, k8
Row 15: k7, p6, k3, p8, k3, p6, k7
Row 17: k7, p5, k5, p6, k5, p5, k7
Row 19: k7, p26, k7
Row 21: k7, p12, k2, p12, k7
Row 23: k7, p11, k4, p11, k7
Row 25: k7, p4, k1, p5, k6, p5, k1, p4, k7
Row 27: k7, p4, k2, p14, k2, p4, k7
Row 29: k7, p4, k3, p12, k3, p4, k7
Row 31: k7, p5, k3, p3, k5, p3, k2, p5, k7
Row 33: k7, p5, k16, p5, k7
Row 35: k8, p6, k5, p3, k4, p6, k8
Row 37: k8, p24, k8
Row 39: k9, p22, k9
Row 41: k11, p18, k11
Row 43: k12, p7, k1, p8, k12
Rows 45-48: k across row.
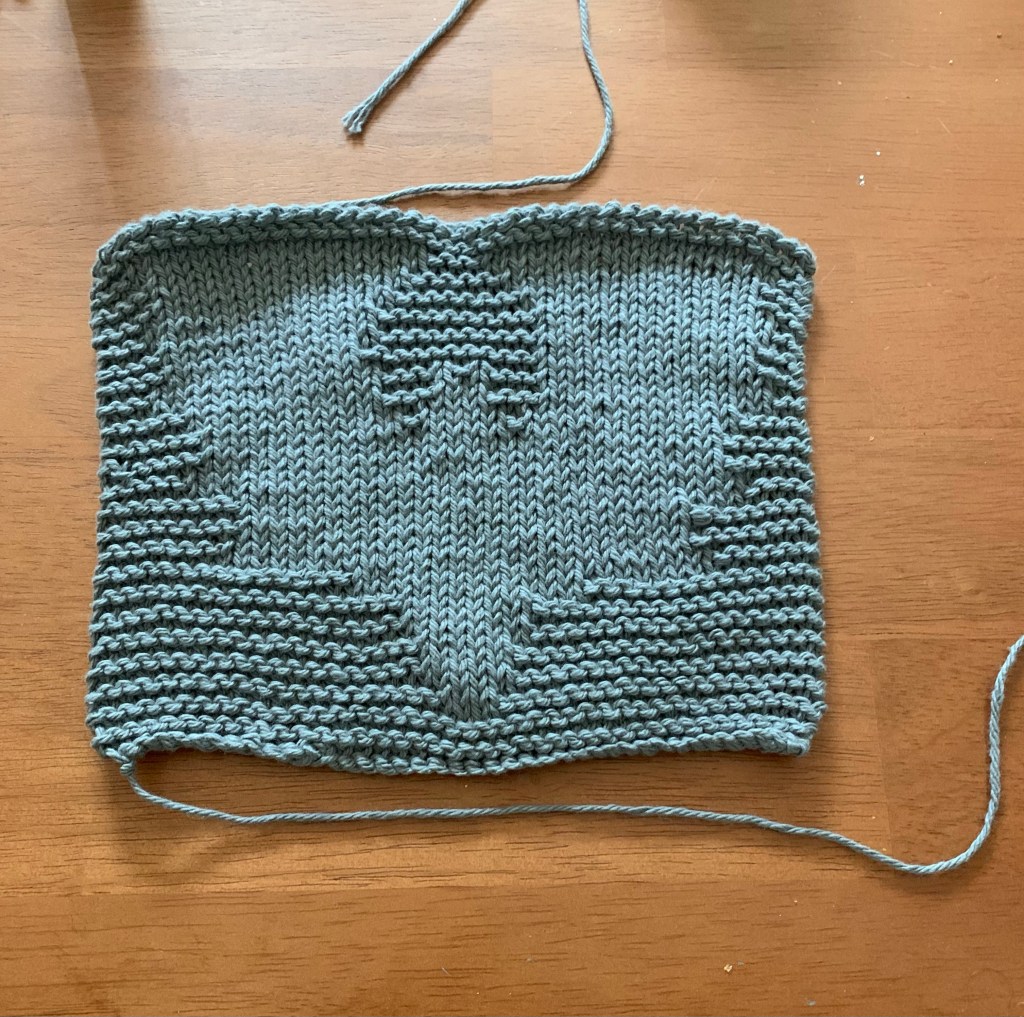
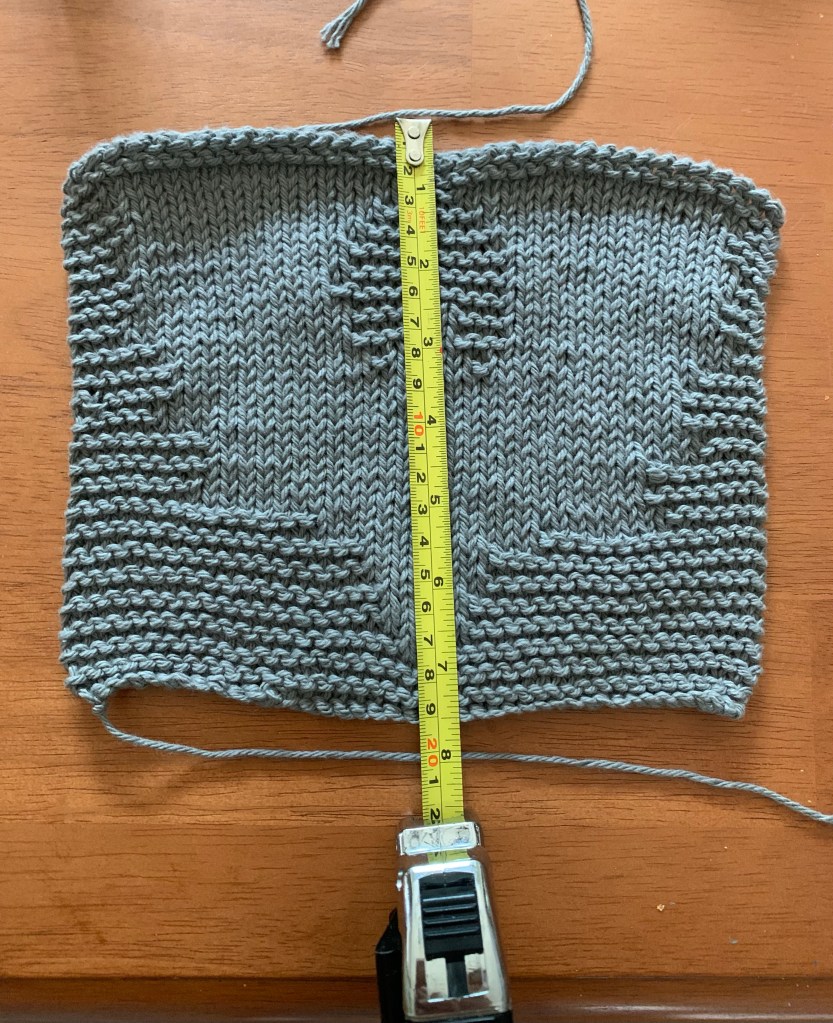
Bind off and sew ends into piece.
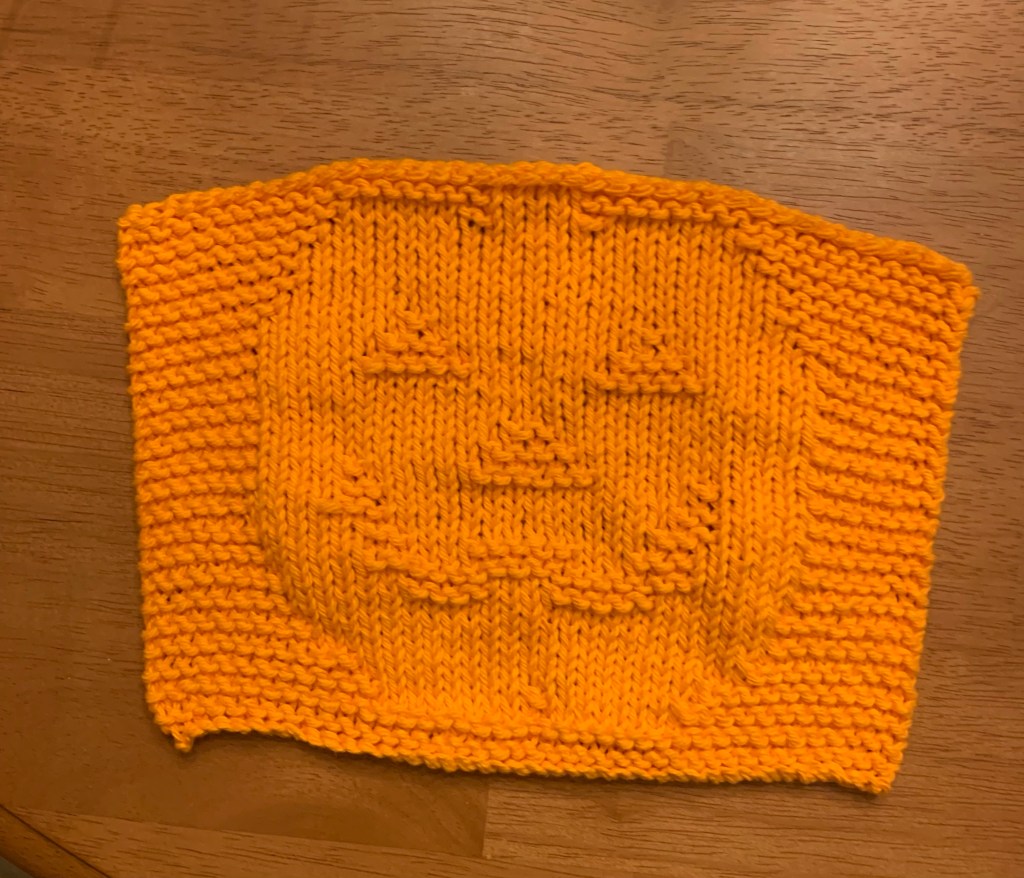
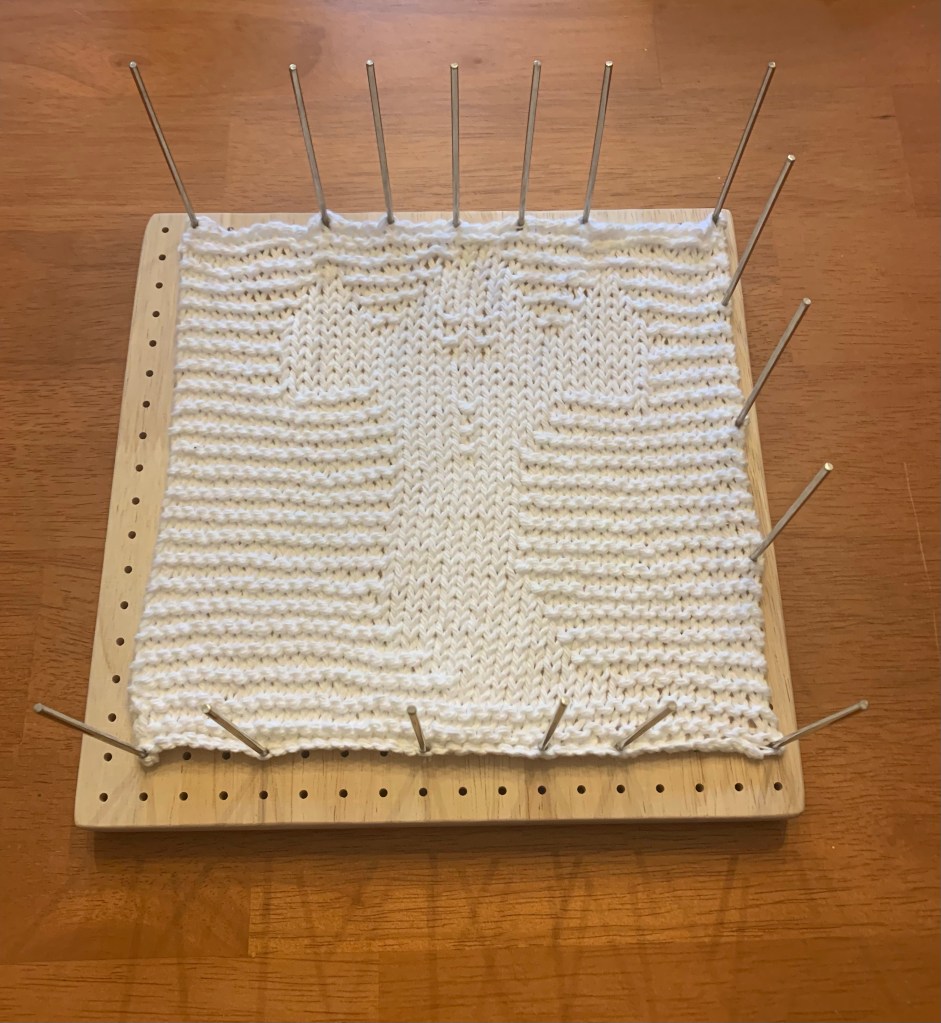
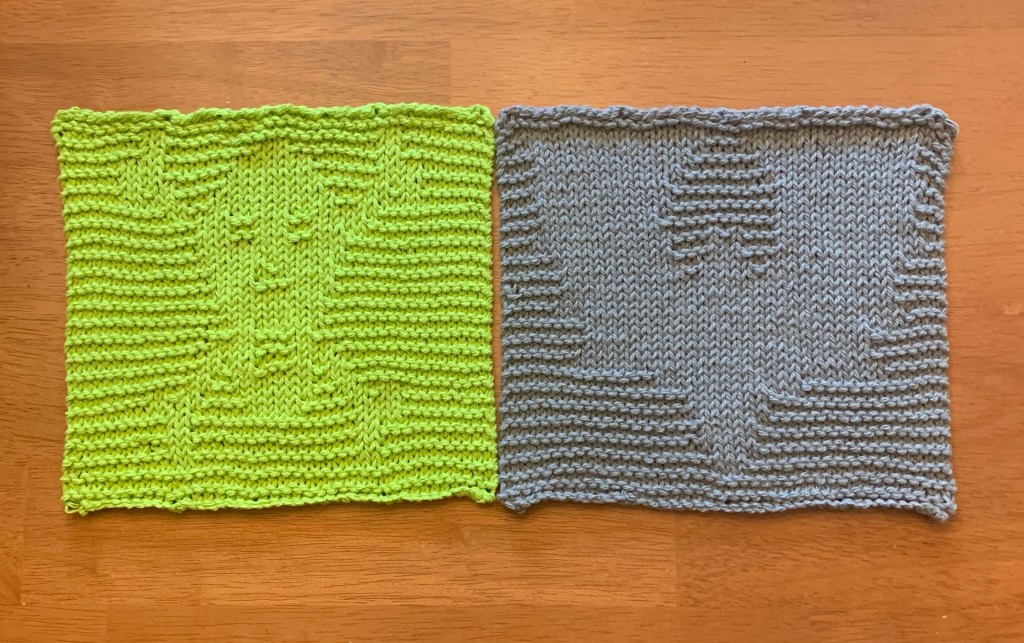
I sprayed the piece with a little water until it was damp and then pinned the piece to a blocking board until it was dried so that it would be the same size as the other squares in my Halloween series.

Now that all five squares are done, all that’s left is to sew them together. It was a lot of work, but I think it’s going to be a whimsical and fun table runner. I will post the completed runner soon.