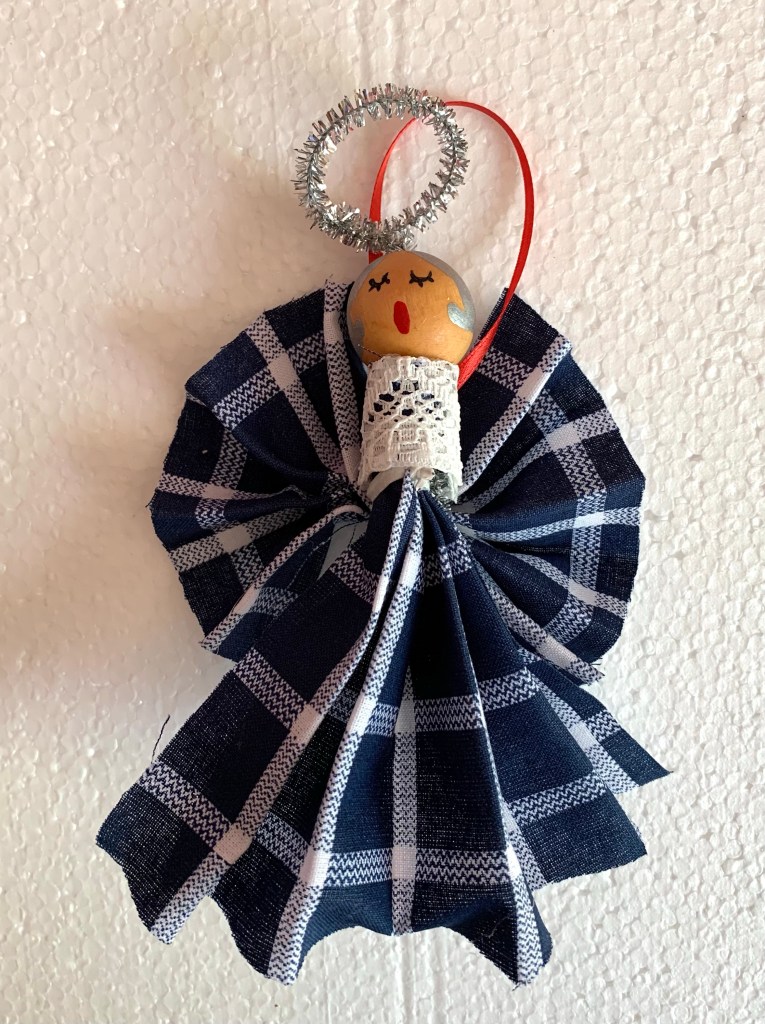
Are you holding onto a cherished shirt or other piece of fabric from a loved one who’s passed? You know you’ll never wear it, yet you just can’t part with it. Instead of keeping it hidden in your closet or in a box in the basement, why not make something with it? This craft is designed to be made from the scraps of a loved one’s favorite garment. Using small pieces of fabric, you can create an angel ornament to adorn your holiday tree. Since it uses so little fabric, you can make several angels from one piece of fabric to share with other family and friends.
Supplies for body of angel: an old shirt or any piece of fabric, scissors or pinking shears, fabric stiffener, a bread bag tie, a needle and thread, lace trim, hot glue gun, a 3-inch piece of silver or gold pipe cleaner for halo and 1/8″ wide ribbon for hanging.
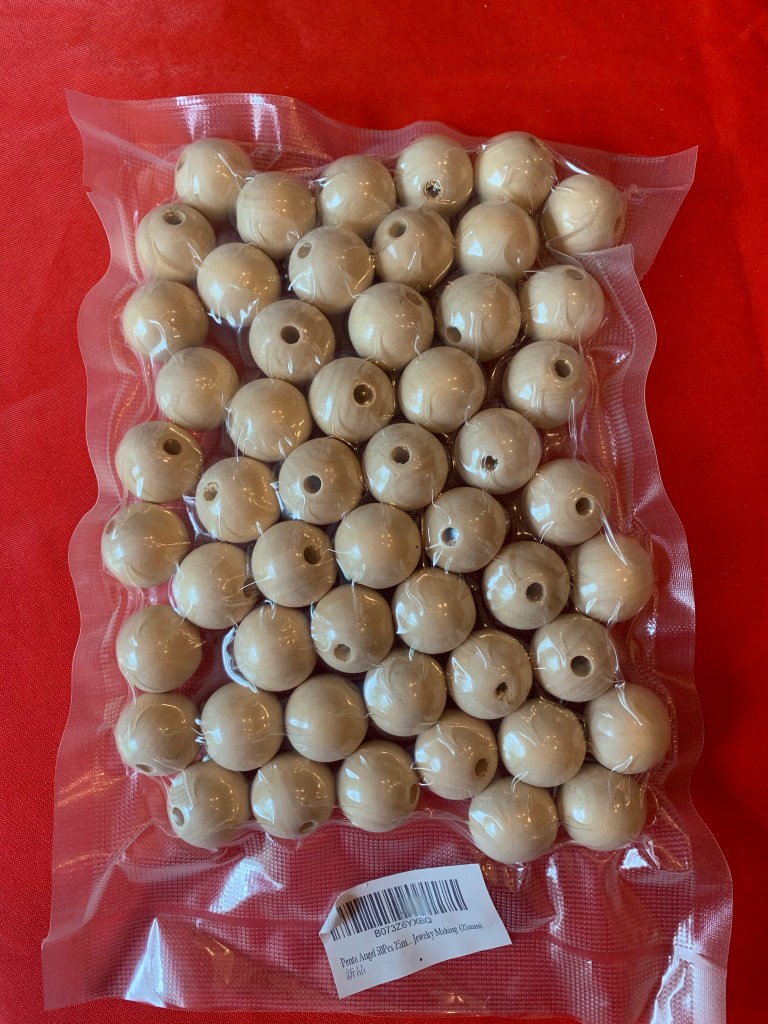
Supplies for angel head: one 18mm wooden bead with a 4 mm hole in the center, wood stain and markers or paint.
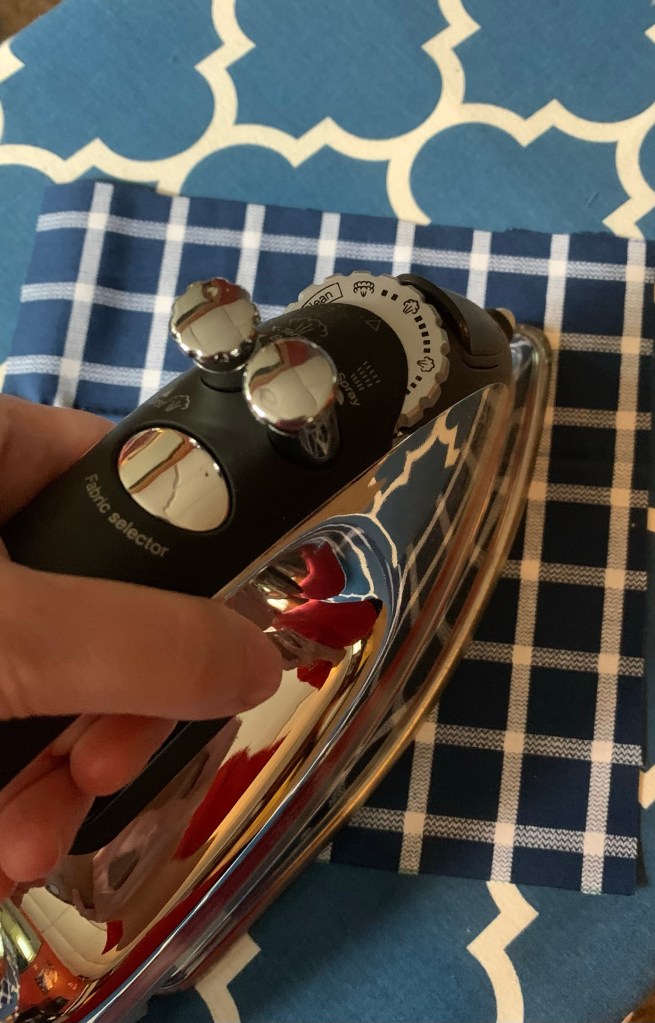
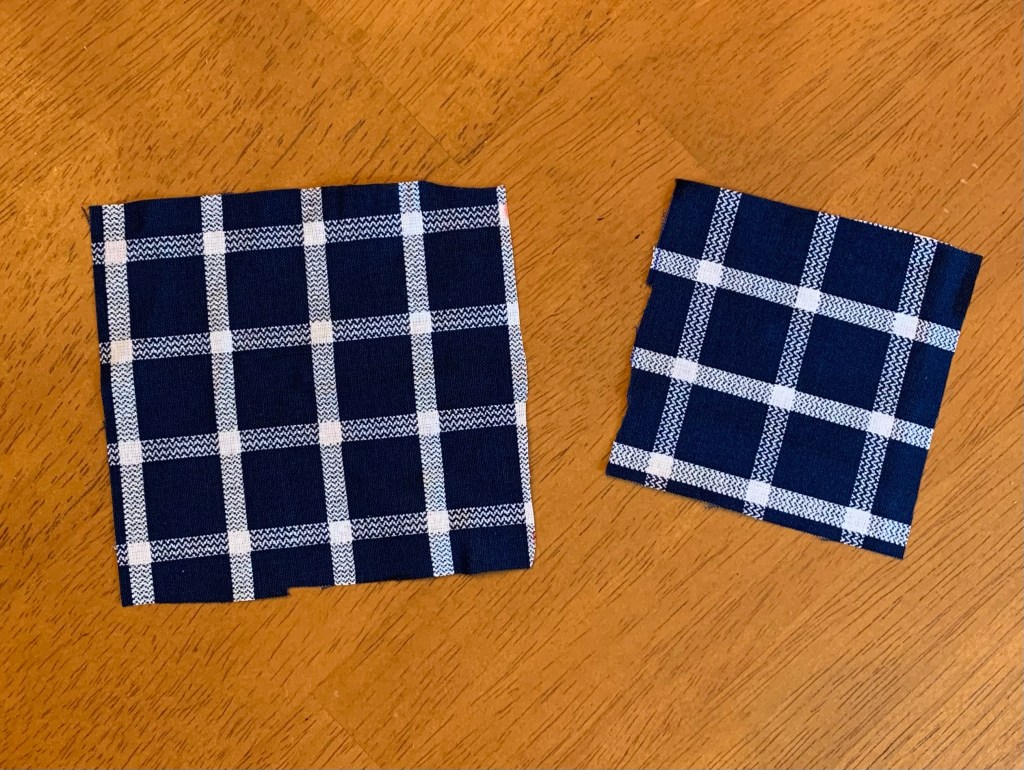
Before beginning, I recommend ironing the pieces of fabric. Then, using either a sharp pair of scissors or a pair of pinking shears, cut a 3-inch square and a four-inch square from the fabric.
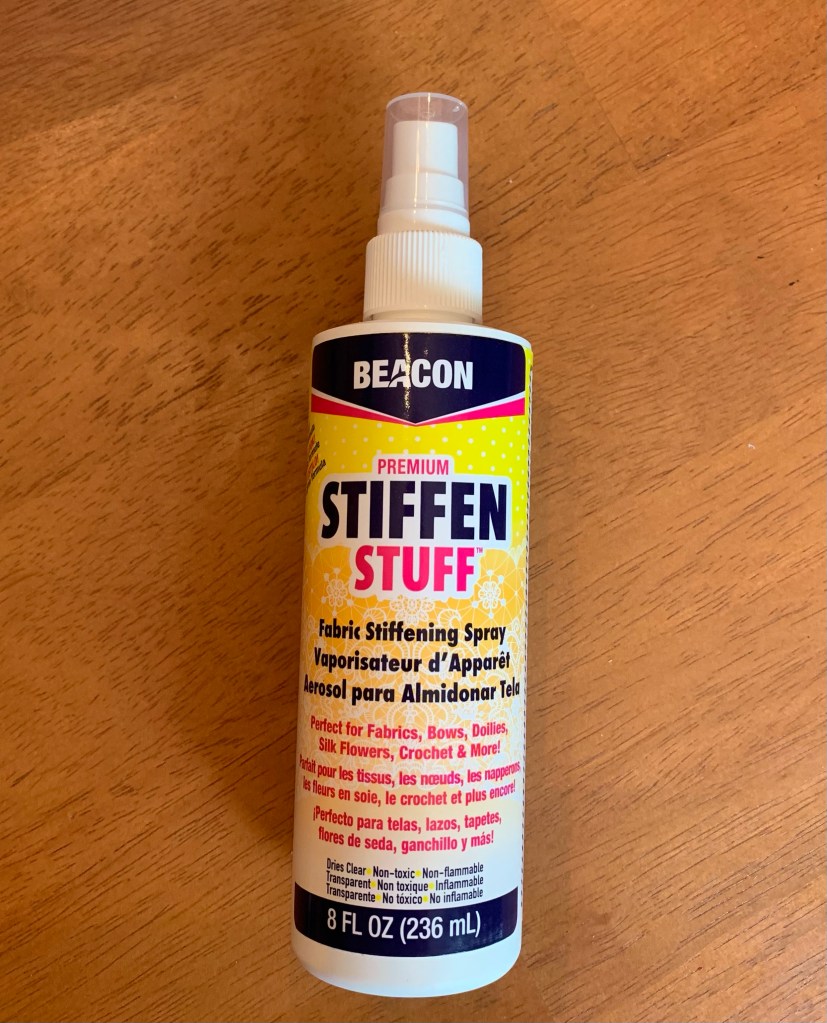
Next, spray the fabric with fabric stiffener. The fabric stiffener also helps keep the fabric from fraying. While the fabric is still wet, fold the fabric up like an accordion.


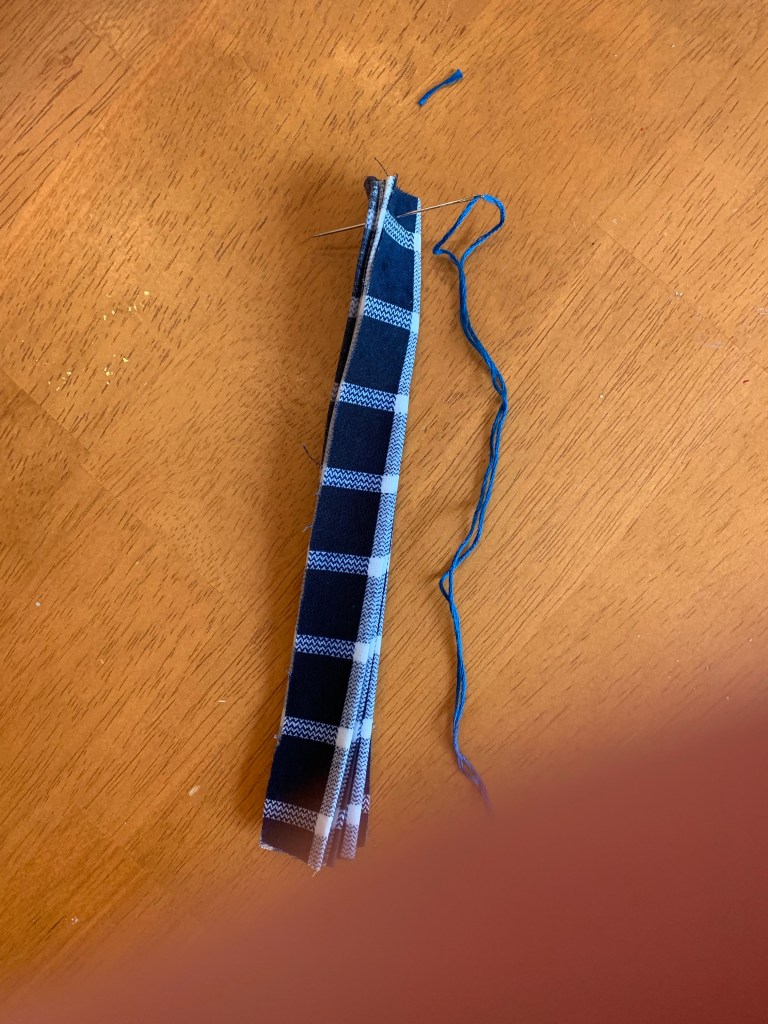
To help the fabric keep the pleated look, I secured the top of the larger piece being used for the angel’s skirt with two stitches at the top. For the piece being used for the wings, I tied the fabric in the middle with an old bread bag tie.
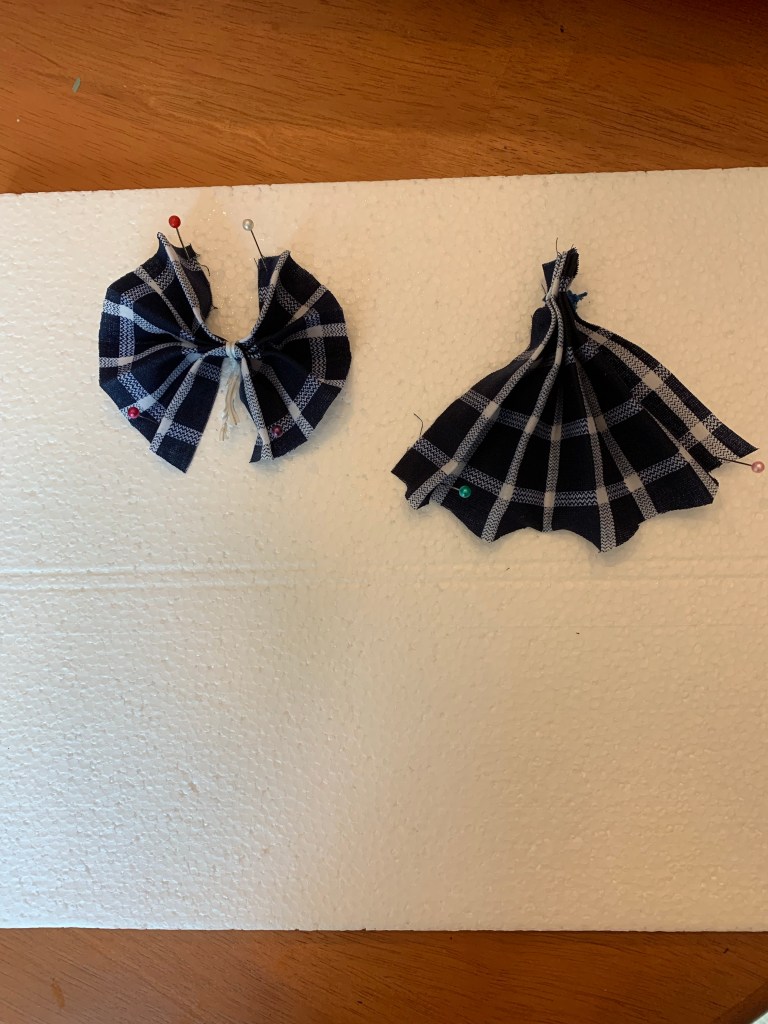
To help shape the fabric, I next pinned both pieces onto a piece of foam. If you don’t have any foam laying around, you could use an old cutting board or a bulletin board. Let the fabric dry completely before moving to the next step.
While the fabric is drying, I stained the wooden bead being used as the head of the angel. I found this bag of 18 mm wooden beads on Amazon, but most craft stores carry these beads in the wood or jewelry department.
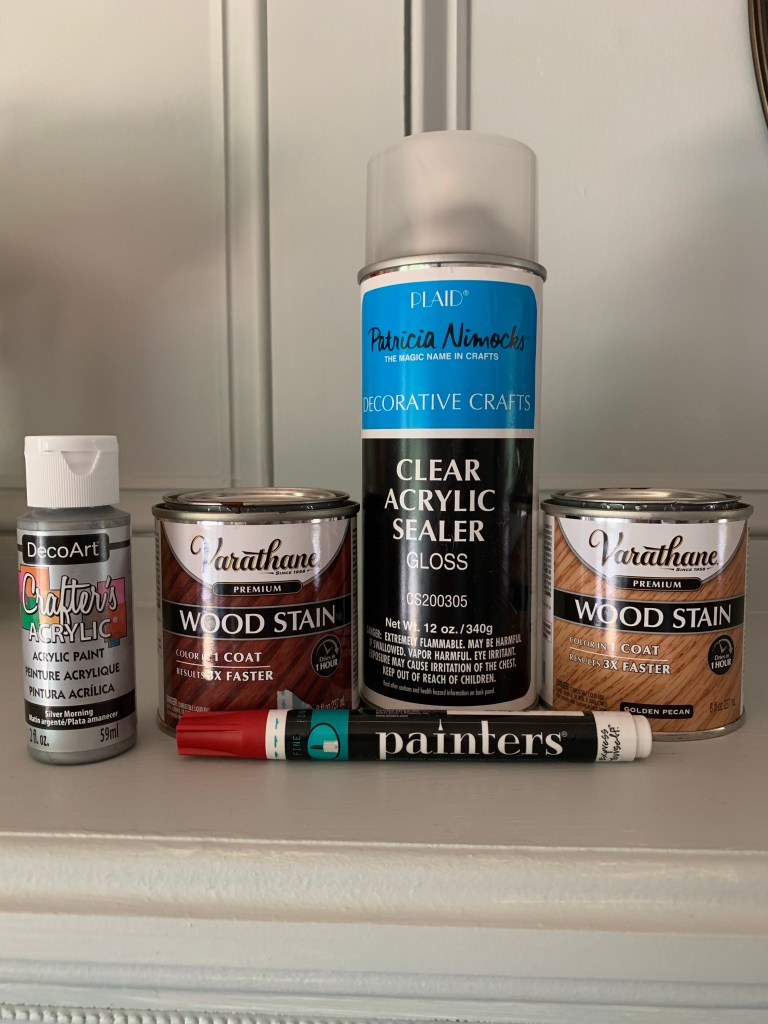
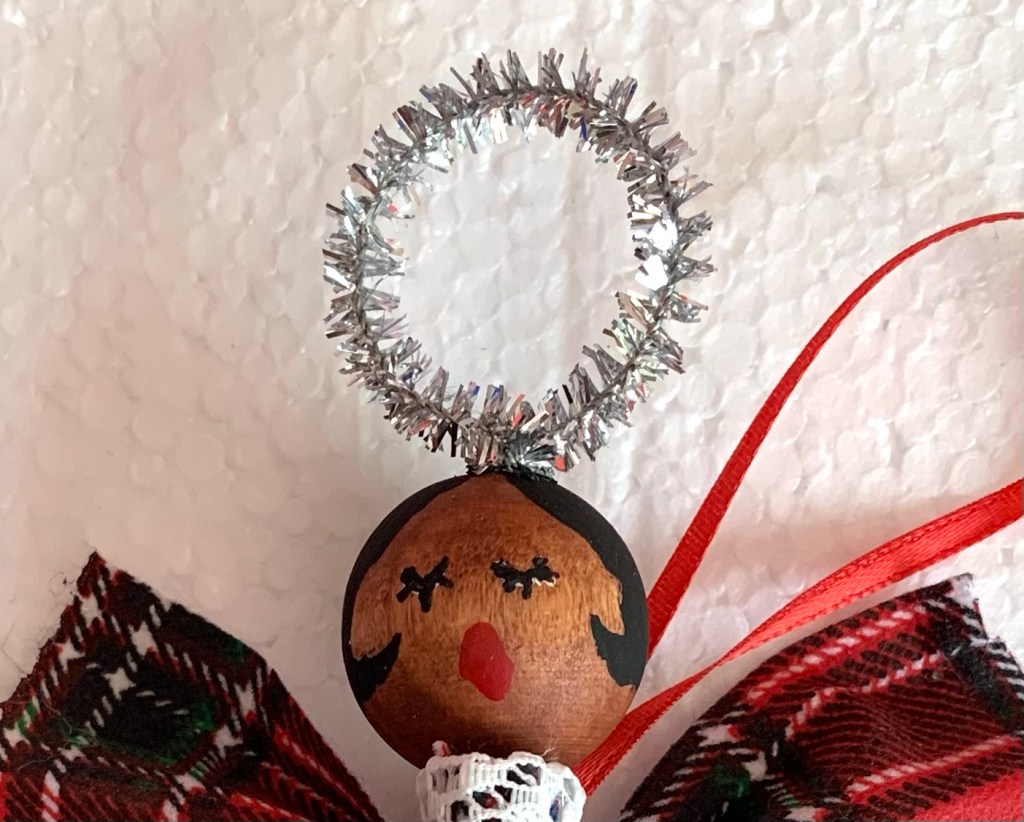
I recommend staining the wooden bead before painting on the face. The stain helps stop the paint or marker from bleeding. Paint your angel head with any color hair you’d like. You can use black, silver or white marker to make the eyes. To seal the paint, I sprayed a paint sealer over the beads.

Since painting a round bead can be tricky, I stuck a spare piece of pipe cleaner through the hole of the bead. This made it much easier to turn the bead and paint. I hung the pipe cleaners and beads over the edge of the cup to allow the beads to dry.

To make a perfect halo, I used a spare wooden bead and wrapped the pipe cleaner around it to form a neat circle. Then, to attach the halo, I inserted the end of the pipe cleaner into the center hole of the bead I painted. I added a small amount of hot glue inside of the bead-hole to keep the halo in place.
Now back to the body of the angel. Once the fabric is dry and stiff, I added a small bit of lace trim to the gathered end of the skirt with some hot glue. The lace I used was thick, so I folded it in half before glueing.


Once that is dried, I used the bread tie and some more hot glue to attach the wings to the back of the angel. I hid the ends of the bread tie under the lace.

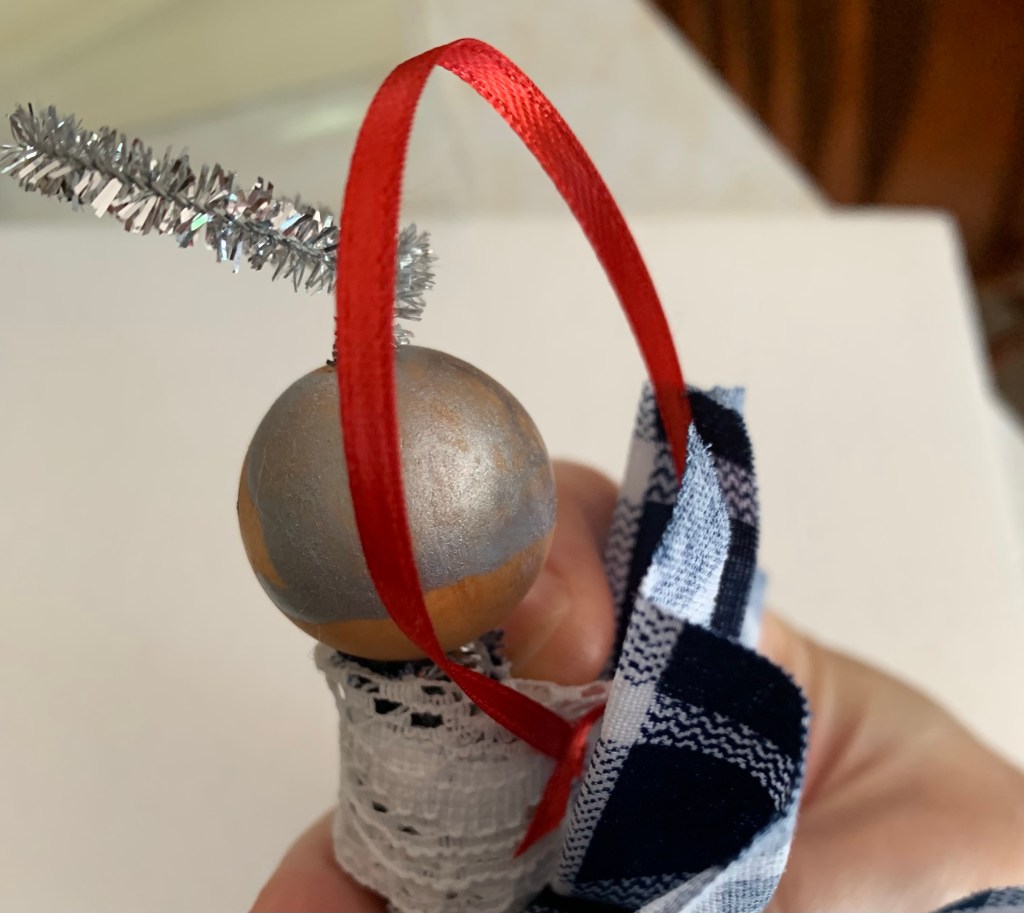
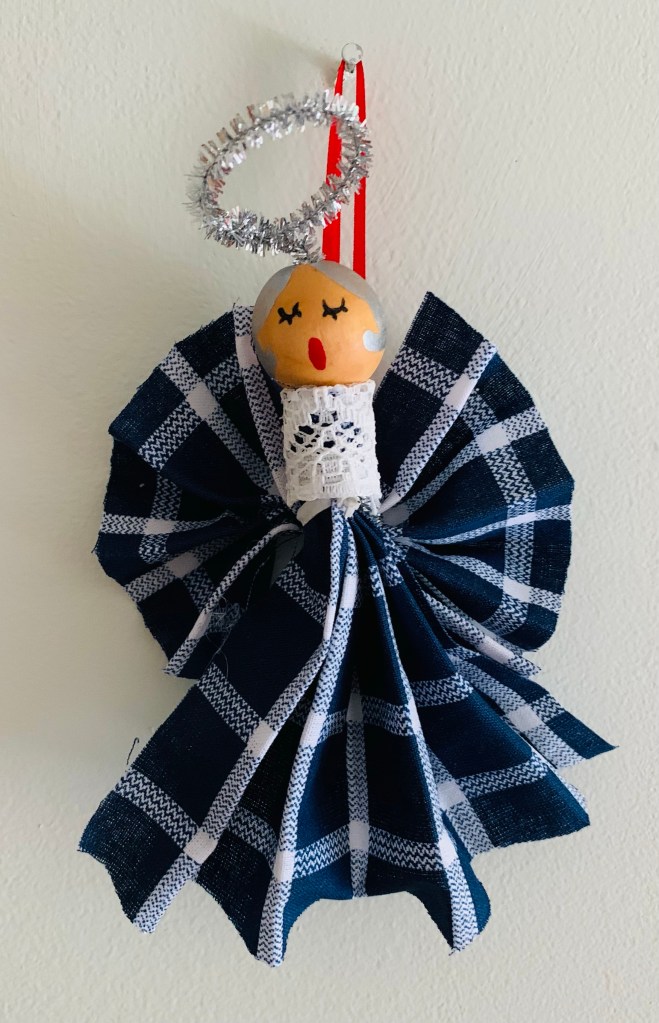
Now it’s time to attach the halo and angel head to the body. To do this, I simply inserted the end of the pipe cleaner halo into the folds of the angel’s dress. Add some hot glue to keep it secure.

To hang on a tree, I cut a small length of 1/8″ red ribbon and then hot glued the ends to the back of the angel.
A memorial angel is a perfect way to hold a special place on your holiday tree for your loved one. You can use a shirt, dress or even a tablecloth. The possibilities are endless. Happy crafting!