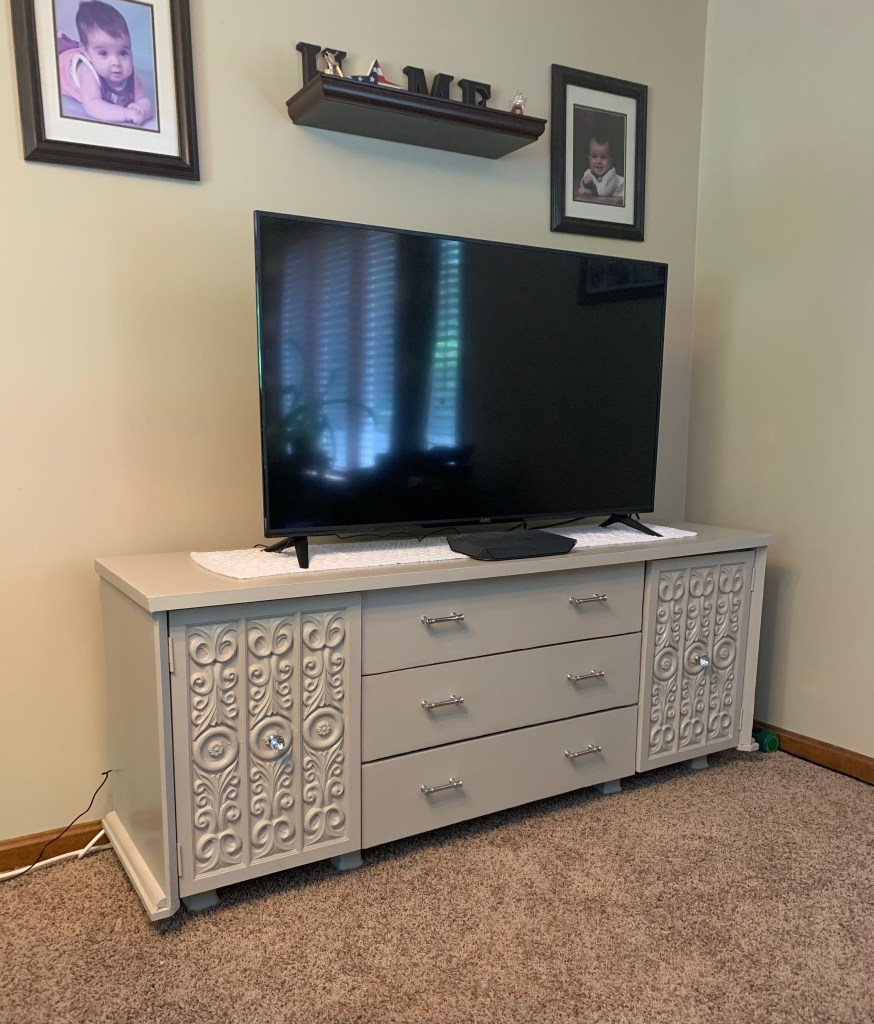
I love watching videos and reading up about furniture renovations, but I’ve always been too chicken to try to do it myself. Then one day on my way to work, I saw it. It looked like a large, ornate buffet on the side of the road. I was drawn in by the unusual decorative cabinet doors on either side of the piece. I started imagining how great it could look with some paint and new hardware. It just so happens I was looking for a table long enough to fit my TV plus provide storage.

We bought a new TV about two years ago. Our old TV stand was not wide enough to hold it, so the legs of the TV hung over the edge. To solve the problem, I simply placed a piece of leftover plywood shelving over the top of the TV stand. But it was not an ideal or attractive solution. A new TV stand could cost over $500, but if I could fix up this buffet, I knew it could be the perfect TV stand to replace the ramshackle one I was using.
After convincing my husband to take a drive with me to look at the piece, he immediately nixed the idea. I went home emptyhanded that night, but I couldn’t stop thinking about it. I knew I could do something with it. Finally, after much nagging, I convinced him to return the next night and after much struggle (it weighs a ton) we stuffed it into the back of our hatchback and took it home. It deposited quite a bit of pulverized particle board all over the car, but it was now mine.
Upon its arrival in my garage, I poured over blogs and videos to learn all I could about rehabbing old particle board furniture. Through my research of 1970s Mediterranean furniture, I also discovered that the piece was actually most likely a dresser, not a buffet.

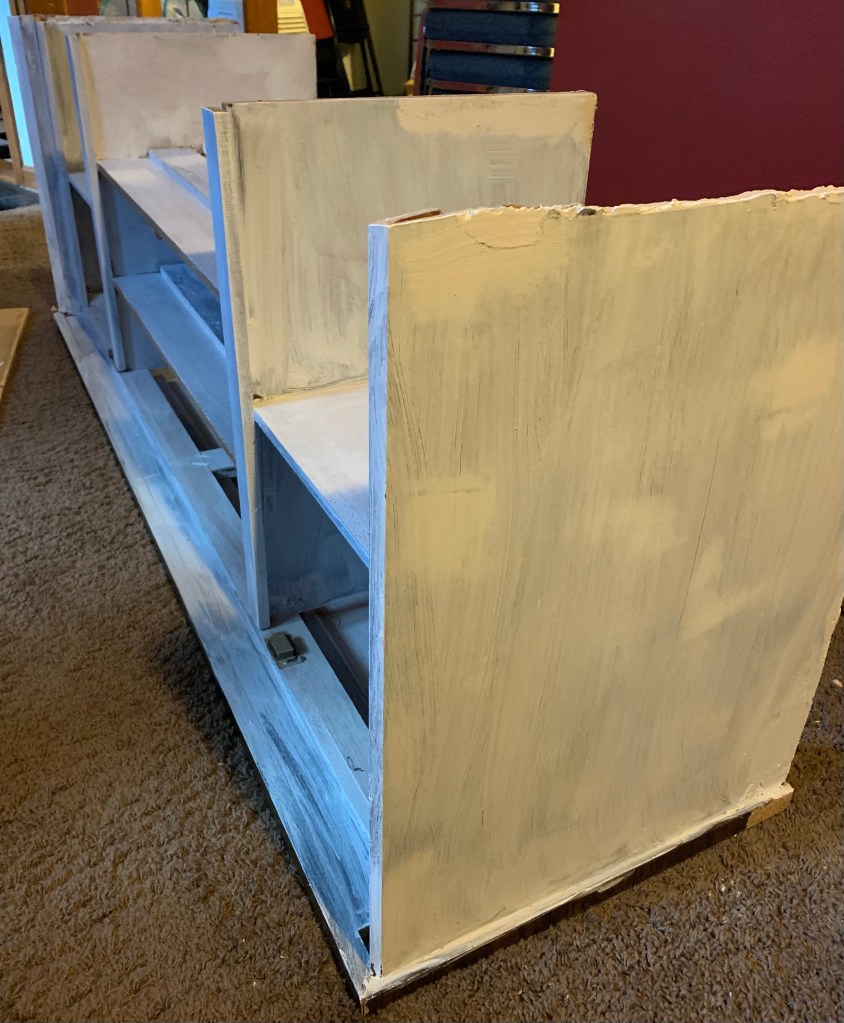
I was relieved to find out that laminate particle board could be painted and repaired. But the first order of business was cleaning. The piece was filthy, and I soon discovered it smelled very strongly of cigarette smoke. The smell was so bad, I dubbed it The Cigar Box. Even the fact that it had been sitting outside for a week did little to get rid of the stench. Immediately, I opened all the drawers to help air them out. But even after several cleanings, I could still smell smoke, so I went to the grocery store and bought baking soda. Pouring it over every crevice, I waited, hoping it would take away most of the lingering smell. After vacuuming up the baking soda, I could still smell smoke, so I decided to paint every inch of the pieces with primer. After a couple coats, the smell thankfully started to disappear.
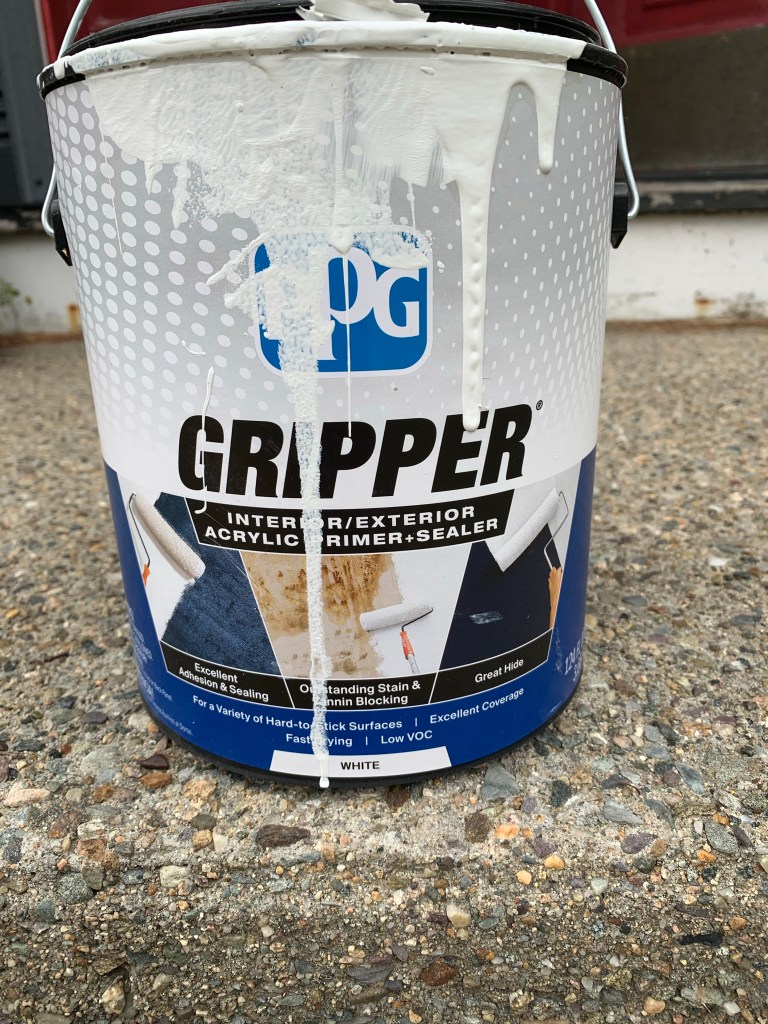
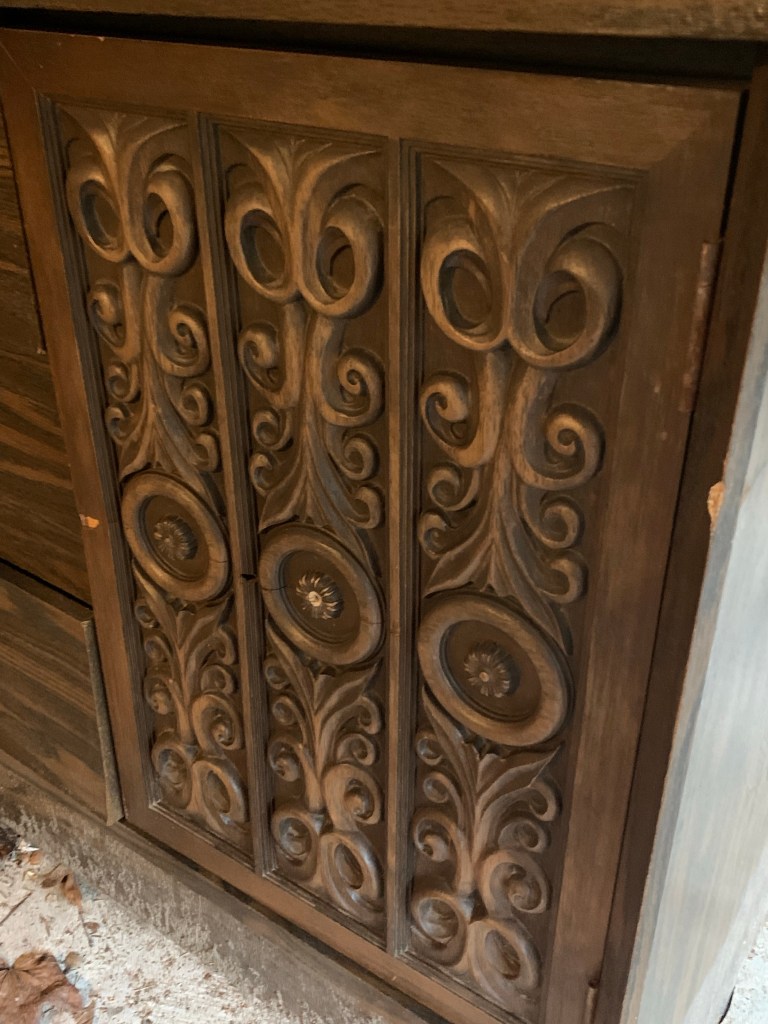
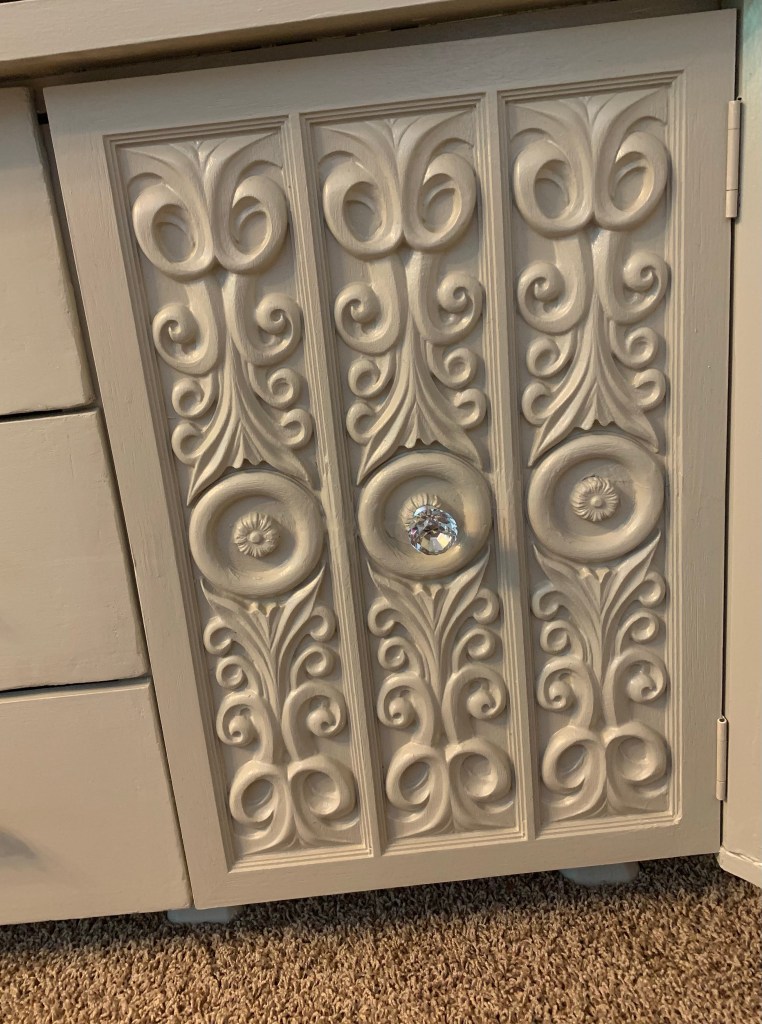
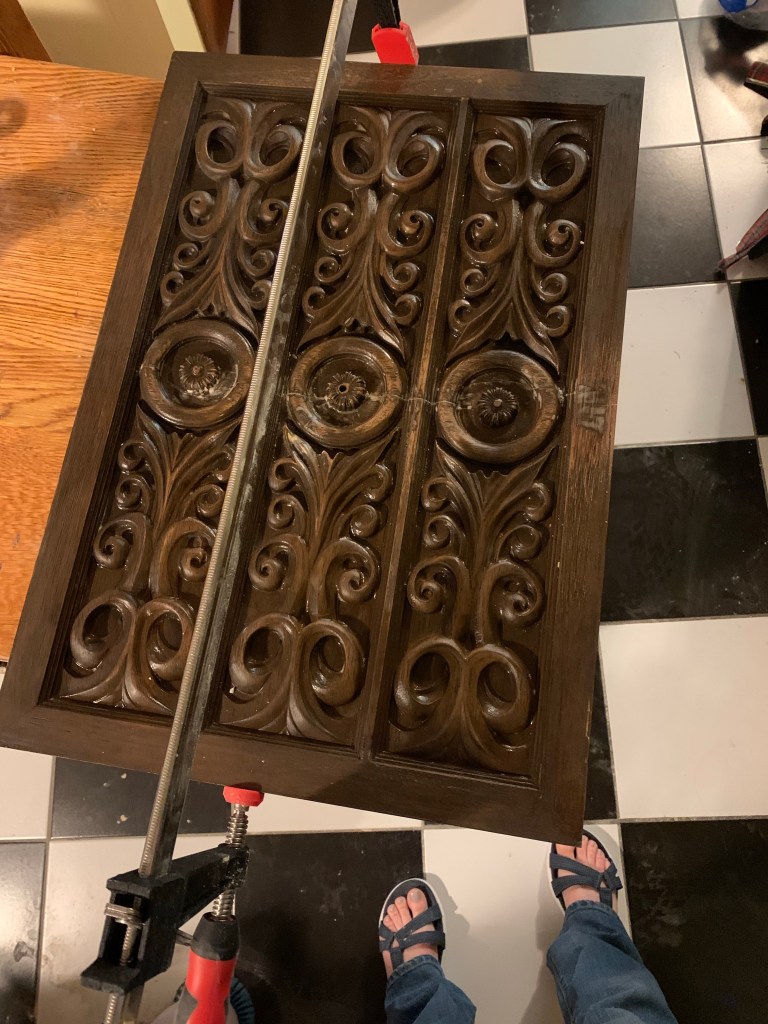
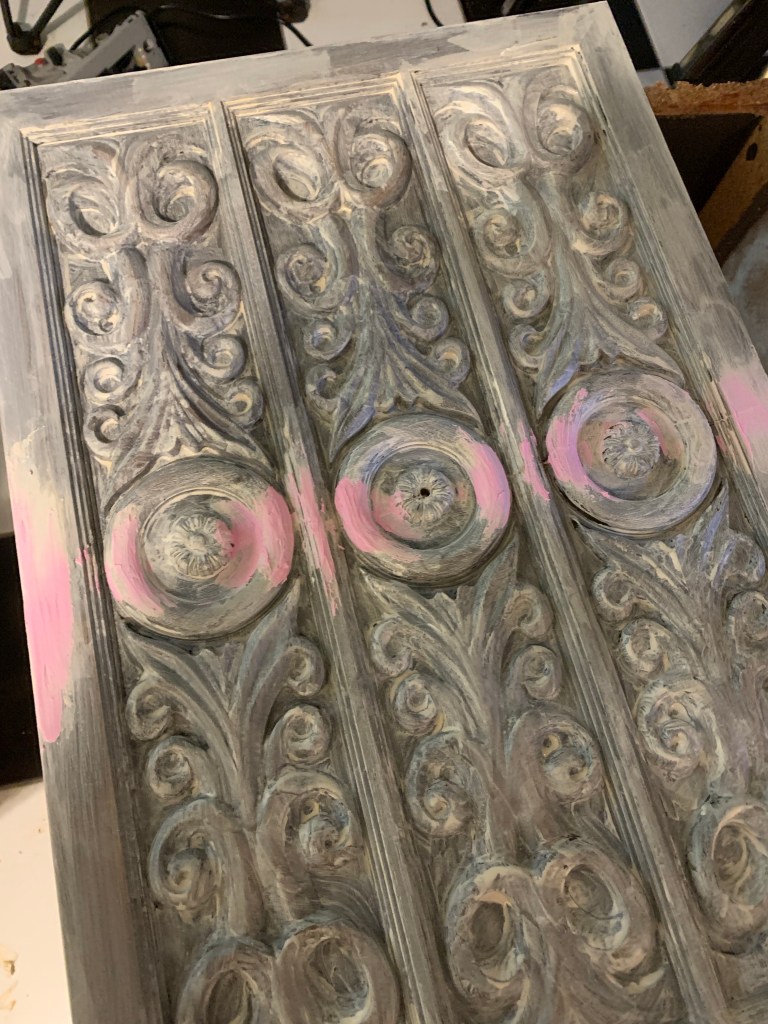
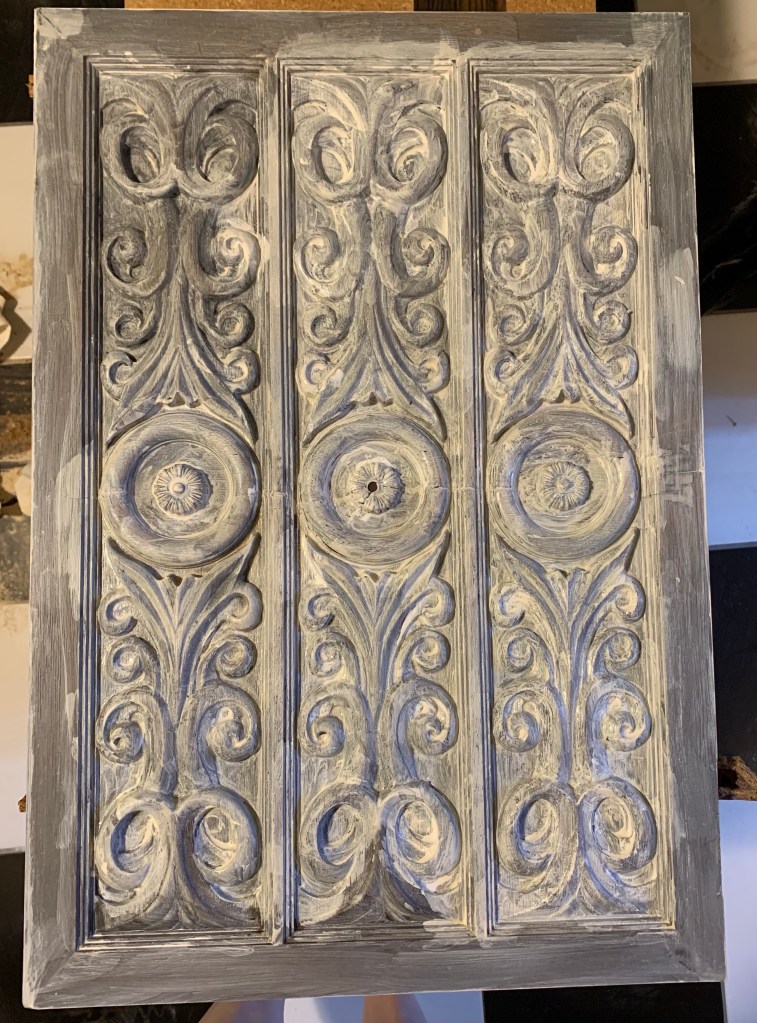
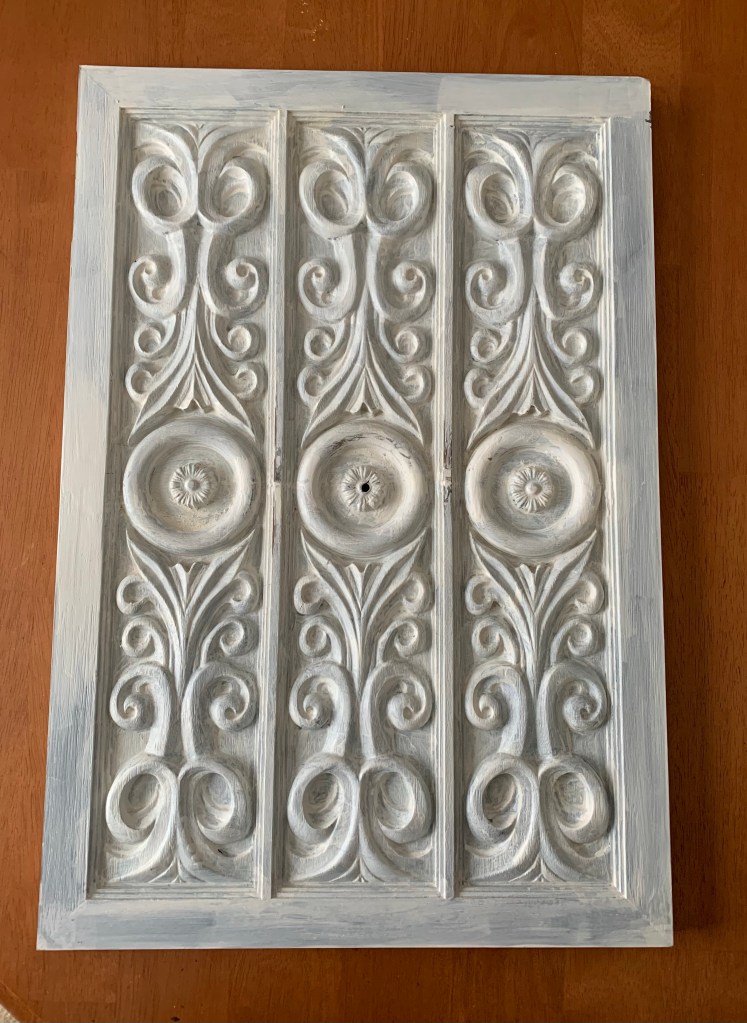
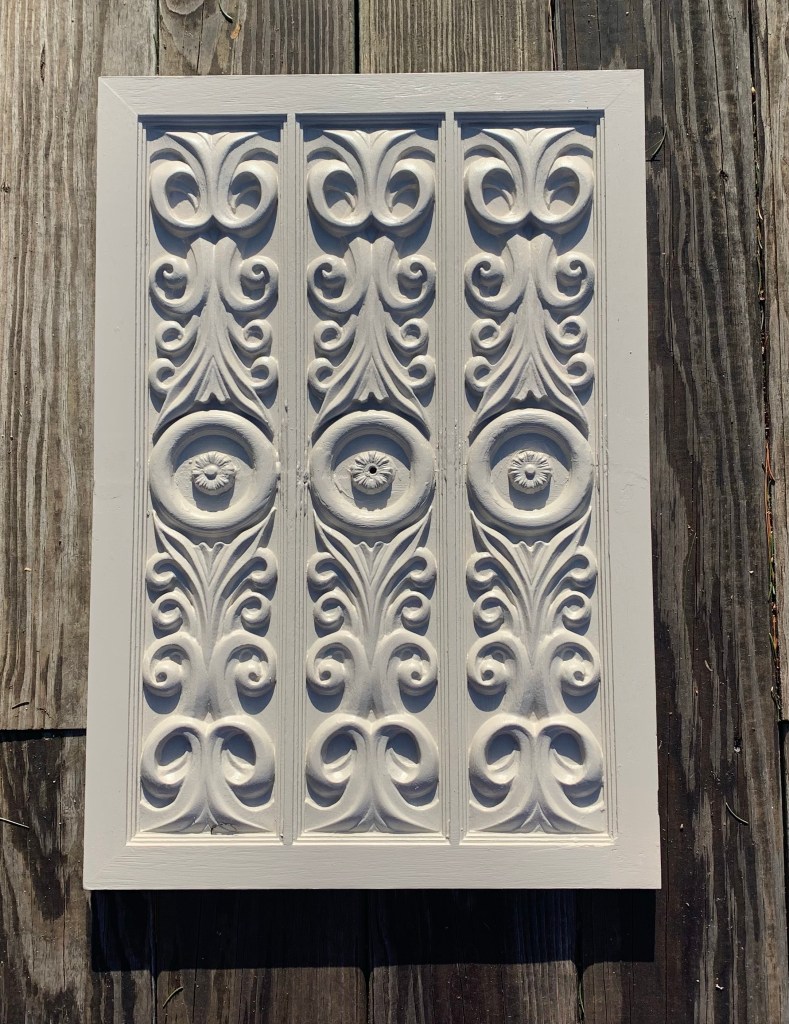
I was surprised the funky cabinet doors on either side were not made out of wood but resin. After decades of use, the resin was cracked and damaged in some spots. Using clamps, I gently applied pressure to the doors to close in the cracks. Then I used Gorilla Glue to seal them shut. The glue held the resin together and made it stronger, preventing any more damage. Once the glue dried, I sanded it smooth then applied plastic wood to repair the rest of the damage. After everything was dry, I sanded again and covered the doors with two coats of gripper primer.
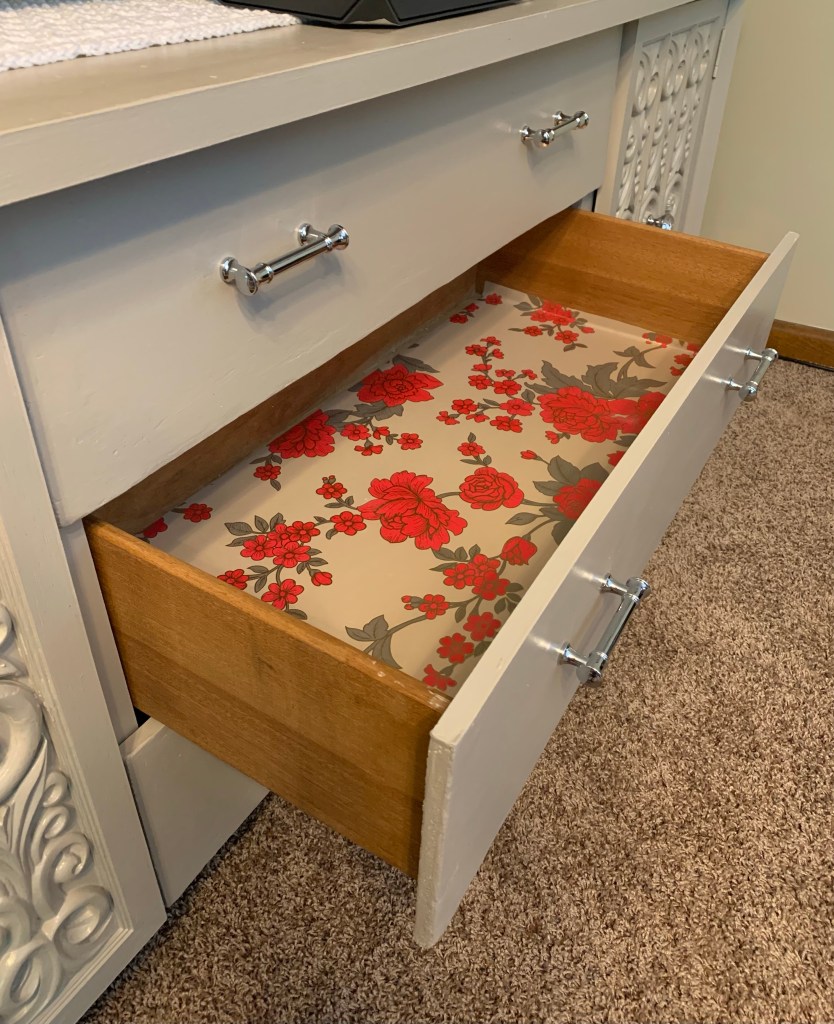
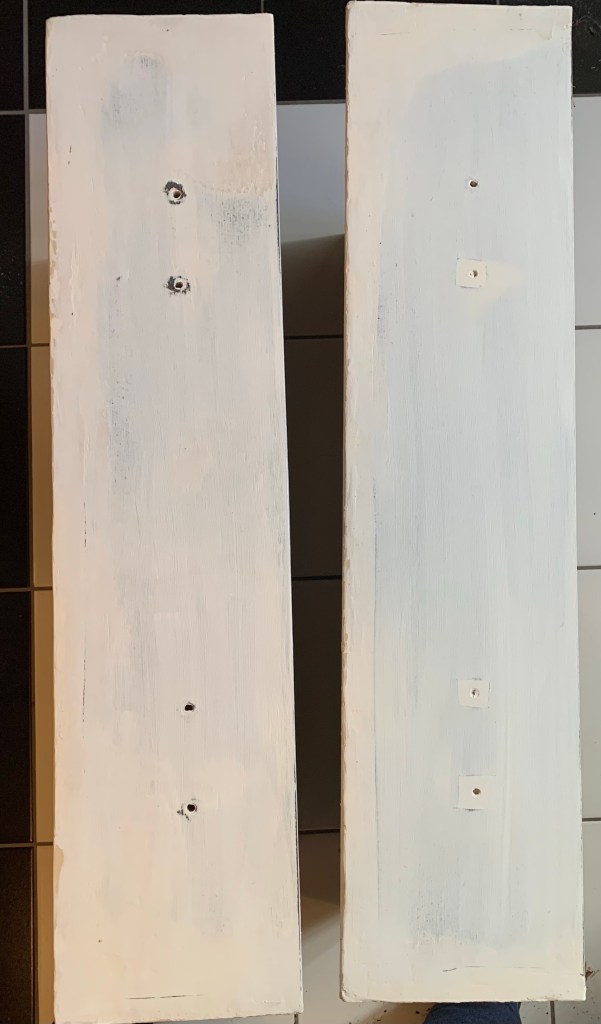
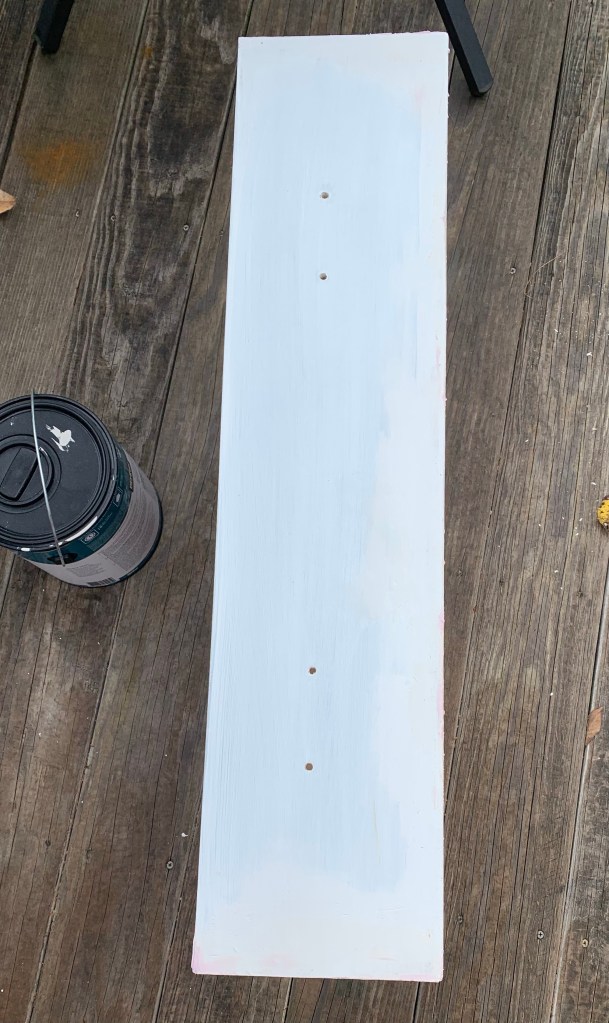
The drawers were my next obstacle. There was quite a bit of damaged laminate. Using a razor blade, I scored, then cut off all the curling laminate around the edges. Next I removed any bulging, water-damaged particle board. Then I painted a few thin layers of Gripper primer, sanding between coats.
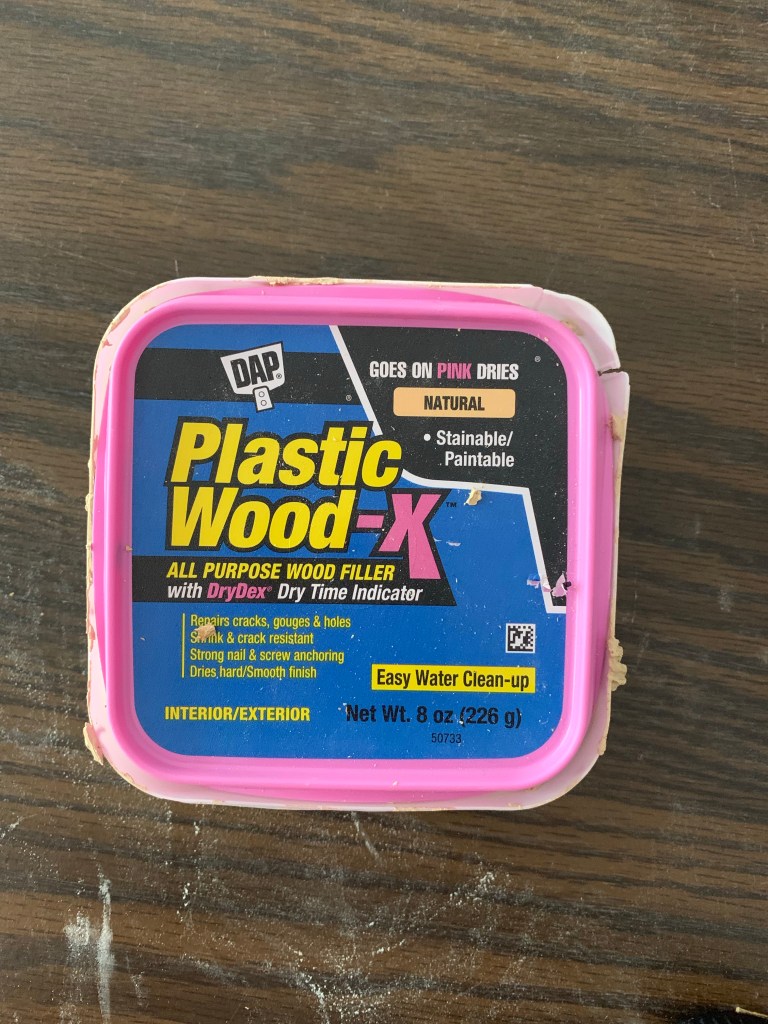

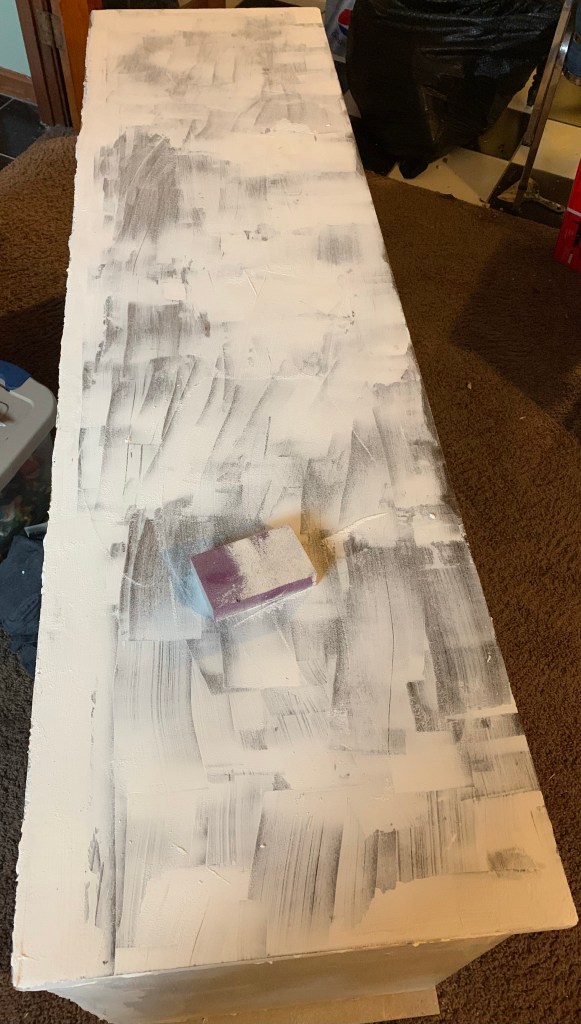
The top of the piece also had a lot of water damage and bubbling laminate. Using the razor, I scored around each bubble and then dug out the swelled particle board. After that I covered the divots with Plastic Wood.

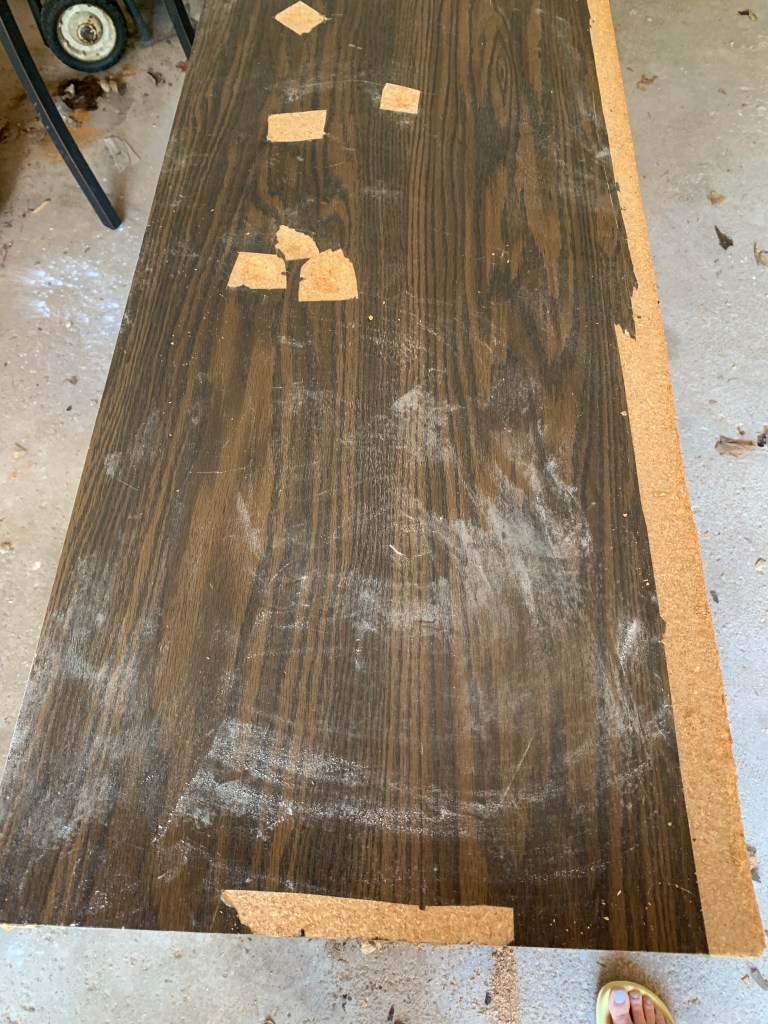
I used several buckets of Plastic Wood to fill in the dips and smooth out the top.
The bottom of the dresser was rotted from sitting out in the elements for so long, so I had to take it off. It was much easier than I was anticipating. It literally fell off and crumbled in my hands with just the slightest bit of help. But this left me with another problem: what to use in its place. Luckily, a trip to the home improvement store’s lumber area solved this problem. To my surprise, the store actually had a piece of wood that fit the bottom quite nicely. I also picked up some small table legs while I was there.
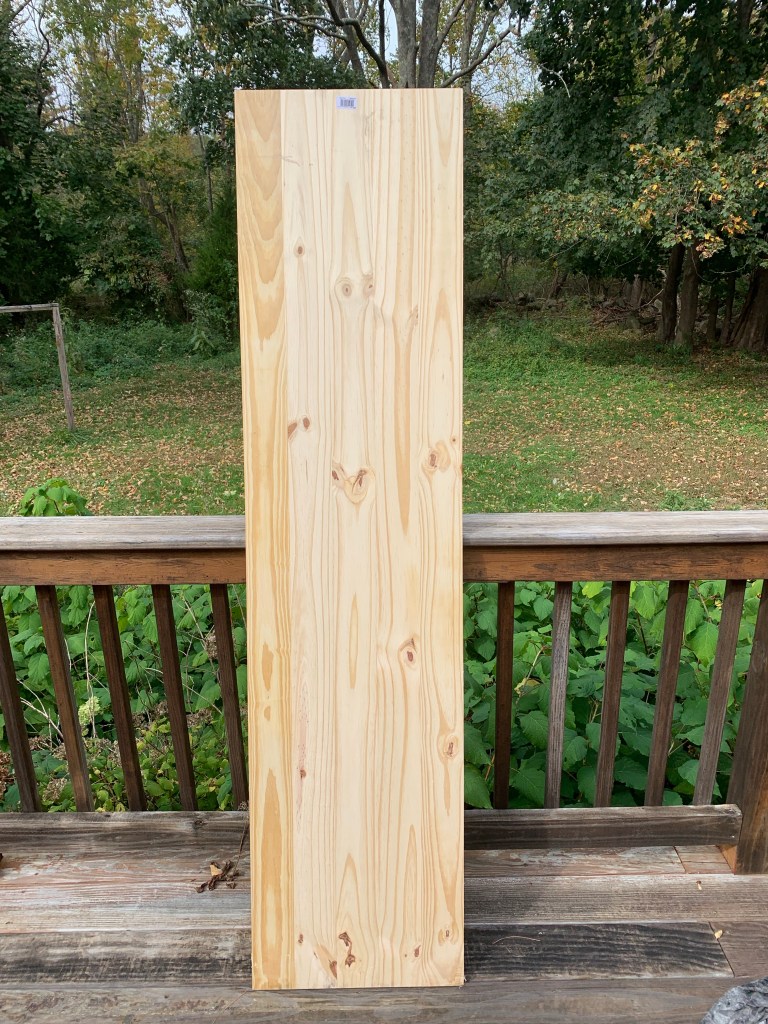

Tip: Check the home improvement store’s website before making the drive. Most stores keep an inventory list online along with the aisle and bin where the item is located. This saves a ton of time in searching the aisles for what you’re looking for. It will also tell you if an item is in stock.
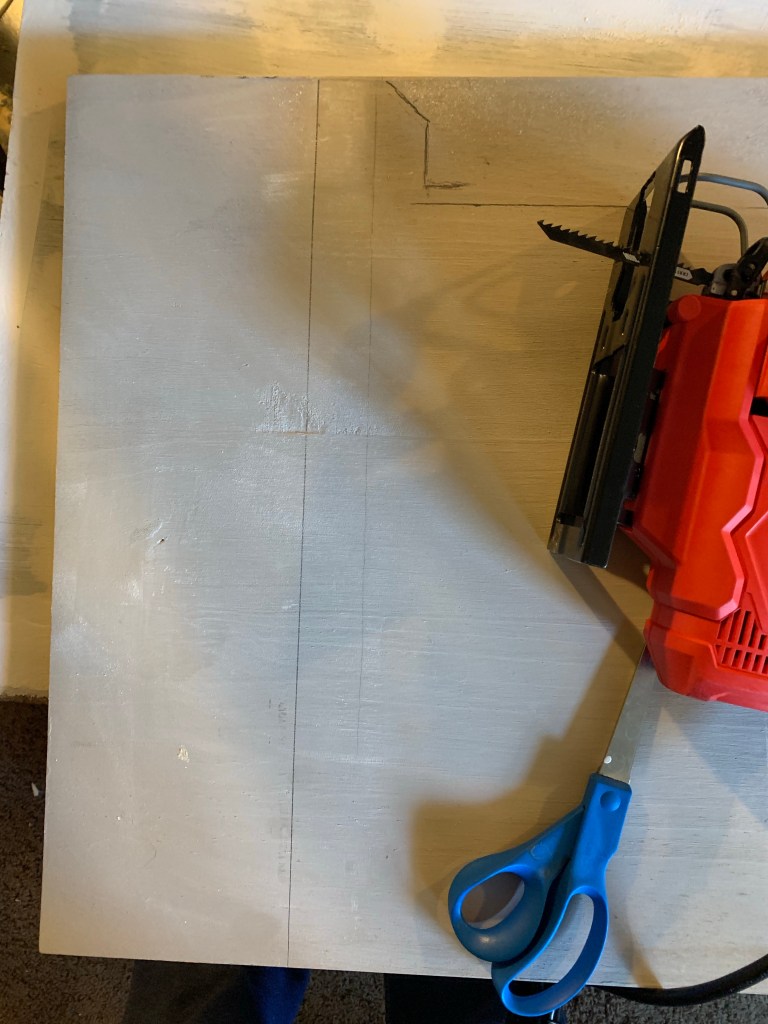
With a level and a small saw, I sawed the bottom as evenly as I could.
Next, I placed the dresser on top of the wood I bought and traced around the piece. I had to cut the excess from the front and sides to allow the cabinet doors and the bottom drawer to close. The jigsaw made quick work of the cuts.

Placing the piece upside down, I glued the plywood to the bottom using wood glue. Then I found several heavy boxes in my garage and sat them on top of the wood until it was dry.

Despite my best efforts, the bottom looked a little ragged in spots. To fix this, I cut some 1/4 inch round trim to hide the jagged edges of my cuts. Then I glued the pieces in place. To make it look more polished, I sealed the edges of the trim with paintable caulk and nailed the trim into place with some finishing nails.
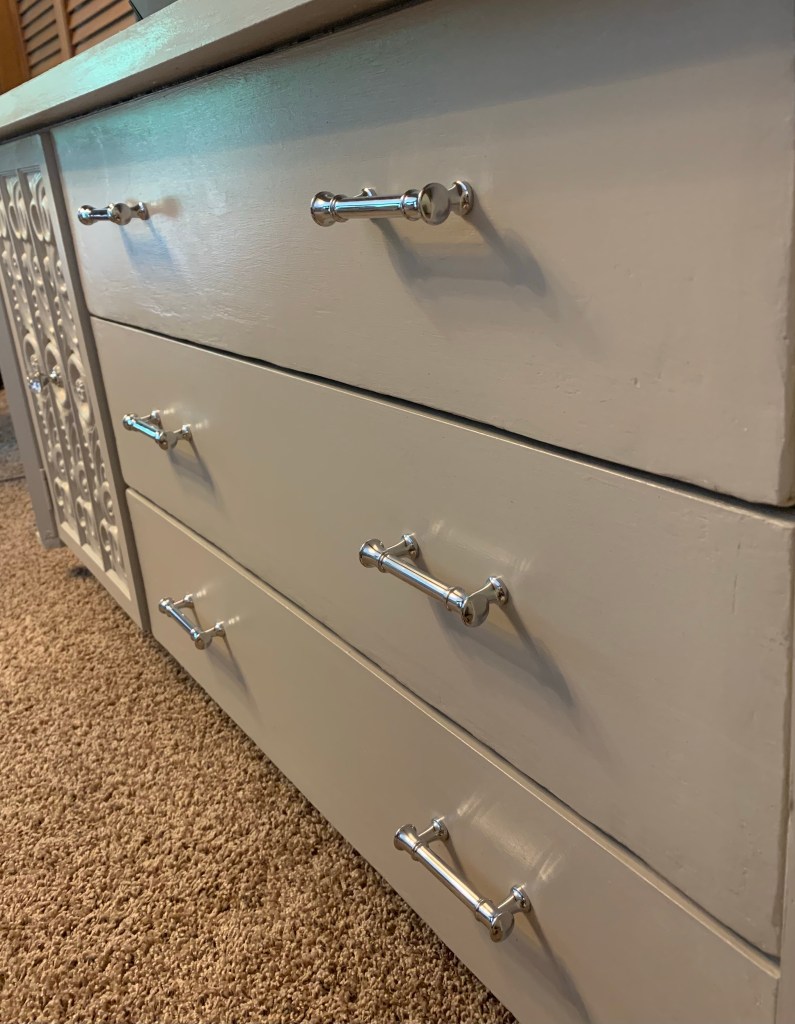
For the paint, I wanted to go with a greige color. I found the perfect color with Behr Perfectly Taupe in a satin finish. At times the paint looks gray, and others it takes on a more beige tone.
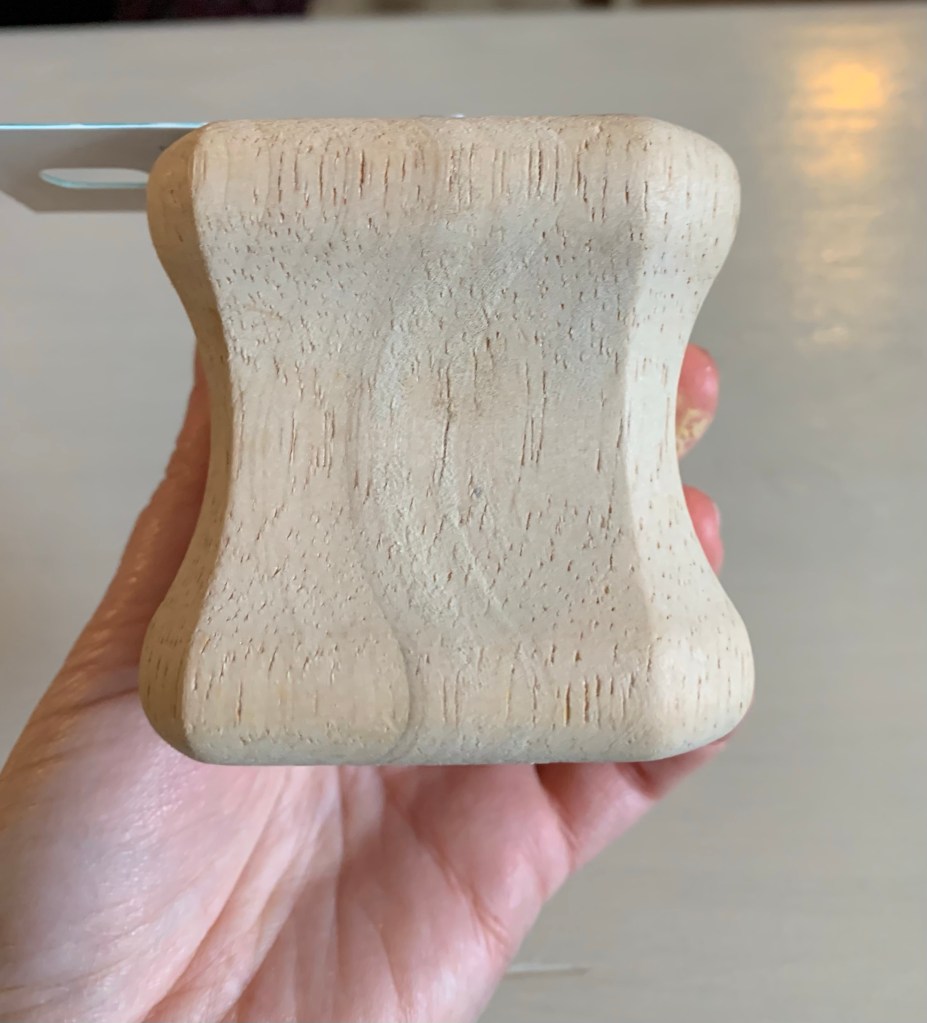
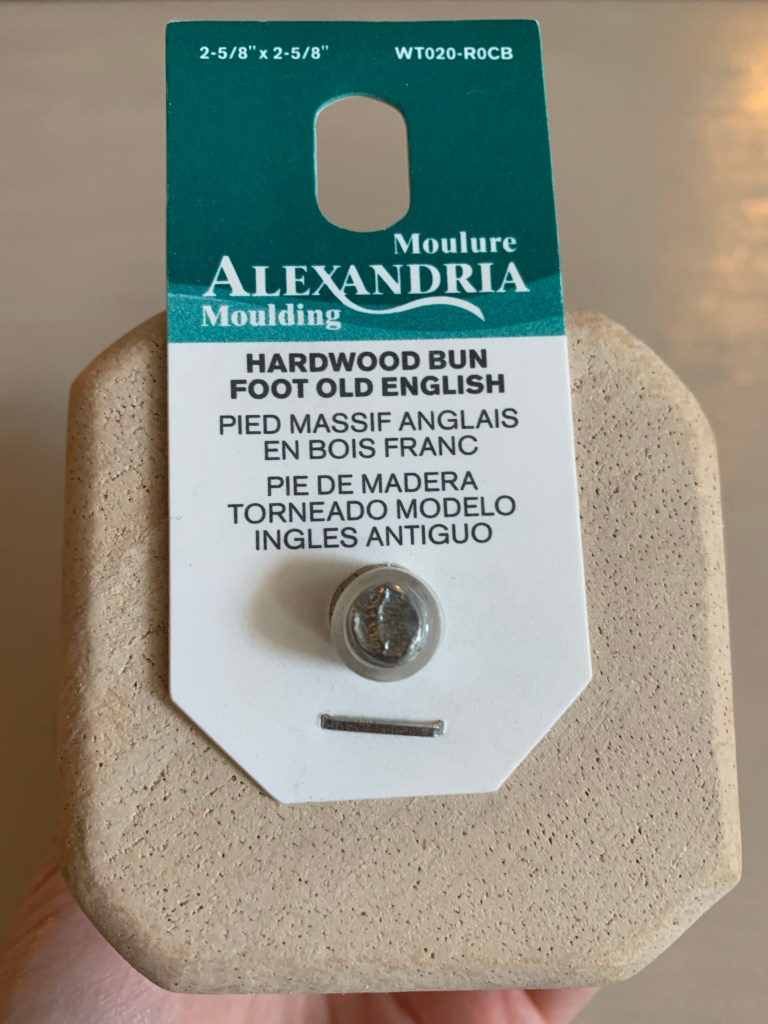
To lift up the piece I found some cute bun table legs. Since the piece is very heavy, I went with eight legs to help distribute the weight.
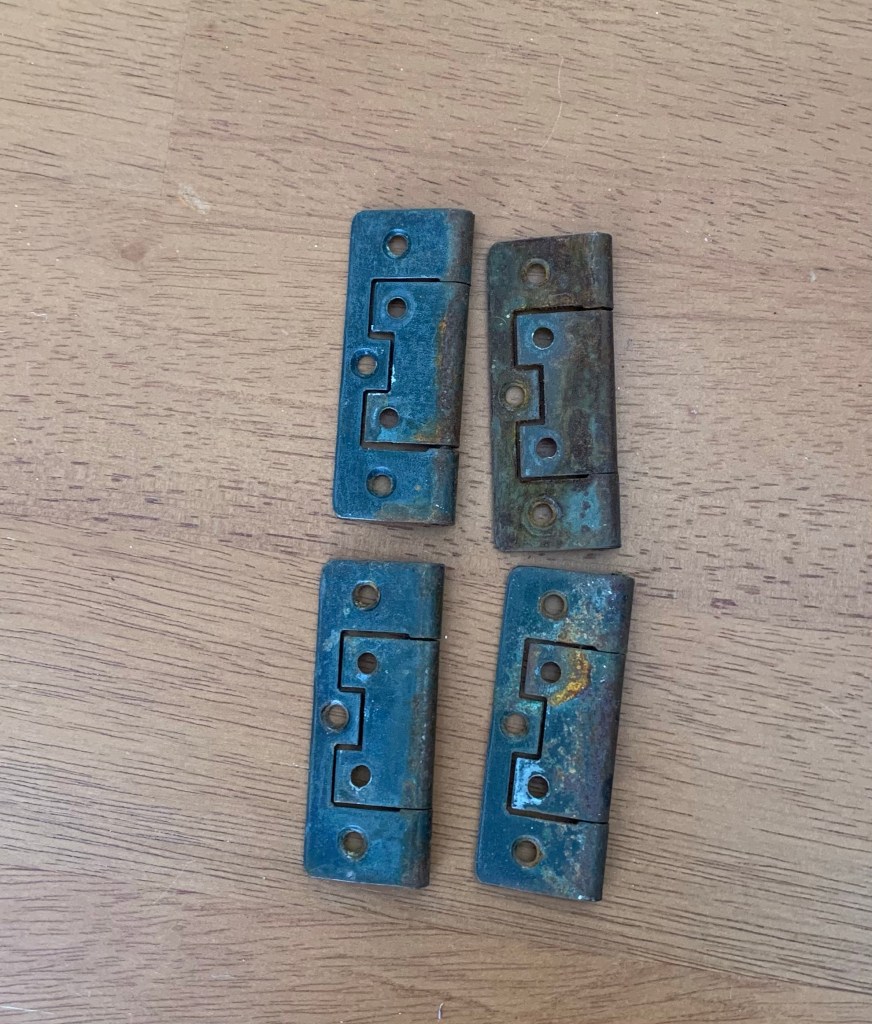
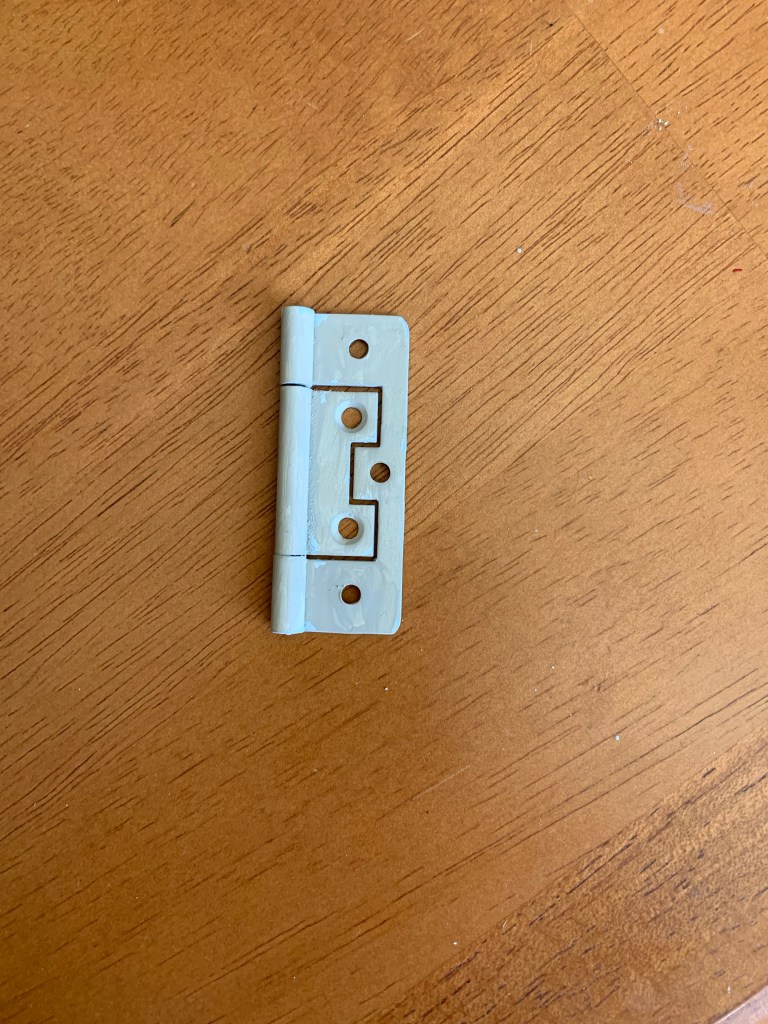
The cabinet door hinges needed a quick cleaning with a wire brush and a mixture of warm water, vinegar and dish soap. Once they were dry, I sprayed them with a metal primer, then painted them with the same taupe paint to blend in with the rest of piece.

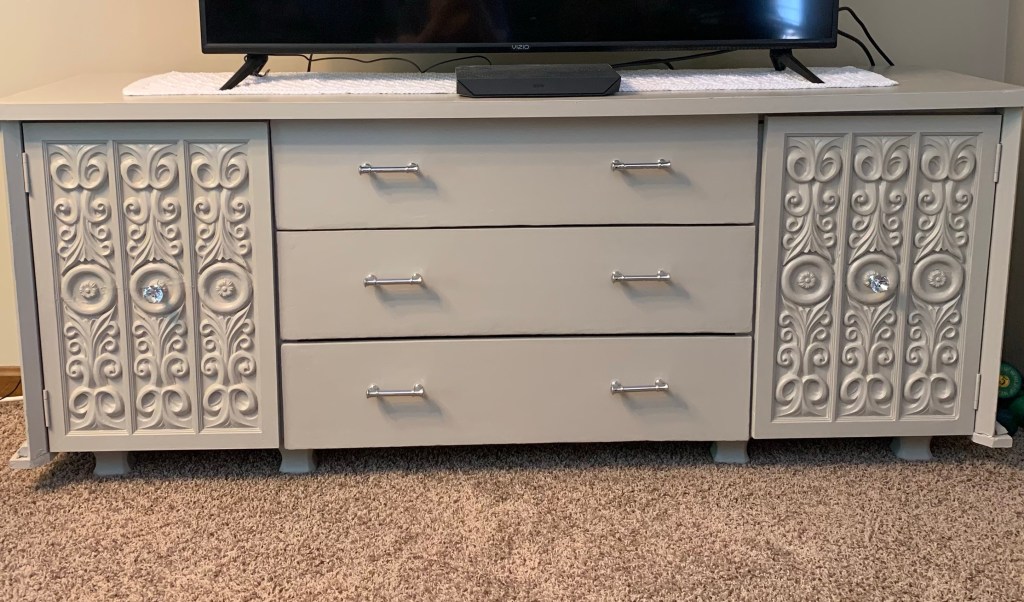
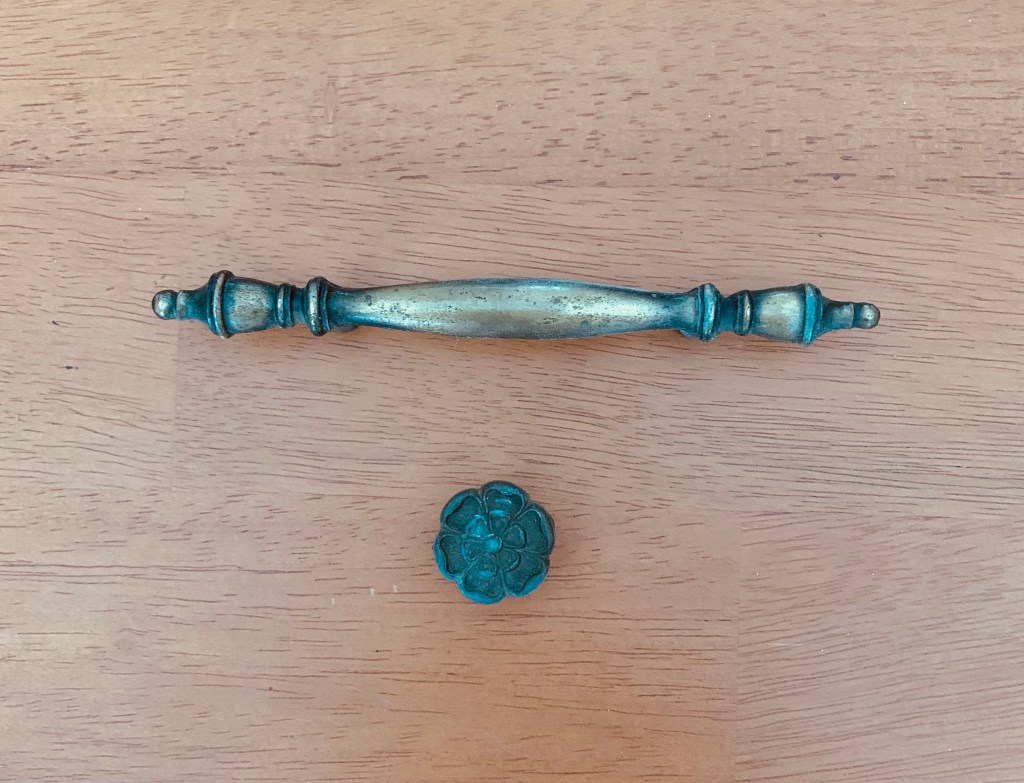
For the fixtures, I wanted to add some sparkle to the funky doors. The existing pulls were not going to cut it. Instead, I used a sparkly solitaire knob for each cabinet door and chrome handles for the drawers. I also found pretty shelf paper online to line the inside of the drawers.
This piece was definitely a ton of work, but I really love how it turned out. The piece fits perfectly against my wall, and holds not only my TV, but has so much storage potential. I’m glad I was able to save this dresser from the garbage. It’s not only a unique piece of furniture, but an elegant addition to my family room. Who knew such an ugly, smelly old piece could find new life in my family room? I hope this inspires you to look differently at the old furniture on the side of the road. It could become a treasured piece of furniture in your home.