
I bought these cute plaster ornaments a few years ago at Michael’s Craft Store. I’ve been painting plaster ornaments and village pieces for years. I love how a little bit of paint can take a bland piece of white plaster and turn it into a beautiful, cherished item.

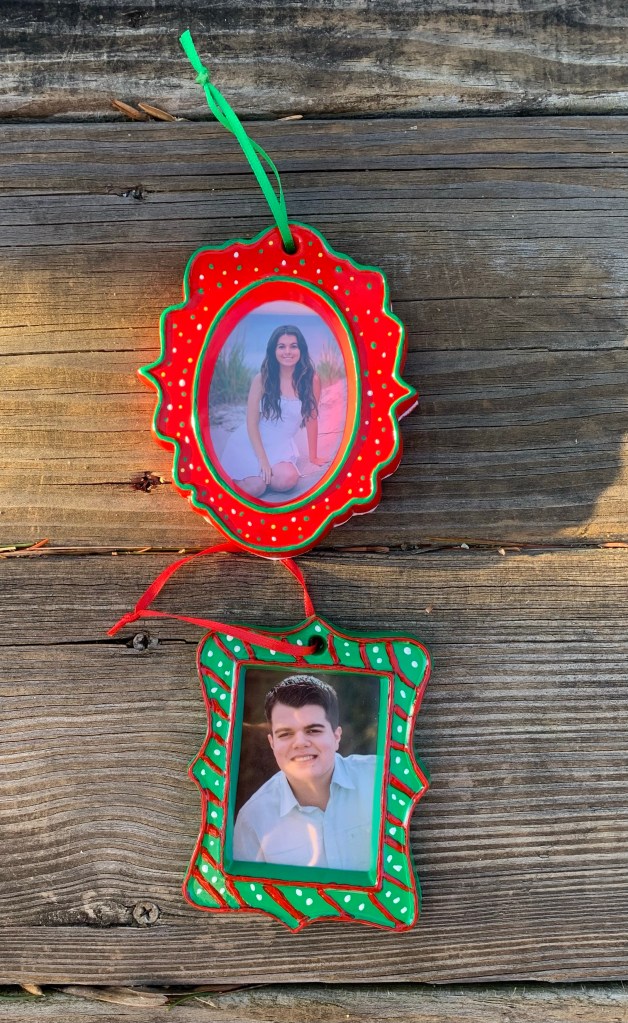
I wanted to paint the frames and put my children’s senior photos in them to hang on our tree. But the plaster ornaments did not come with a back. I was worried about protecting the photo inside the frame. After all, Christmas ornaments spend a lot of time in storage. I wanted these ornaments to last a long time and not break or get damaged. Luckily, I had some time before my kids were graduating, so I put the frames on a shelf and forgot about them for a few years.


This Christmas I received my daughter’s senior photos and was finally ready to use the ornaments. But I wanted to create a craft plan before I started. After much thought, I decided I needed poster board, a small bit of clear plastic from a discarded package and lots of paint.

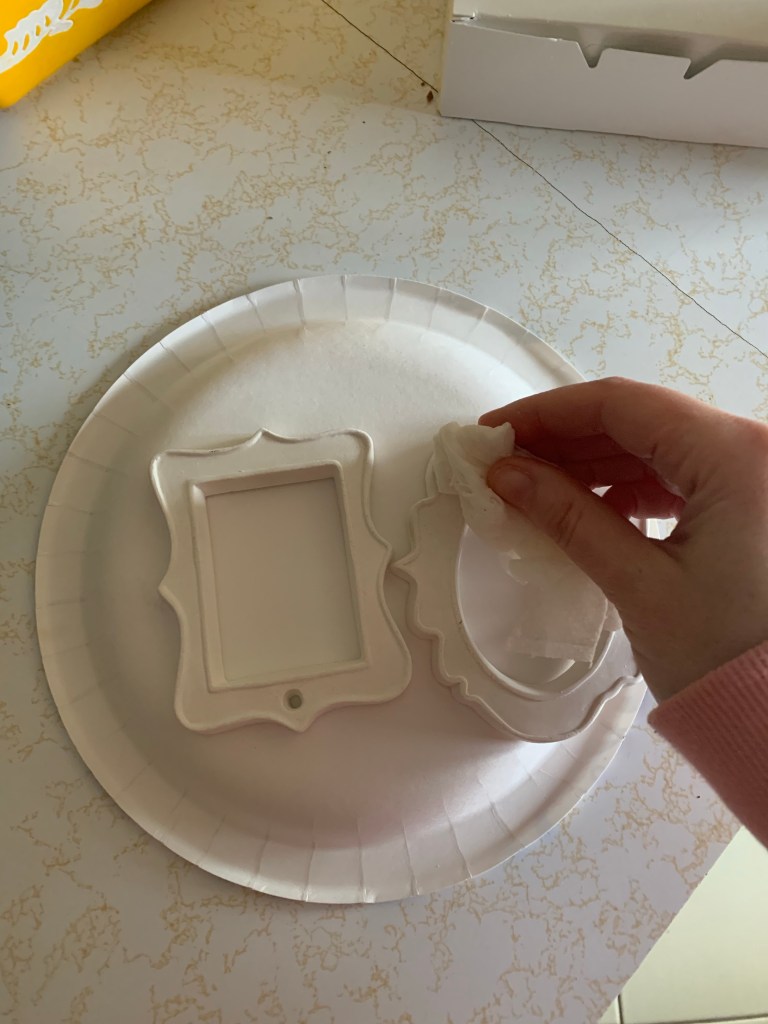
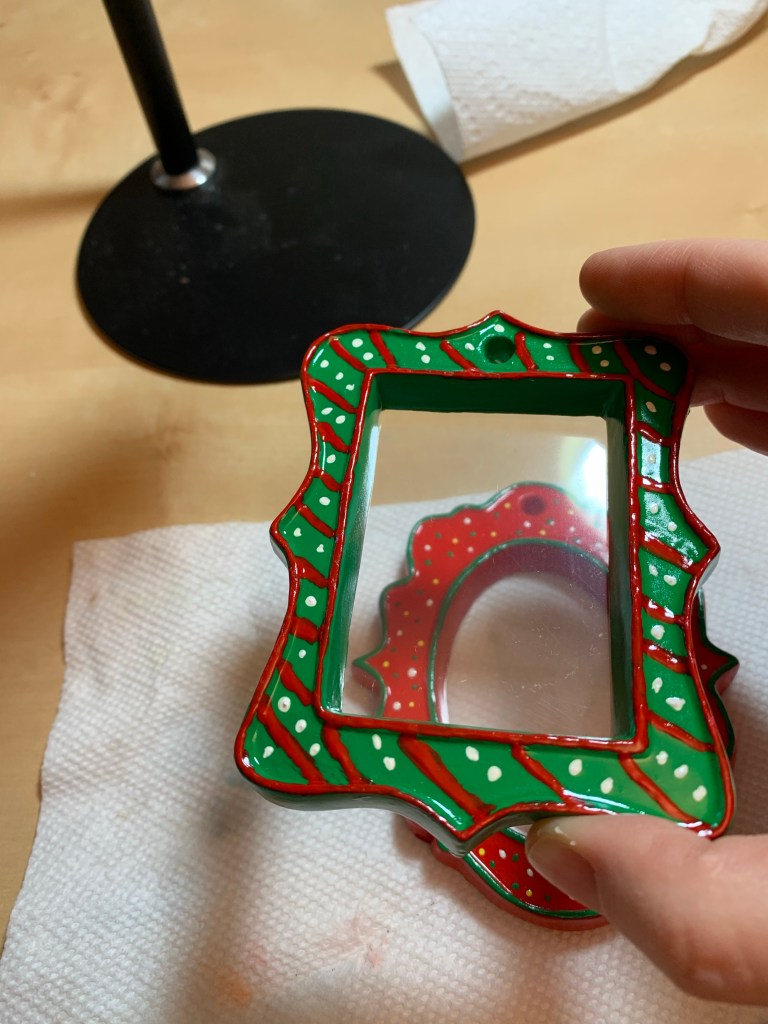
First, I had to clean and prep the plaster frames. After years of sitting, they were pretty dusty. They also needed a light sanding to remove the small bits of plaster lingering around the openings of the frames. Since the frames were both fairly small, I used a small emery board to sand them down. After I was done sanding, I wiped the frames with a damp cloth to remove the dust and debris.
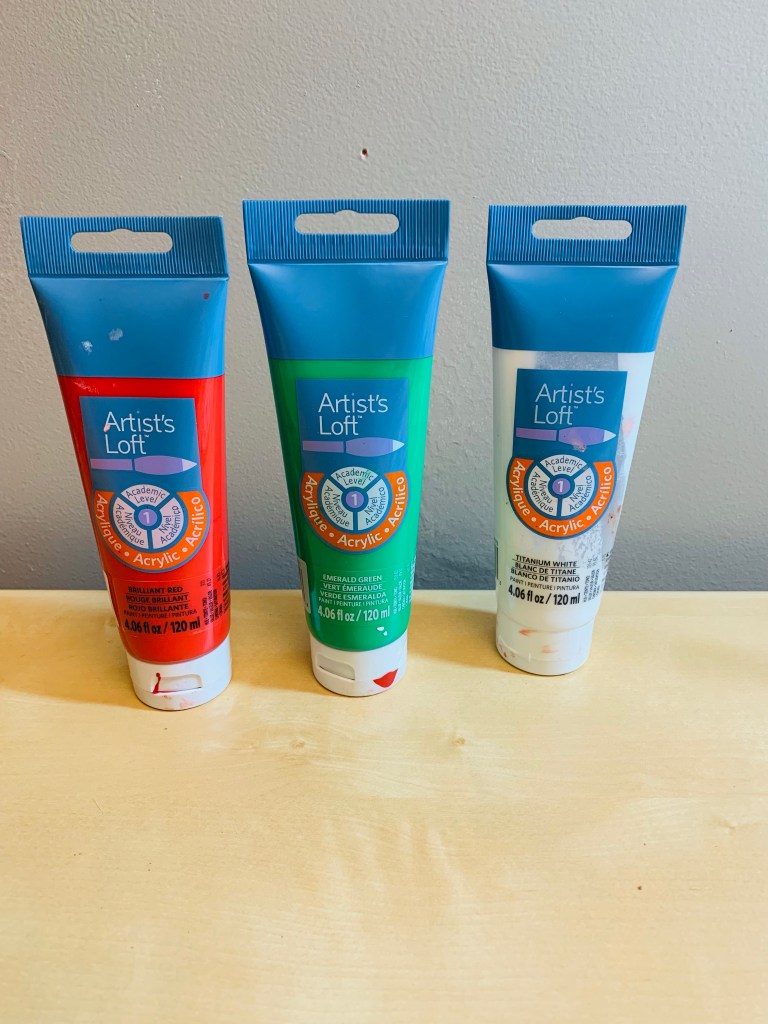
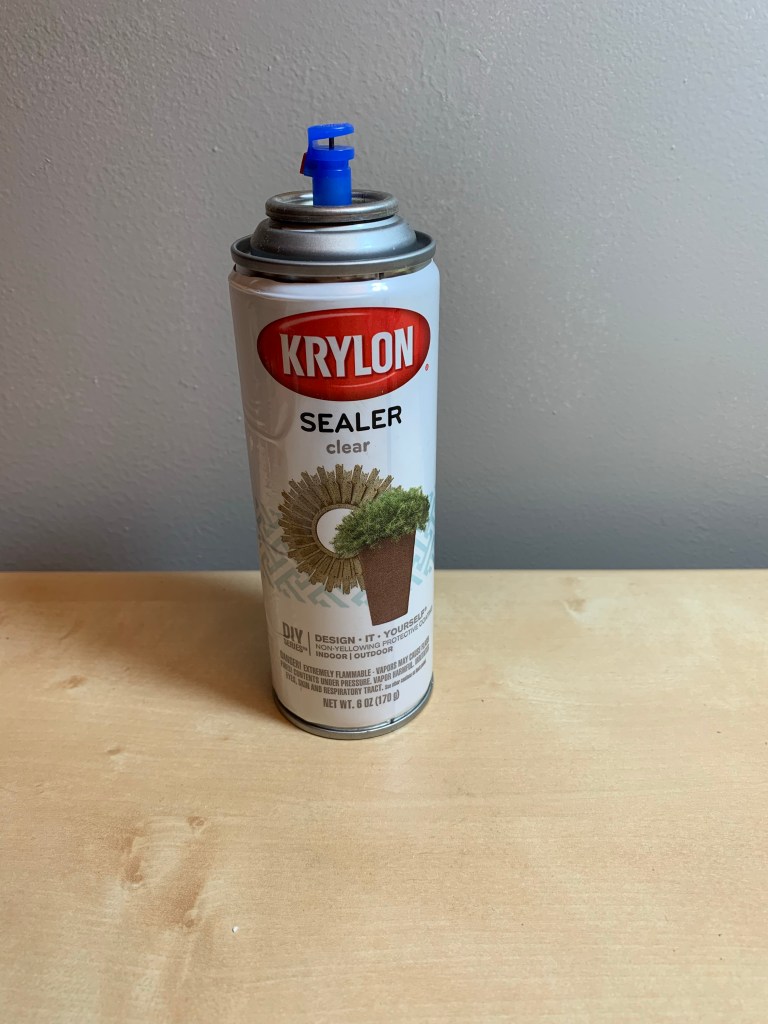
Once the frames were completely dry, I sprayed them with sealer. Since plaster is porous, sealing the plaster makes it easier to paint. Once that was done, it was time for the fun part! Time to get painting.


Then I added some simple stripes and dots to the to make them each special. I’m not much of a free-hand painter, so you can be more adventurous with the painting if you like. Once I was finished with the painting, I sealed the frames with a glossy sealer.


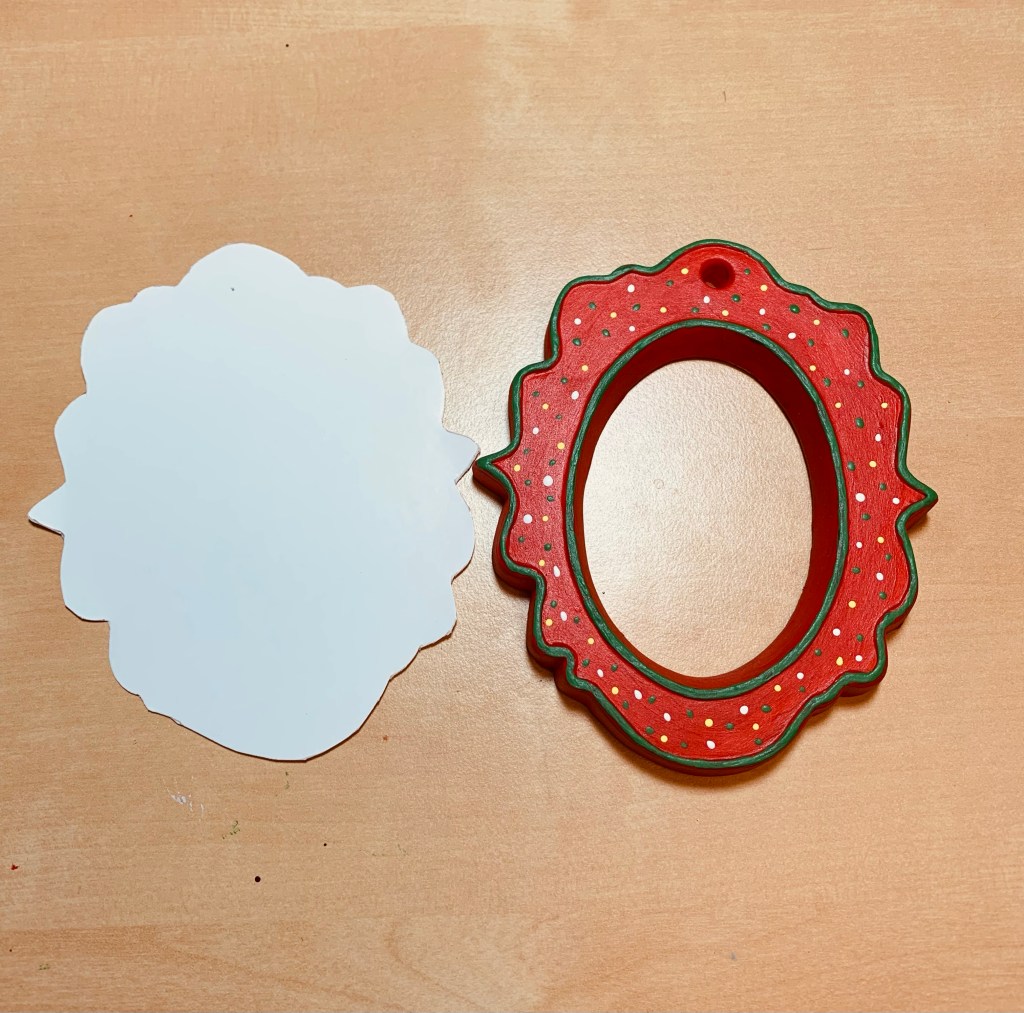
To protect the picture from the back, I used a piece of poster board. I traced the shape with a pencil then cut it out. To help the poster board blend in, I painted it with the same color paint.
To protect the picture from the front, I used a clear plastic shell from a discarded package. The clear packaging acts as the glass in a regular picture frame. I used a little glue to keep the plastic in place.

I had to trim the pictures slightly to fit into the frame. Then I added a little glue to the corners and placed the photos behind the clear plastic.
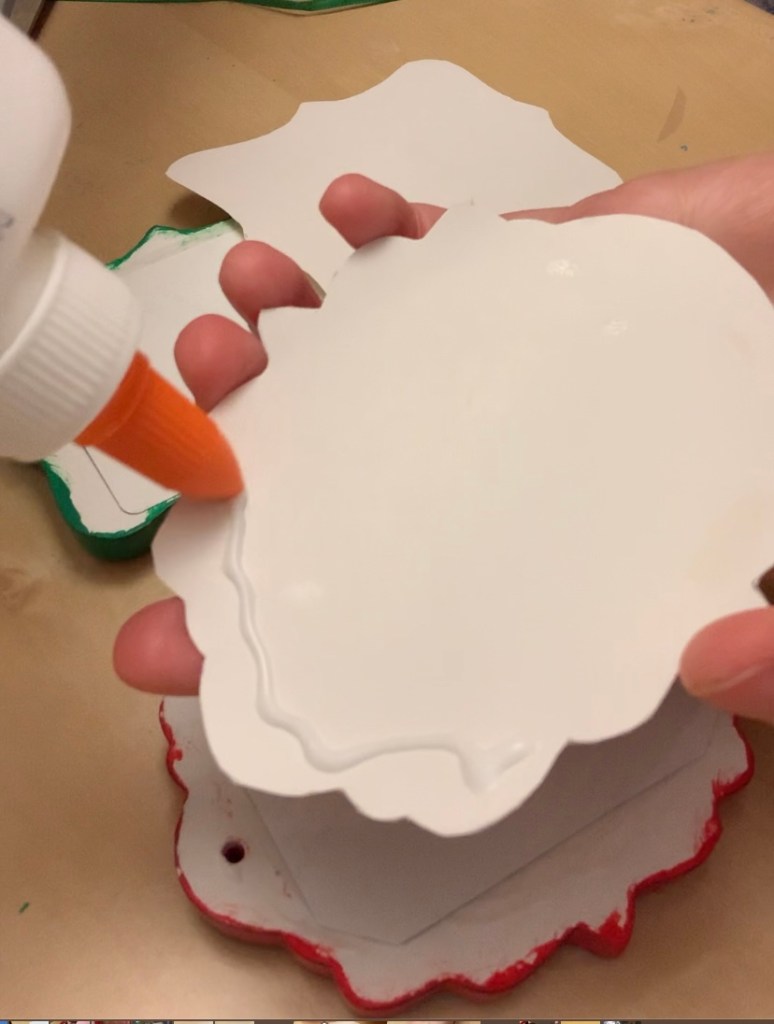
To close it all in, I glued the poster board to the back. I needed a little help keeping the poster board from curling up, so I used paint bottles to keep it down. Then I used a nail to poke a hole through the poster board and added some ribbon for hanging.

When they were finished, I hung the frames at the top of my tree for everyone to see on Christmas Day. By adding the protection of the plastic and poster board, I created an ornament that should last for many years to come. So, the next time you see a plaster ornament or figurine in a craft store, grab it. They are so easy and fun to paint. With a bit of imagination, you create something that will be treasured for years to come.

These are so sweet!
LikeLiked by 1 person