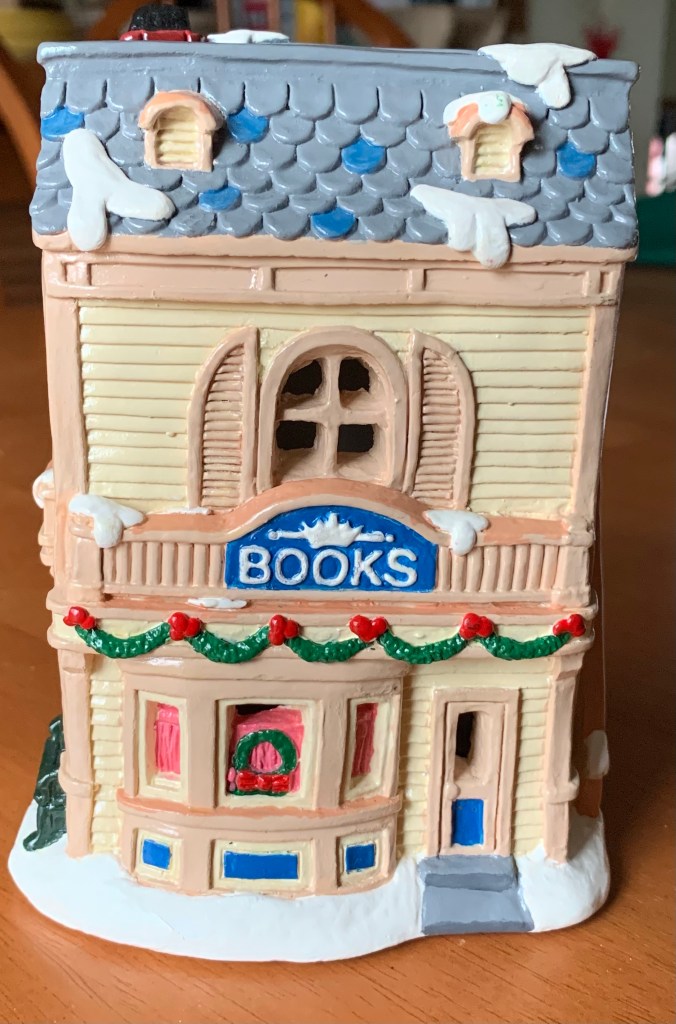
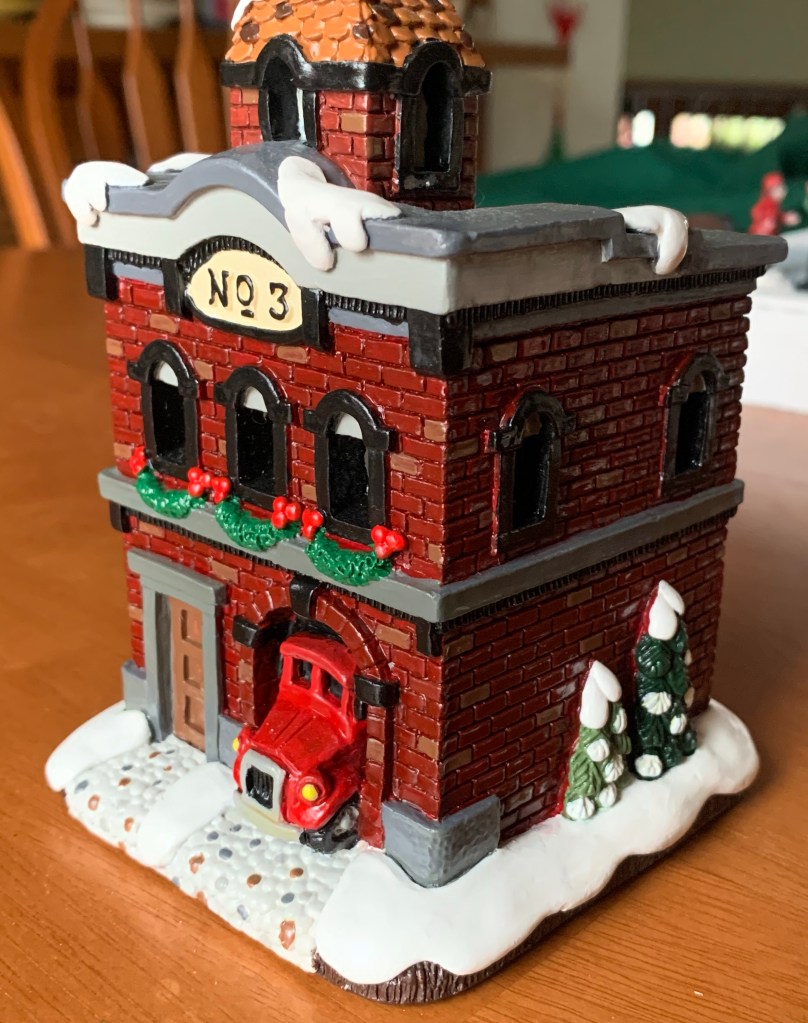
About twenty years ago, I went to a Michael’s craft store and fell in love. There, at the end of one of the aisles was a display of plaster village pieces by California Creations. That day I brought home the Bookstore and the Fire Department, but I went back many more times over the years and bought several more pieces. I’m ashamed to say I now have over twenty completed plaster village pieces and many more yet to paint from both California Creations and among other brands.
Over the years I put my love for painting aside as I got married and had children. Some years I didn’t even have the energy to unpack them all at Christmas. Then, about ten years ago, my basement flooded and some of my pieces were damaged. I lost the bell to my schoolhouse and most of my little village people, but thankfully, the village pieces were able to be saved.
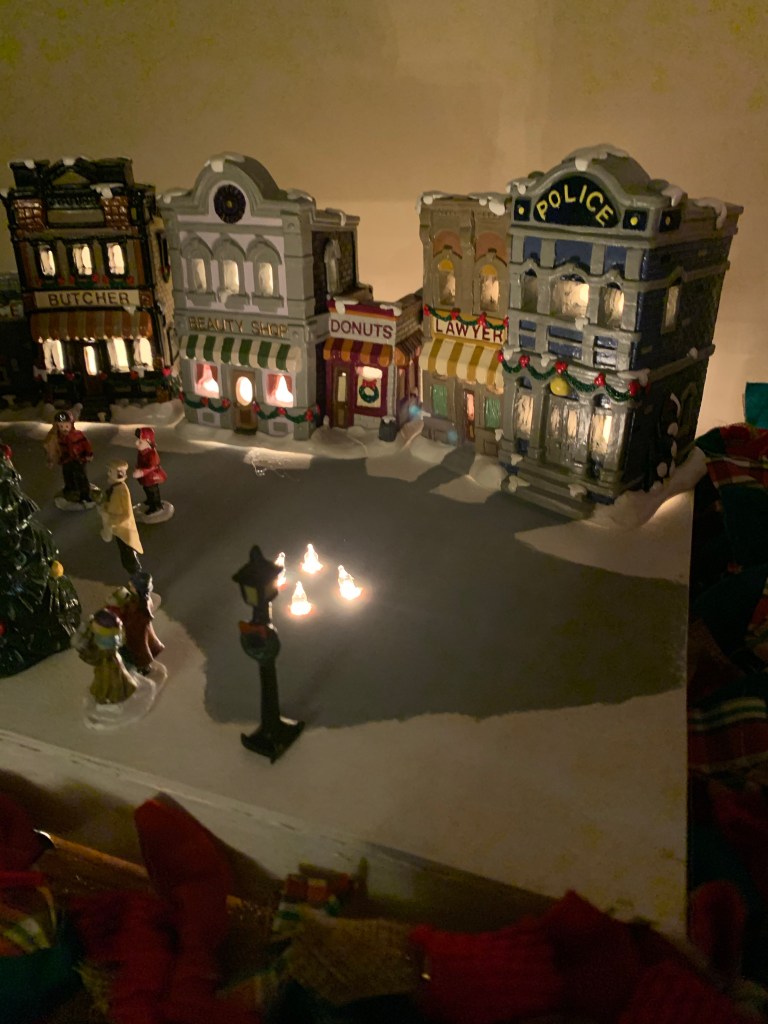
I decided this was the year I was going to finally bring light to my plaster village, but light it up. Why keep something I worked so hard on hidden away in a plastic bin? But since I have so many pieces, I didn’t want to put them all in one place. So, to break it up, I came up with a plan to display a few pieces on either side of my mother’s ceramic Christmas Tree, which I display on top of my buffet.
I got the idea for my little pods, as I call them, from another crafter, Carol Duvall. She had a craft show on HGTV. Yes, HGTV had shows other than real estate flipping back when it first started. I loved her show. One of her crafts was a paper village that she cut out of card stock. To display her little paper village, she used an old Christmas gift box and poked holes in the lid. Then, she put a string of white lights in the box and pushed the lights through the holes in the lid and sat her paper houses over the lights. Now, my village is a bit too heavy for a gift box, but I used her as inspiration to build a small display of my own made from 1/4″ plywood.
Supplies:
Piece of plywood, cut to size and three side pieces to elevate pod
Acrylic paint
Drill to make light holes and a saw to cut the wood
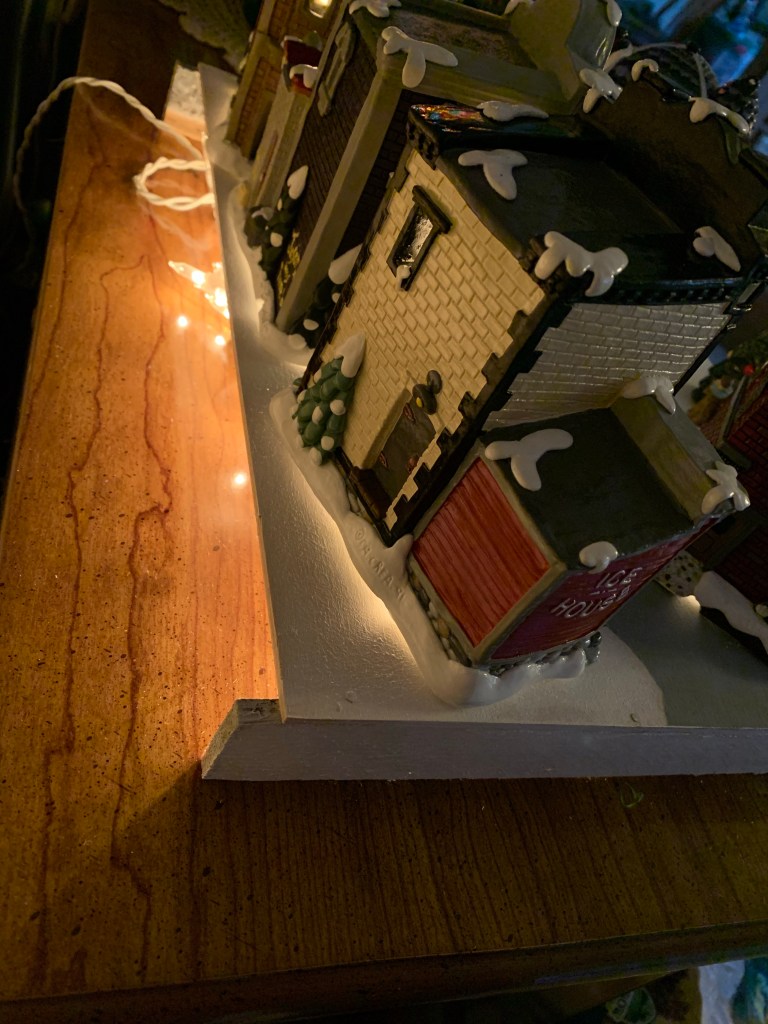
I bought the wood at Michael’s Craft Store, and cut the top to 15” x 12”. This was the perfect size to fit on the side of my ceramic Christmas Tree. Though I am severely lacking in carpentry skills, I bought a small hand drill which made cutting the wood a breeze.


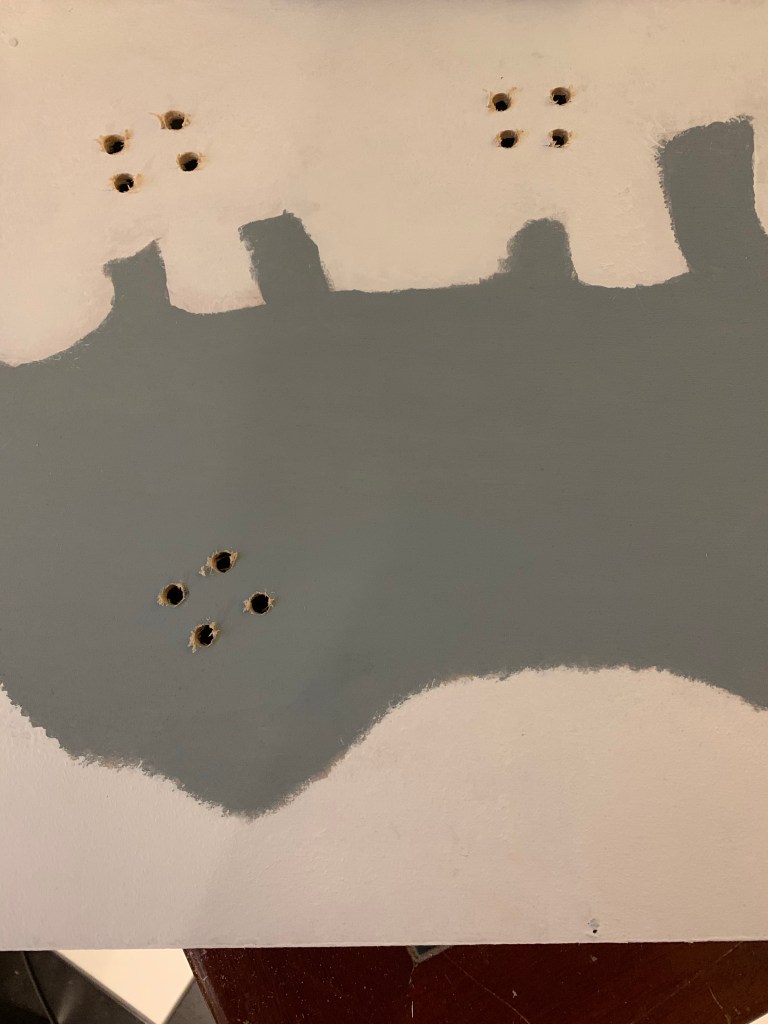
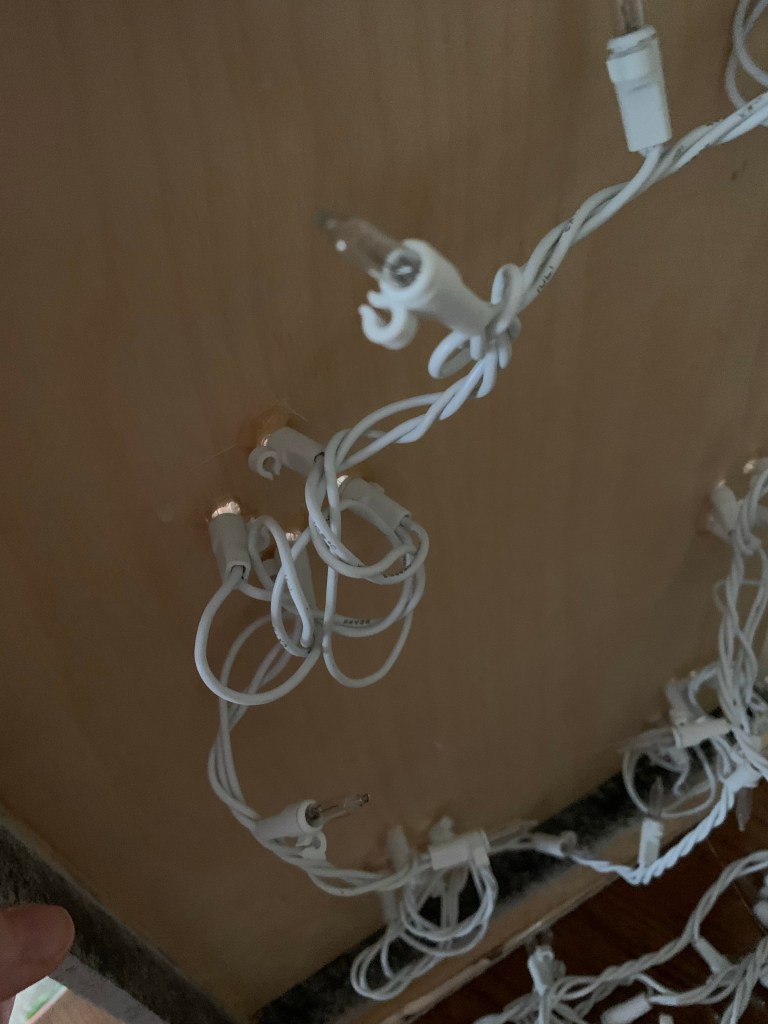
Then I used scrap pieces I had from an old project to elevate the pod so I could fit the lights underneath. Using finishing nails and wood glue, I nailed the 2” pieces to the top display. I left the back open since it was going against the wall. You can cover the pod in faux snow cover or just paint it white, but I decided to make a road in the middle of mine, so I designed a simple scene with nothing more than paint. I placed the village pieces I wanted to use in the places I wanted, then traced a crude road and walkways. Once I painted the piece, I put the village pieces back on to determine where to drill my holes for the lights and marked the spots with pencil. I drilled four holes for each piece. Then I took a small strand of white lights and did my best to poke them through the tiny holes I created.


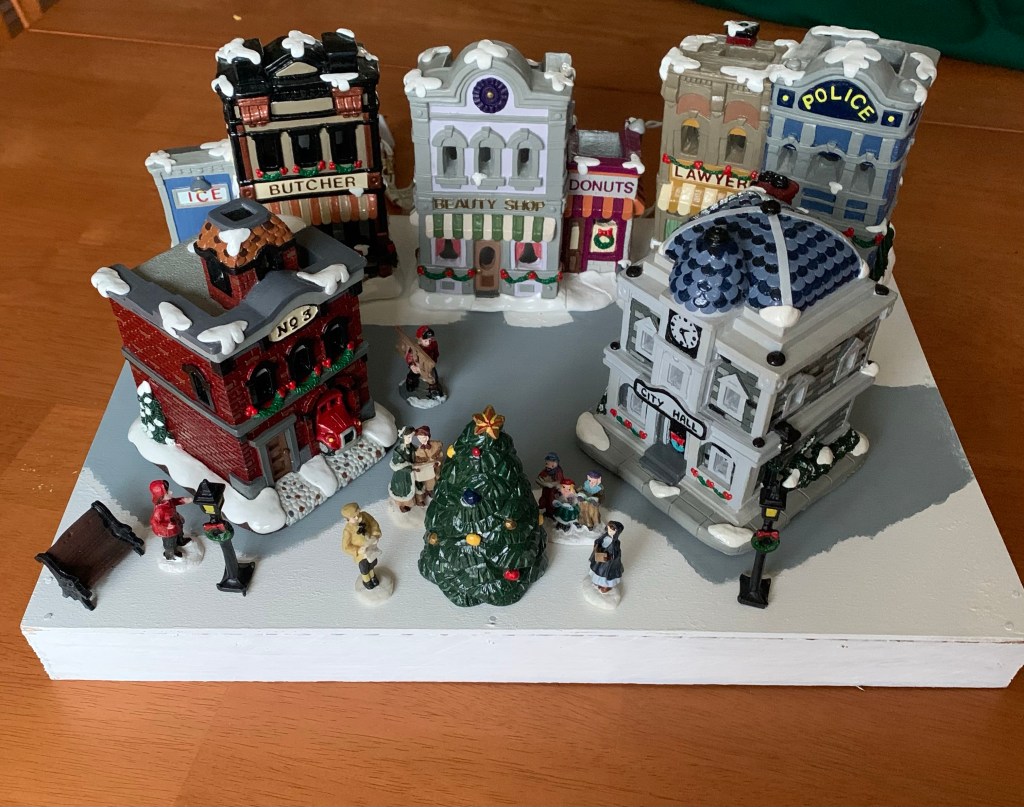
My local dollar store sells small village people and accessories that I used to further add life to my scenes. I like that they are made out of plastic which makes them virtually indestructible. Since the sides of the pods looked a little unfinished, I hid them with garland. I’m very pleased with the final product and am busy working on a pod for other side of the Christmas tree.