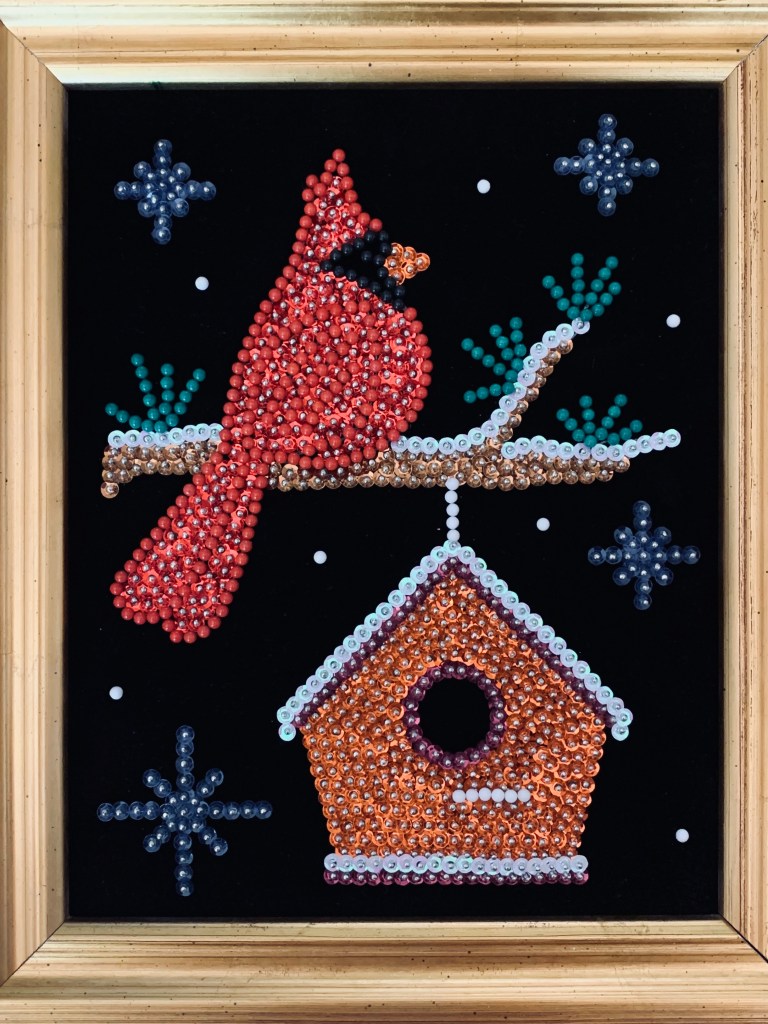
Though I am fairly new to it, sequin pin art has become one of my favorite crafts. I have completed several projects already and can’t wait to try more. Not only is it easy to do, but the sparkle of the sequins makes it an eye-catching and fun finished product. So, when I saw this project depicting a cardinal in a craft catalog, I had to try it. I love cardinals and thought this piece would not only look good hung on my wall for Christmas, but also through the winter. It’s much like doing a paint by number, and the end result is something beautiful.
If I get a spare moment to myself, I love to pin while watching TV or listening to a pod cast. I found using little plastic cups to organize the different sequin colors was helpful. If you have a plastic egg crate, that works too. It is easier to have a table so you can’t lay out the sequins and pins so they don’t become lost on a seat cushion. A paper plate works, too.

The project featured below came with everything you will need to complete the project. Included was a stamped piece of black, velvet contact paper, a form board to stick it on, and loose sequins and pins. It also comes with instructions. I also purchased a wooden frame that was advertised with it to make it easy to hang on the wall. Because of the sharp sequin pins used, I would recommend it for teens and up. Here are some tips I have learned that might help you if you want to try sequin pin art for yourself:

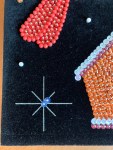
- I like to outline each object with sequins and then work my way in. That way if an object, like the birdhouse, has straight lines, they stay straight. This also give a uniform appearance to your sequins.


- If the object, like the cardinal, is framed in finishing pins, leave room for those pins by placing sequins against the white line, but not on it.
- With the snowflakes on this piece, I placed the first sequin in the middle of the snowflake first, then I worked my way out to keep them looking consistent.
- Refer to the picture that comes with the project if you have a question about how many sequins to use. For the beak, I counted six sequins and laid them out before pinning to be sure they would look good.

Once I got the hang of it, I was hooked. I love the way the finished product sparkles on my wall. I had so much fun with this project that next I am going to try a free hand sequin project. Stay tuned to see those results.

Omg! I adore this. Where did you get the kit?
LikeLike
I got the kit from herrshners.com. They are so much fun!
LikeLike
Oh no! No cardinals left ☹️
Thanks for the link, they do have a lot of cool stuff 🙂
LikeLike